Almost since the first production engine rolled off the line, people have known that when it comes to power, it’s cubic inches or cubic dollars. In some cases both. There’s only two ways to get more cubes – bigger bore and longer stroke – so engine builders use both to get the performance they want from the available components.
Traditionally, stroker engines were made by offset grinding or welding up the throws and offset grinding the existing crank. Welding was the road to the biggest strokes, but it also resulted in a lot of failed cranks. I’ve seen a welded stroker done for a race car and can tell you it is a complex job if you expect it to stay together. Adding to the difficulties is getting an existing rod and piston combination to work with the modified crank and existing block. Stroking, for the longest time, was a combination of skill, art and experience.
Relatively recently, the advent of CNC machining and various production efficiencies have made it possible for quite a number of aftermarket suppliers to add complete stroker kits to their product lines. These are pre-engineered kits designed to fit specific engines and typically come complete with cranks, rods, pistons and rings. The 350 to 383 Chevrolet stroker kit is now almost legendary, for example. The idea, of course, was to offer those who did not or could not machine up their own an opportunity to stroke their engines and join in on the fun.
Unfortunately, this has led to horror stories from machine shops all over the country. Those of us who’ve done our own ‘kits’ over the years know a good many of the potential pitfalls and take the time and know the solutions to correct or accommodate them. The horror stories come from encounters with people who know they want more cubes, know that a stroker kit can do this, but have no real idea about what it takes to complete one.
It is common to discover that someone ordered up his kit from one of the parts warehouse suppliers, has someone prep the block in stock style, and then discovers that he can’t assemble the short block because the crank and rods won’t turn. It’s pretty sad to discover how many of these guys will immediately call the parts supplier or machine shop and start screaming about how they were ripped off or how they got the wrong parts. Some of these characters never do get it. There are lots of aborted stroker kits around because the end user refuses to admit he screwed up or doesn’t know enough to get the job done.
I was in the Johnson Machine shop in Rapid City, SD for another project when I noticed that Mike Schortzman was working on a stroker kit for a big block Chevy. Having done quite a few strokers myself, I noticed that Mike was doing a methodical and thorough job at checking and correcting the typical problems. I whipped out the old notebook and camera and made note of what he was up to with the idea that you might like a leg up on how to identify and fix the typical interference points you can run into and at least understand why most strokers are not a simple bolt-in deal.
Deck
Because changing stroke also requires changes to either rod length or piston pin height or both, it’s important to make sure when it’s all assembled the top of the piston is at the right height relative to the block deck. In most cases, you’ll find that these kits are engineered so you’ll have to remove a little deck height. This is done to accommodate surfacing previously been done or needs to be done to create a good gasket sealing surface.
In most cases the top of the piston should be at or slightly below the deck at Top Dead Center (TDC). The most common spec is at zero deck or within .010? below the deck. This spec is based on an ideal squish area (the space between the flat top areas on the piston and corresponding head surface) of .040?, which is also the typical composition head gasket compressed thickness.
It’s fairly rare to set up so the piston is above the deck at TDC for several reasons. One is that this reduces the protection for the top ring land of the piston and can make the piston ring more vulnerable to damage – especially if pre-ignition or detonation occurs, but also for high-temp melt-down. The main reason is that you need at least .035? of piston to head clearance to avoid contact between the two under harsh conditions. Most layered compound head gaskets have a compressed thickness of around .040?. That means more than .005? out of the hole can be a problem.
Mock-up
So you’ll need to install a piston, rod, pin, and bearings on the crank in the block and check the deck height. It can be done by independent calculations, by measuring each part and adding up the dimensions, but with small inconsistencies and tolerance stacking you will rarely come out perfectly. I find that calculation generally gets you within about .005? of the accurate measurement. By doing the pre-assembly, you can measure it all in place.
Be careful, though. Pistons are made using CNC machining operations that limit the pin height differences from one piston to the next to near zero. However, you should check your rods and pistons to make sure there are no differences in pin height or rod length over .005? total.
For a kit using full-floating pins, you can assemble the rod and piston using the included pins. However, if you have pressed pins, it requires using a modified pin. Shops that do custom work like Johnson Machine will have pins that have been turned down a couple thousandths so they will slide into both piston and rod – rather than press.
Once installed you need to bring the piston up to TDC. However, there is clearance between the bore and piston and you’ll see it rocks in the bore. To prevent this and prevent inconsistent measurements, Mike uses a couple of feeler gauge strips slid down on either side of the piston. Then he can set up the dial bore gauge and set it so it reads zero with the gauge pin resting on the block deck. Then, he swings the gauge over the piston and checks the difference. An alternative is to use a bridge micrometer or gauge.
Cam Clearance
In the old days and for custom strokers, one of the big concerns was that the cam would come into contact with the rods or crank. I know of no kit assemblies that have not been checked out before the first one got shipped to make sure this was not a problem. It is one of the best reasons to use stroker kits. In some cases there are machine operations that can solve this, but none are easy.
An example might be that the side of the big end of the rods or the rod bolt may contact the cam lobe. In some cases, you can shave the bolt or remove a little material from the rod to get clearance. Another might be where a counterweight on the crank gets into the cam. Here you can chuck the crank into a lathe and turn it down to get clearance. Remember that taking material off of any part of the rotating or reciprocating mass means changes in balance. This has meant adding Mallory metal and other balancing issues that can be pricey.
In any case, I’d make sure to ask before you lay down your cash if the supplier knows of any interference problems between the crank and block or rod to cam lobe. One answer would be that there are problems and they should also know what it takes to correct them. Another would be that they know there are no problems. The third is that they don’t know or don’t even know what that means. You may want to go elsewhere.
Crank Clearance
Mike’s favorite tool for finding crank interference problems is a large tie strap. These are about .050? thick and made from nylon so they are both durable and will not damage parts as he checks them. He installs the crank and then rotates it. If he finds a spot where it stops, he’ll identify where that is and what is the problem.
In the case of the build I witnessed, two of the counterweights were a little too large to clear the block. The crank would rotate, but the weights were so close they would trap the tie strap between block and crank. Mike figures if you don’t have at least .050? it’s too close.
As he works, Mike marks the areas where there is insufficient clearance with a black marker so changes can be made in the right places. Starting from one end and working step by step and inch by inch to the other, he looks for any place where the crank gets close to anything and identifies each.
To fix what he found in this instance, Mike asked Rex Eagleton to put the crank in the lathe and turn .050? from the two counterweights. Two areas, one large and one small, showed up when the crank was turned. By doing this work on the lathe you can cut all the high surfaces at once. By the way, it was also possible to have gone inside the block to machine out the contact areas instead of turning the crank, but that would have taken a lot more time, potentially weakening the block, and that just didn’t make a lot of sense in this case.
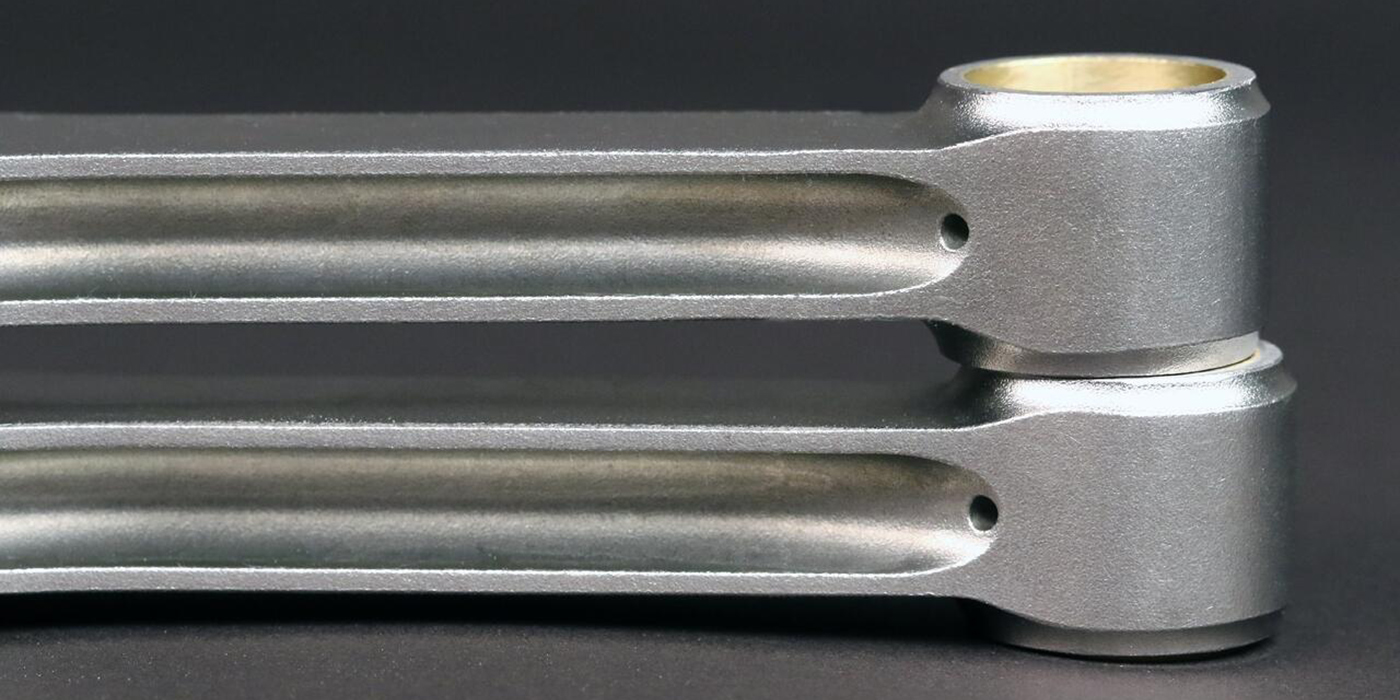
Rod and Piston
Although not likely in a kit assembly, I’ve seen where the bottom of the piston skirt would hit the crank. This can be fixed by milling the skirt at the affected area or turning the crank the same way. If you ever have to modify a piston, do so with care, remove only what’s needed, and be as consistent from one piston to the next as possible.
Because most kits have been pre-engineered to spec out pistons that do not have this problem, you may never need to deal with this, but it’s important that you know it’s possible and take a good hard look at it to make sure you don’t have something to fix. Mike again uses the tie strap to check it.
Other places to worry about are where the big end of the rod gets close to the bottom of the cylinder bore, where it gets close to the cam, or in some cases at the pan rail. Here again the cam clearance should have been verified or you should know any limits in lobe heights. The cam must be installed and degreed in to check clearances as small changes in rotation between the cam and other components can dramatically change clearance. The bottom of the bores and pan rails are routinely notched or relieved to get clearance. Another reason the tie strap works well is that it’s often hard to see or get your hands into these areas where the strap will slide right in. In other words, some of this is sight-oriented, but other areas are identified by feel.
You have to be careful where you remove material. There are areas where the casting is relatively thin and you can cut into the water jacket and then you really have trouble on your hands. If you are not absolutely sure of what is there to work with, you need to ask someone who has more experience or knowledge with your specific engine before you screw up.
Finally, each and every block, even the same size, year, and make, is unique. Castings change, there is the problem of core shift, and the original machining is not exactly the same from block to block. This means it’s up to you to take the time and either identify and correct or verify and pass each and every part of the short block. If you fail to do this or miss something you can grenade the entire thing and you’re gonna be left with a serious dent in your wallet. Obviously, the alternative is to have a pro like Mike do the job for you. It’s going to cost more that doing it yourself, but if you are not absolutely sure that you have it done and done right, it may be the best investment in your engine project you can make.
To download stroker kit charts, click here (Stroker Charts.pdf)
For a complete list of stroker kit suppliers, click here (Stroker suppliers.pdf)