To survive in the current economic climate, you must look for opportunities to become more profitable and still maintain control of your profits. You must always look for ways to keep more of what you do “in-house” and keep as much of the revenue you generate in the business. Whenever you can control what goes out the door, whether it is product or profits, you have better control over the bottom line.
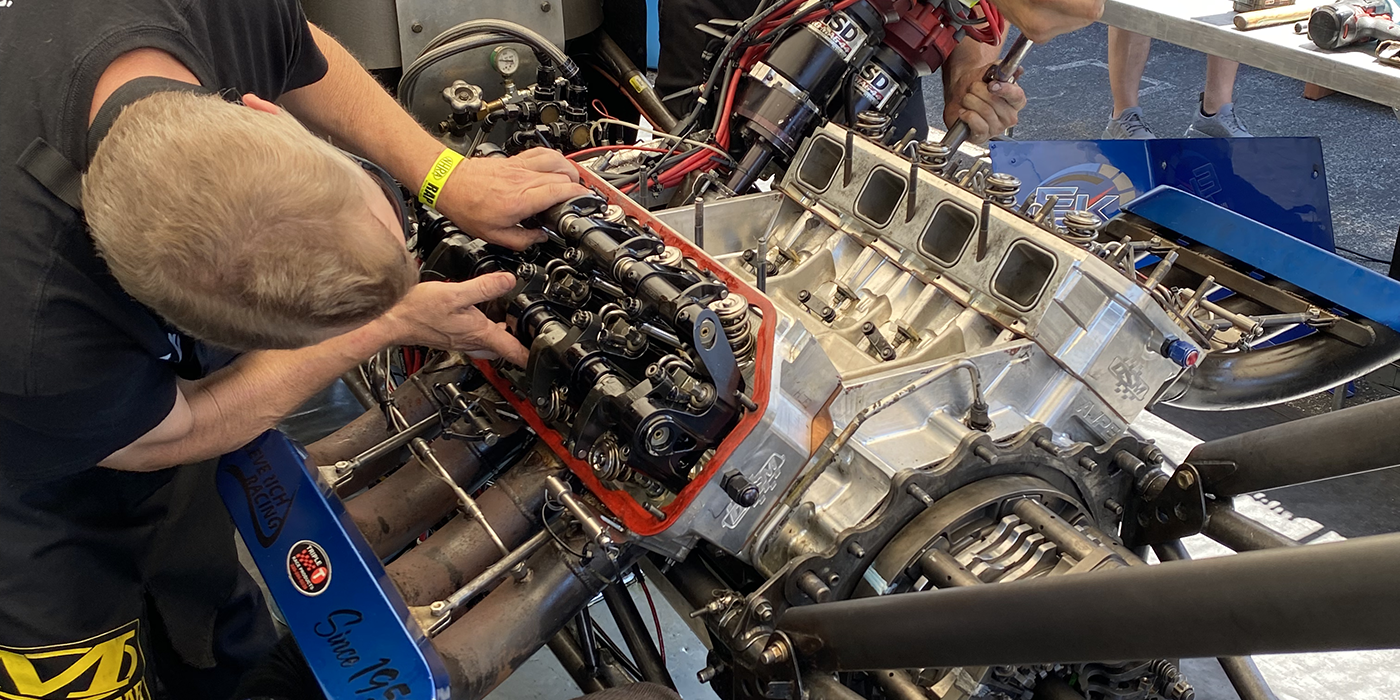
If you outsource cylinder head repairs that require welding you might be missing an opportunity to generate additional income for your shop and reduce turnaround time for your customers. Here’s a look at how you may be able to increase profitability and productivity by bringing it in house.
Doing these kinds of welds successfully requires the right manpower and equipment. Since these repairs are typically performed with a TIG welding process, you need a trained TIG welder in your shop. If you don’t have one, it might be worth training the right person. Luckily, training programs are easy to find by contacting your local community college or investigating specialized welding schools from suppliers.
The other part of the TIG welding equation is having the right equipment and knowing the ins and outs of making weld repairs on cylinder heads.
Although there are other methods of repairing cracked or damaged aluminum components most have limited uses. Certainly, there is a place for alternative repair methods, but TIG-welding skills, when mastered, will offer numerous repair opportunities. TIG welding techniques and procedures remain the same regardless of type or size of damage, and will carry your reparability far beyond where alternatives reach their limits.
First Steps
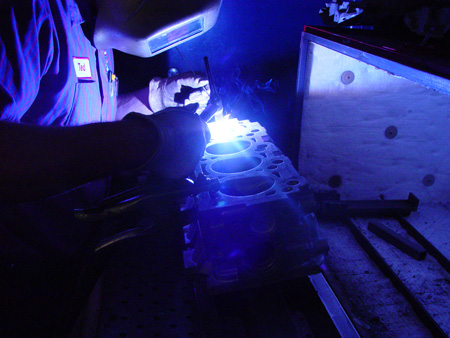
Cylinder head conditions run a wide gamut, but most are old, dirty and compounded with oil, hydrocarbons and other residue from years of use. To begin, all these contaminants must be removed. Most shops have the tools to do this with ultrasonic cleaners or solvents.
After the part is clean, the next step is preheating. The best heat source is an oven. An oven allows you to better control the temperature of the part. If you don’t already have one, it’s worth the long-term investment. You can even use a kitchen-style oven, just as long as it’s not one your wife uses.
When welding aluminum, temperature is always an issue. Cold material can create hot, short weld cracks. Too much heat can create soft spots. Heating the part in a 350°F oven helps prevent these problems. Another benefit of an oven is that the heat will help cook off remaining impurities that were missed or unable to be removed during cleaning.
Equipment You Need
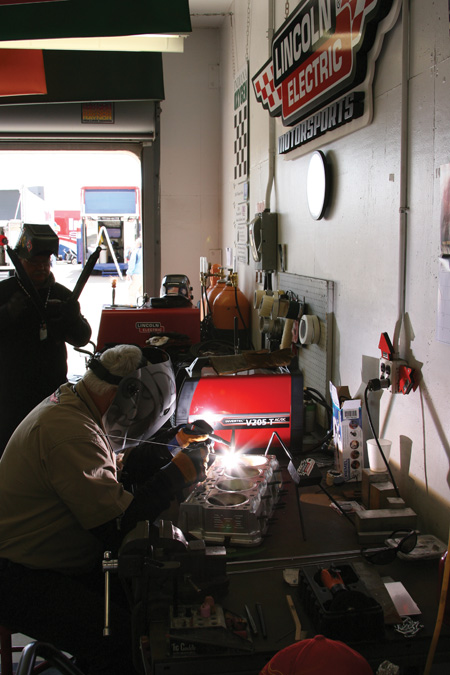
The first step is to make sure you have the right TIG machine. Since welding is just one of many jobs you perform, make sure you choose a machine that is versatile, portable and gives you the necessary amperage range. Look for a machine with straight-forward, intuitive controls. And as you won’t likely have a space dedicated to welding, a machine that can easily be wheeled to where you are making repairs is important. Other machine characteristics to look for include technology that delivers superior arc performance, a clean start and stable arc control.
Having a TIG machine in your shop gives you great versatility to use it for other weld repairs. Additionally, many TIG machines also allow for stick welding, which you may need for from time to time.
Now, let’s talk about the actual welding. You’ll find the following parameters apply to about 90 percent of weld repairs. As most engine heads are aluminum A-356 or A-355 castings, TIG welding is the best process.
Typically, you’ll use a 3/32?-diameter tungsten. For 3/32?, you shouldn’t have to exceed 200 amps on your welder. If you need to go up to 250 amps, move up to a 1/8?-diameter tungsten. If the repair requires more than 250 amps, the part has likely cooled off and needs to be reheated.
Setting your TIG machine to AC mode, use a gas blend of 75 percent argon and 25 percent helium. Because helium is a hotter gas, its use allows your torch to be more efficient. Using just argon would require higher amperage. If possible, buy the gas blend premixed. This helps prevent the inclusion of too much of either gas, because too much helium can cause an unstable arc.
Typically, you want an air flow of 15 to 20 CFH, and the tungsten shouldn’t stick out any farther than 1/4?, providing better control of the weld.
Frequently, there are areas of the cylinder head that can be difficult to reach, such as the valve seats. In these instances, a standard torch won’t provide the reach you need. A low-profile torch allows you to make the weld and get out before the torch burns up. There are also cases when radiant heat can burn the rubber on your torch. You can extend the life of your torch by wrapping it in aluminum foil.
In most cases, use a 40/43 filler material. It has less crack sensitivity over a 53/56 material. Once you’ve made the repair, wrap the head in a thermal blanket. This allows it to cool slowly. If the part cools too quickly, you’ll find separation of the alloys in the weld, which directly affects the final quality and life of the weld.
Procedures for TIG Welding Aluminum
Now that we have talked about the overall procedures of prepping, preheating, and TIG welding of aluminum heads, lets get specific and set up your TIG machine. The procedure outlined below should accommodate welding aluminum heads with TIG machines that produce a minimum of 175-amps.
Preheat – In the event you don’t have an available oven to preheat your heads to 350 degrees F and you don’t want the expense of an oxy/acetelene set with a rose bud, we have an inexpensive alternative. You can invest about $20 at your local Home Depot and purchase an electric paint stripper gun. Place this gun (in the on position) near the area you want to weld and let it preheat your part for approximately 30 minutes.
Check the preheat temperature with a thermal crayon (sometimes called a temp stick). These temp sticks can be found at your local weld supply house and cost about $7 each. I typically carry a 200 degree and 350 degree F temp stick in my toolbox. Although you will probably not reach the 350 degree F goal, it will heat the mass of the aluminum and help the duty cycle of your machine. That is to say that instead of 220 amps to create a weld puddle, you will only need approximately 175 amps.
Machine Settings – Set your machine on AC with high frequency continuous. Some machines automatically set the high frequency.
Square wave balance? Yes, most machines today have square wave balance. This balance action can sometimes be confusing but if you have a setting on your machine, it is well advised to set it towards the penetration instead of the cleaning action to avoid major tungsten erosion.
Tungsten – You will most likely use 3/32? or 1/8? diameter tungsten and it will be dependent on the amount of amperage your machine will produce. If your machine will produce 200 amps or less, you will select the 3/32? diameter. If your machine will produce up to 300 amps then you will select the 1/8? diameter tungsten.
The type of tungsten will also vary dependent on the type of machine are using (Transformer vs. Inverter). The transformer type machine has great success and durability when using .8% zirconiated tungsten while the inverter type machine has best success with the 2% thoriated tungsten. Yes, the pure or green tungsten is out of this particular application. While the pure or (green) balls up nicely, it doesn’t have a lot of toughness when welding aluminum heads.
Shielding Gas – Argon will be the preferred shielding gas as it not only shields the molten welding puddle from contamination but also serves as a conducter to transfer the arc. And, by the way, it is much less expensive than helium. If your TIG machine just doesn’t have the amperage to do the job, then we will recommend a gas mix. The mix is 75% Argon/25% Helium, and we highly recommend the bottle to be premixed by a professional to avoid gas separation.
When using helium, it is important to recognize the positive features. Helium will burn hotter, thus allowing you to weld thicker aluminum faster. Helium is not a conductor of electricity but is instead an insulator. Once you increase the mix of helium beyond 25%, there is a high risk that your arc will destabilize and your machine will show signs of rectification. The audible sound that you will hear is an erratic or unsmooth arc.
Filler Materials – When welding aluminum heads, I would recommend ER4043 filler with 1/16? or 3/32? dia. (welders choice). Even though the ER5356 filler may show better mechanical properties, the 4043 is more forgiving and less crack sensistive. This feature trumps mechanical properties, corrosion resistance and anodized color match (only when weld repairing aluminum heads).
Helpful tips:
1) Use gas lens type nozzles whenever possible.
2) Ensure that your torch angle never exceeds 30 degree.
3) Arc initiation – dwell several seconds before adding filler material. The aluminum oxide melts at 3,700 degrees F. while the parent material melts at approximately 1,200 degrees F.
4) Always add filler but ensure that you can see a liquid puddle before dabbing. Dab filler at the edge of the puddle and not in the center. Note: let the liquid puddle absorb your dabs.
5) Terminate all welds slowly and add additional filler to avoid crater cracks.
6) Tungsten stick-out – should be minium1/4?-3/8?.
7) Argon flow – 15-20CFH.
8) Tungsten contamination – once you have contaminated your tungsten, you will need to stop immediately and remove the contaminated “crystals” by breaking your tungsten in the contaminated area. Re-grind to a point. The transformer machines will tend to create a small ball when you start welding. The inverter machines perform better with a point.
Adding It All Up
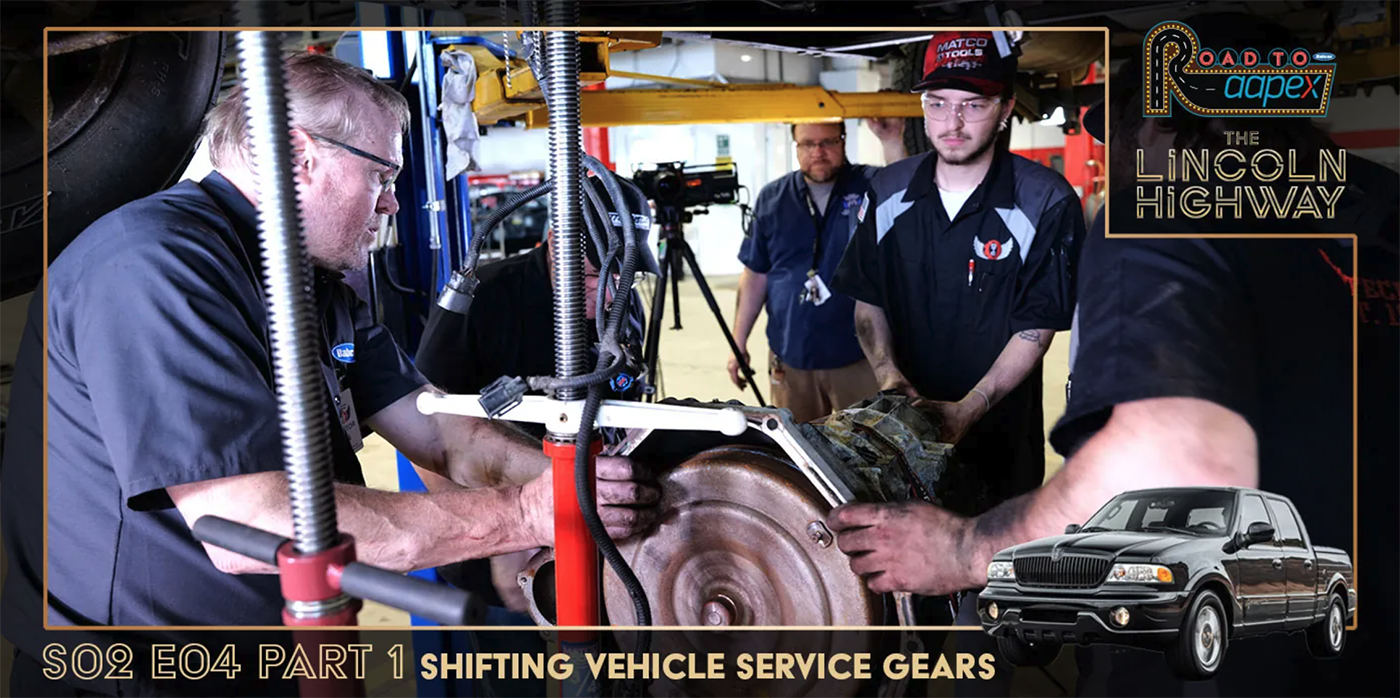
Bringing your engine head weld repairs in house gives your shop the opportunity for an additional profit center and adding value to your customers. With the right investment in manpower and equipment, you can not only increase your shop’s productivity but positively add to your bottom line.
Wyatt Swaim is a long-time TIG welding consultant to The Lincoln Electric Company. He has more than 30 years of experience and is known throughout the industry as “Mister TIG.”