Here’s a list of common mistakes we have determined to cause camshaft failure:
1. Lobe Wear
Use only the manufacturer recommended lubricant, which is generally included with the cam. This lubricant must be applied to every cam lobe surface, and to the bottom of every lifter face of all flat tappet cams. Roller tappet cams only require engine oil to be applied to the lifters and cam. Also, apply the lubricant to the distributor drive gears on the cam and distributor.
2. Incorrect Break-In Procedure
After the correct break-in lubricant is applied to the cam and lifters, fill the crankcase with fresh, non-synthetic oil. Prime the oil system with a priming tool and an electric drill so that all oil passages and the oil filter are full. Preset the ignition timing and prime the fuel system. Fill the cooling system. Start the engine. The engine should start quickly and run between 1,500 and 3,000 rpm.
If the engine will not start, don’t continue to crank for long periods as this can shorten the life of the cam. Check for the cause of the problem and correct it. The engine should start quickly and be run between 1,500 to 3,000 rpm. Vary the rpm up and down in this rpm range for 20 minutes. During break-in, verify that the pushrods are rotating, as this will show that the lifters are also rotating. If the lifters don’t rotate, the cam lobe and lifter will fail. Sometimes you may need to help spin the pushrod to start the rotation process.
3. Always Use New Lifters With A Flat Tappet Cam
If you are removing a good used flat tappet cam and lifters and are planning to use them again in the same (or another) engine, you must keep the lifters in the order they were removed from the cam they were on. Lifters "mate" to their specific lobes and can’t be changed. If the used lifters get mixed up, discard them, install a new set of lifters, and break in the cam in again. You can use new lifters on a good used cam, but never use used lifters on a new cam.
4. Incorrect Valve Spring Pressure
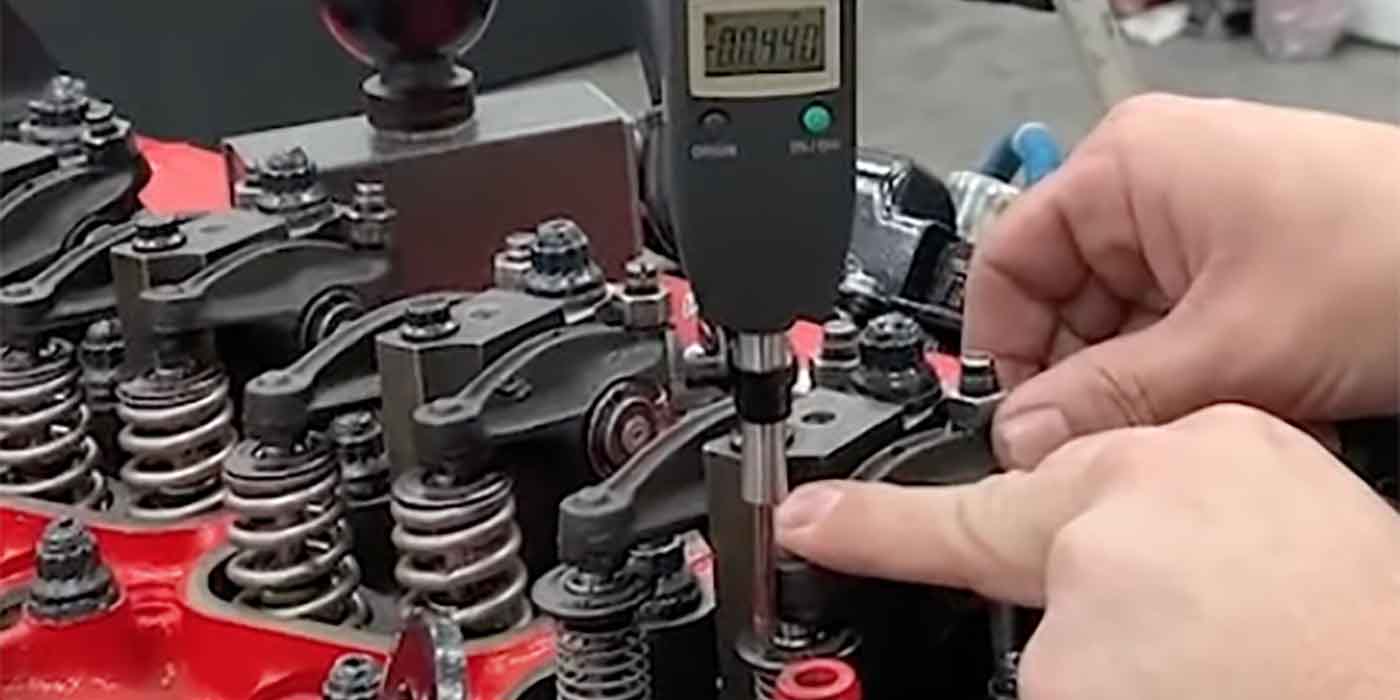
Recommended valve spring seat pressure for most street-type flat tappet cams is between 85-105 lbs. More radical street and race applications may use valve spring seat pressure between 105-130 lbs. For street hydraulic roller cams, seat pressure should range from 105-140 lbs. Mechanical street roller cams should not exceed 150 lbs. Race roller cams with high valve lift and spring pressure are not recommended for street use, because of a lack of oil splash onto the cam at low speed running. Springs must be assembled to the manufacturer’s recommended height. Never install springs without verifying the correct assembled height and pressures.
NOTE: Increased spring pressure from a spring change and/or increased valve lift can hinder lifter rotation during cam break-in. Decreasing spring pressure during break-in can be accomplished by using a shorter ratio rocker arm to lower the valve lift and/or removing the inner spring if dual springs are being used.
5. Mechanical Interference
A. Spring coil bind. This is when all of the coils of the spring contact each other before the valve fully lifts. Valve springs should be capable of traveling at least .060" more than the valve lift of the cam from its assembled height.
B. Retainer to seal/valve guide boss interference. At least .060" clearance is required between the bottom of the retainer and the seal or the top of the valve guide when the valve is at full lift.
C. Valve to piston interference. This occurs when a change in cam specs (lift, duration, or centerline) is enough to cause the valve and piston to contact. Also, increased valve size or surfacing the block and/or cylinder head may cause this problem. Minimum recommended clearances are .080" intake and .100" exhaust.
D. Rocker arm slot to stud interference. As you increase valve lift, the rocker arm swings farther on its axis. Therefore, the slot in the bottom of the rocker arm may run out of travel and the end of the slot will contact the stud and stop movement. The slot in the rocker arm must be able to travel at least .060" more than the full lift of the valve.
6. Distributor Gear Wear
The main cause for distributor gear wear is the use of high volume or high pressure oil pumps. If these types of oil pumps are used, reduced cam and distributor gear life will result. However, you can increase the gear life by adding more oil flow over the gear area to help cool off the point of contact.
7. Camshaft End Play
Some engines use a thrust plate to control the forward and backward movement of the camshaft in the block. The recommended amount of end play on these types of engines is between .003" to .008". Many factors can cause end play to change. When installing a new cam, timing gears, or thrust plates, be sure to verify end play after the cam bolts are torqued to factory specs. If the end play is excessive, it will cause the cam to move back in the block, causing the side of the lobe to contact an adjacent lifter.
8. Broken Dowel Pins Or Keys
The dowel pin or Woodruff key does not drive the cam; the torque of the timing gear bolts against the front of the cam does. Reasons for the dowel pin or key failing are: Bolts not being torqued to correct specs, incorrect bolts of a lower grade stretching and losing torque, not using the correct hardened washer which may distort and cause torque of the bolt to change, LocTite not being used, or some interference with the cam, lifters, or connecting rods causing the cam to stop rotation.
9. Broken Cam
A broken camshaft is usually caused by a connecting rod or other rotating part coming loose and striking it. Sometimes the cam will break after a short time of use because of a crack or fracture in the cam due to rough handling during shipping or improper handling prior to installation. 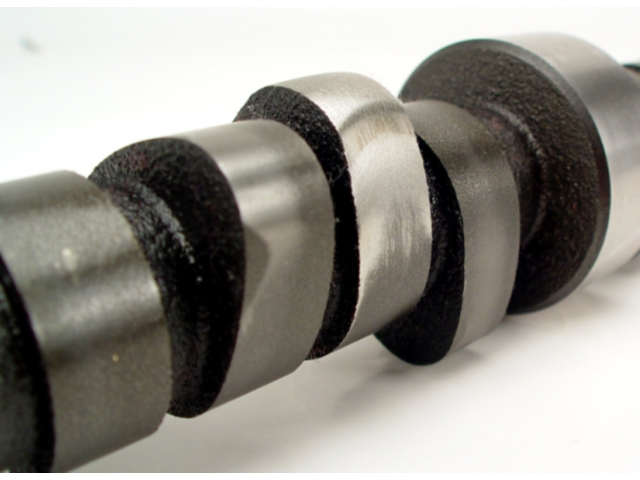
– Tech Tip courtesy of Summit Racing Equipment

