Models: 1982-2005 Cars and Light Duty Trucks (Including Saturn) with 2.8L, 3.1L, 3.4L, 3.5L Engine.
Note: This bulletin does not apply to 2004-2005 Saturn VUE models with 3.5L DOHC V6 Engine
Correction
A new design crankshaft rear main oil seal has been released. This seal incorporates features that improve high mileage durability. Replace the crankshaft rear main oil seal with the new design rear main oil seal, PIN 12592195 (in Canada, PIN 31022784) using the following service procedures.
Tools Required
J 34686 Rear Main Seal Installer This tool has a unique spin handle design to allow the technician to easily install the rear main seal squarely and to the correct depth.
Removal Procedure
1. Remove the transmission. Refer to the appropriate Service Manual.
2. Remove the engine flywheel. Refer to Engine Flywheel Replacement in the appropriate Service Manual.
Important: Do not nick the crankshaft sealing surface when removing the seal.
3. Insert a flat-bladed or similar tool through the dust lip at an angle.
4. Pry the crankshaft rear oil seal out by moving the handle of the tool towards the end of the crankshaft.
5. Repeat, as necessary, around the crankshaft rear oil seal until the seal is removed.
Installation Procedure
Do not apply or use any oil lubrication on the crankshaft rear oil seal or the seal installer. Do not touch the sealing lip of the oil seal once the protective sleeve is removed. Doing so will damage or deform the seai.
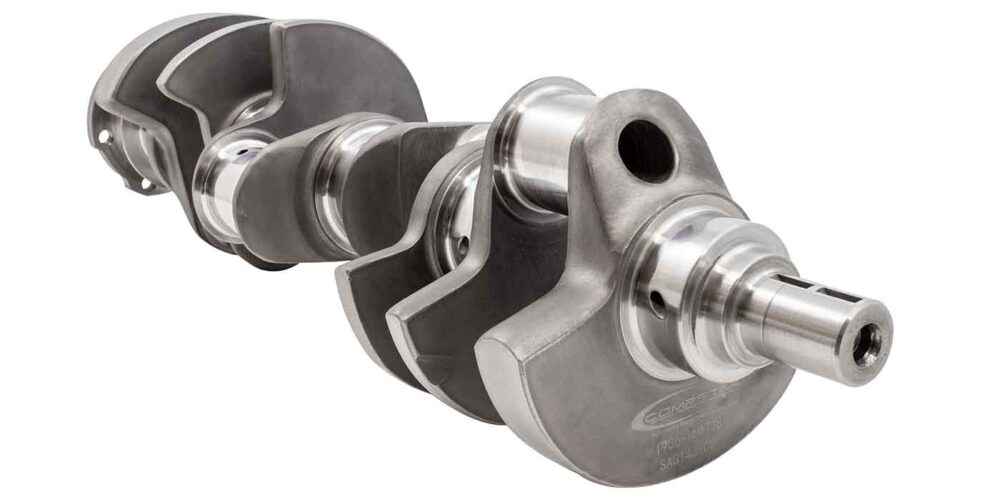
Clean the crankshaft sealina surface with a clean, lint free towel. Inspect the lead-in edge of the crankshaft for burrs or sharp edges that could damage the rear main oil seal. Remove any burrs or sharp edges with crocus cloth or equivalent before proceeding.
Note the direction of the rear oil seal. The new design seai is a reverse style as opposed to what has been used in the past. "THIS SIDE OUT" has been stamped into the seal, as shown in the graphic.
1. Carefully remove the protection sleeve from the NEW crankshaft rear oil seal.
2. Install the crankshaft rear oil seal onto the J 34686 – Rear Main Seal installer by sliding the crankshaft rear oil seai over the mandrel using a twisting motion until the back of the crankshaft rear oil seal bottoms squarely against the collar of the tool.
3. Perform the following steps in order to install the crankshaft rear oil seai:
3.1. Align the dowel pin of the. J 34686 with the dowel pin in the crankshaft.
3.2. Attach the J 34686 to the crankshaft by hand, or tighten the attaching screws.
Tighten: Tighten the screws to 45 in.lbs. (5 N-m).
3.3. Turn the T-handle of the J 34686 in order to engage and allow the collar to push the seal into the bore. Turn the
handle until the collar is tight against the engine block. Ensure that the seai is seated properly.
3.4. Loosen the T-handle until the handle comes to a stop.
3.5. Remove the attaching screws.
4. Install the engine flywheel. Refer to Engine Flywheel Replacement or the appropriate Service Manual.
5. Install the transmission. Refer to Transmission Replacement or the appropriate Service Manual.
6. Inspect for proper fluid levels.
7. Inspect for leaks.
Some or all of this information was provided by the Automotive
Parts Remanufacturers Association (APRA). For more information on
technical bulletins available through APRA call 703-968-2772 or visit www.AutoBulletins.com.


