Editor’s Note: This coming October will mark the 5th
anniversary for the Shop Solutions column, and to help Engine Pro celebrate, we’re putting plans into
place to have a “Top Five from the Past Five” contest where you get
to choose your favorite Shop Solution from the past five years. Send your favorite Shop Solution to [email protected] to be included in an upcoming column. Stay tuned for more details.
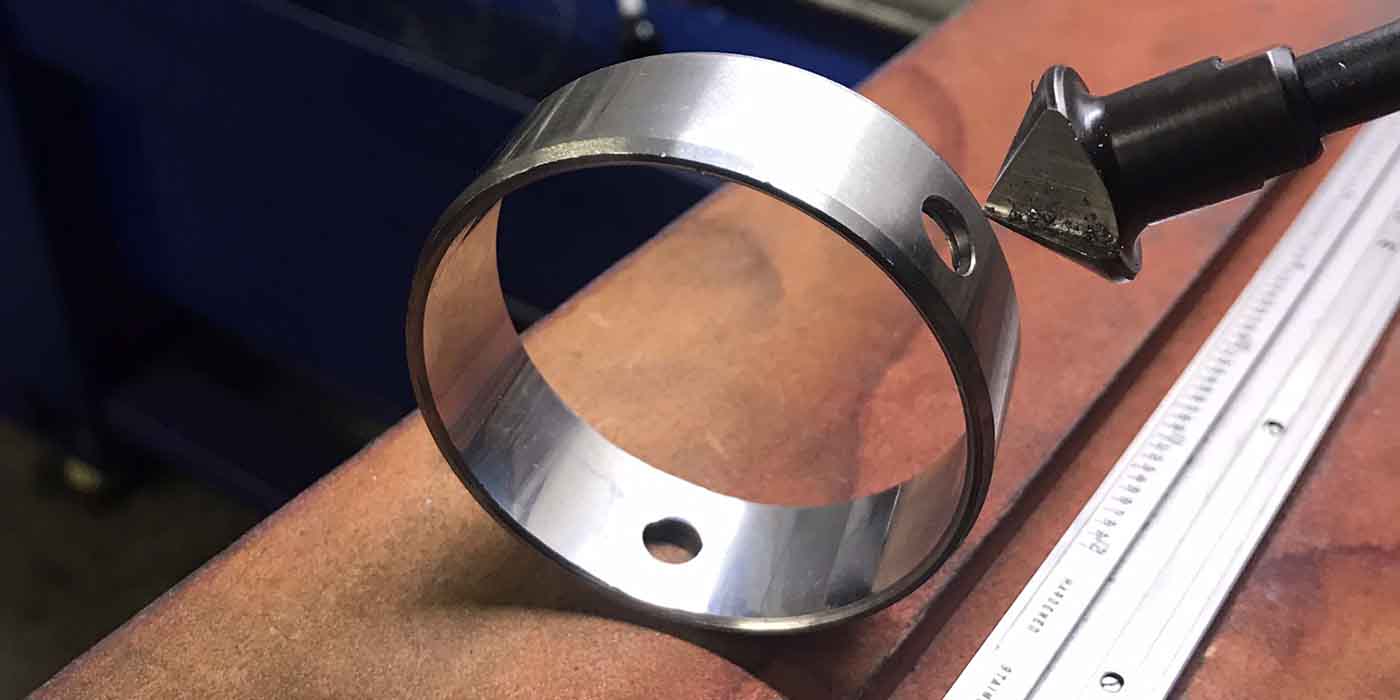
Keeping Micrometers And Calipers Accurate
To maintain accuracy, it is a good, and inexpensive, idea to buy a set of gauge blocks. There are many choices, and a good set that includes 81 pieces typically costs around $200.
When used properly, clean and wrung together, they provide incredible accuracy, usually to +/- 50 millionths. For mics, set up the gauge blocks to the size that you use the most. When checking the mic to the gauge, it may show wear on the size you use most. For example, a 2?-3? mic checked with a 2.000? and 3.000? block will probably look good for size. But when checked in the most used areas it may show some wear on the spindle threads to thimble.
Gauge blocks are also used for checking height gauges or to compare the gauge block setup size on a surface plate with an indicator to measure the size of parts. Use the indicator, zero it on the part you want to accurately measure and compare it to a stack of gauge blocks. A 12?x18? surface plate costs around $100. A little imagination will open up a whole new world of measuring, and it’s fun, too.
By the way, the best way to clean the faces is to use a piece of white paper and gently rub it on the anvil and spindle faces. This will quickly show you what was on there that may have affected accuracy.
Ron Derry
Custom Balancing and Blueprinting
Rocky View County, Alberta,Canada
Rocker Arm Clearance Solution
Sometimes it’s necessary to grind or machine the undersides of aftermarket roller rocker arms to allow clearance for retainers. Here is the procedure I use to hold the rocker arm solid when making the modification: Clamp a piece of redi-rod (threaded rod) in a vice. Slide the rocker arm upside down over the redi-rod. Use a nut to secure the rocker arm on the redi-rod. This holds the rocker arm steady so you can modify it as needed.
Dan Daley
Cope Brothers Machine,
Tacoma, WA
 Double Duty For A Toilet Bowl Brush
Our shop mostly builds V8s so when we work on small engines with bores under 3.000?, the brush we use when final washing the V8s is too large. I use a toilet bowl brush which fits the cylinders much better than the V8 brush and does a super job cleaning. It is a bonus because I already own one, so there’s no extra expense for a small cylinder cleaning brush.
Norm Johns
Norms Auto Machine
Petaluma, CA
The Helpful Hammer
Don’t overlook the convenience of everyday tools in you shop. Ordinary hammers can be some of your best friends! From loosening/removing stuck valve guides to dealing with other stubborn parts, a good hammer can be one of your most valuable tools! I use a variety of hammers at my place, each with its own purpose.
A medium weight fiberglass handle ball peen hammer works great on anything you want to bang pretty hard including a stuck valve guide or to loosen a pesky bolt/nut. I use a molded heavy rubber hammer mallet for gently loosening/removing/installing more sensitive components including rod/main caps, timing gears/sprockets, etc. It is also helpful to have a lightweight plastic head hammer for light tapping when removing/installing delicate components like valve train components or other sensitive parts.
I’ve also found that a 5 pound sledge makes a perfect door stop when cracking open the shop door on a hot summer afternoon!
Lamar Whitman
Engine Pro Technical Committee
What You Can’t See Can Hurt Your Camshaft
A human hair is about 80 microns thick, and the smallest particle you can see is about 40 microns. That seems pretty small. Can something that small really cause engine problems? “Clearance size” particles do the most engine damage. They are small enough to get into the space just ahead of the cam lobe and lifter contact area. Small particles can get between the roller and the axle on a roller lifter. Even worse, hard particles can score the bore of the plunger in hydraulic lifters and this can cause them to bleed down. This can also lead to lifter rattle on start up. In any case, cams and followers (both flat tappet and roller) need to be properly cleaned and lubricated prior to installation and break-in.
Here are a few practical steps you can take during the assembly and initial break-in of an engine to rid yourself of these unseen assassins:
1) A foaming degreaser is recommended to lift the greasy film from the part. This film seals out moisture and keeps it from reaching the surface of the parts, but it also traps fine particulate. You don’t want an abrasive slurry working on your flat tappet lifters, so make sure the metal surfaces have been degreased before you apply break-in lubricant.
2) Break-in oil or assembly lube establishes an anti-wear film in your engine, the foundation for lasting protection. After cleaning the camshaft, dip it in the break-in oil. Next, clean the lifters and dip them in break-in oil. For hydraulic lifters, allow them to soak for several hours on their sides with the oil hole pointed up. For flat tappet lifters, apply engine assembly grease to the foot of the lifters prior to installation. It is better to get an extra coat of primer than to leave a few spots thin.
3) A production car oil filter has a finer micron rating than a racing filter. For example, a WIX 51061 small block Chevy stock replacement filter has a nominal micron rating of 21 with a GPM flow rate of 11. A WIX 51061R racing filter has a nominal micron rating of 61 and a flow rate of 28 GPM. WIX even offers a specific break-in filter for dry sump systems.
4) It is critical to have a supply of oil to the cam and lifters at initial start up, so the oil system must be primed to avoid a dry start.
5) Do not idle the engine. Upon start up, bring the engine up to 2,500 rpm. Vary the speed of the engine by a few hundred rpms for 20 to 30 minutes.
6) After the initial break-in, change the oil filter. Doing this will remove all the larger particles that could cause problems. For a racing engine, you now need a high flow rate filter when you start making dyno runs or go to the race track.
7) Change the oil. Most of the wear metals created in an engine’s life will occur during the first one hour of operation. While everyone hates to throw away something that looks perfectly good, it is cheap insurance to change the oil after initial break-in.
Editors Note: Preferred priming methods were discussed in last month’s camshaft break-in article.
Technical Department
Joe Gibbs Driven Racing Oil
Huntersville, NC
Engine Builder Shop Solutions is sponsored by Engine Pro,
a group of 9 engine parts specialist WDs in the U.S., and one in Australia, operating 35 branch
locations serving engine builders/rebuilders across the U.S and Australia. Shop
Solutions published in each issue of Engine Builder Magazine are a free one year membership to the Engine Rebuilders Council and a prepaid $100 Visa gift card. Winners will be chosen by
the staff of Engine Builder Magazine and the Engine Pro Technical
Committee.
To submit a Shop Solution simply mail your entry
to Engine Builder Magazine, Shop Solutions, 3550 Embassy Parkway,
Akron, OH 44333; or email to Shop [email protected]. Shop
Solutions may also be emailed to [email protected].
You must include
your name, shop name, shop address and shop telephone number. Submitted
Shop Solutions not published will be kept on file and reevaluated for
publication with each month’s new entries. If you include your email
address you will be emailed notification of publication if your Shop
Solution is chosen.