Filler Up
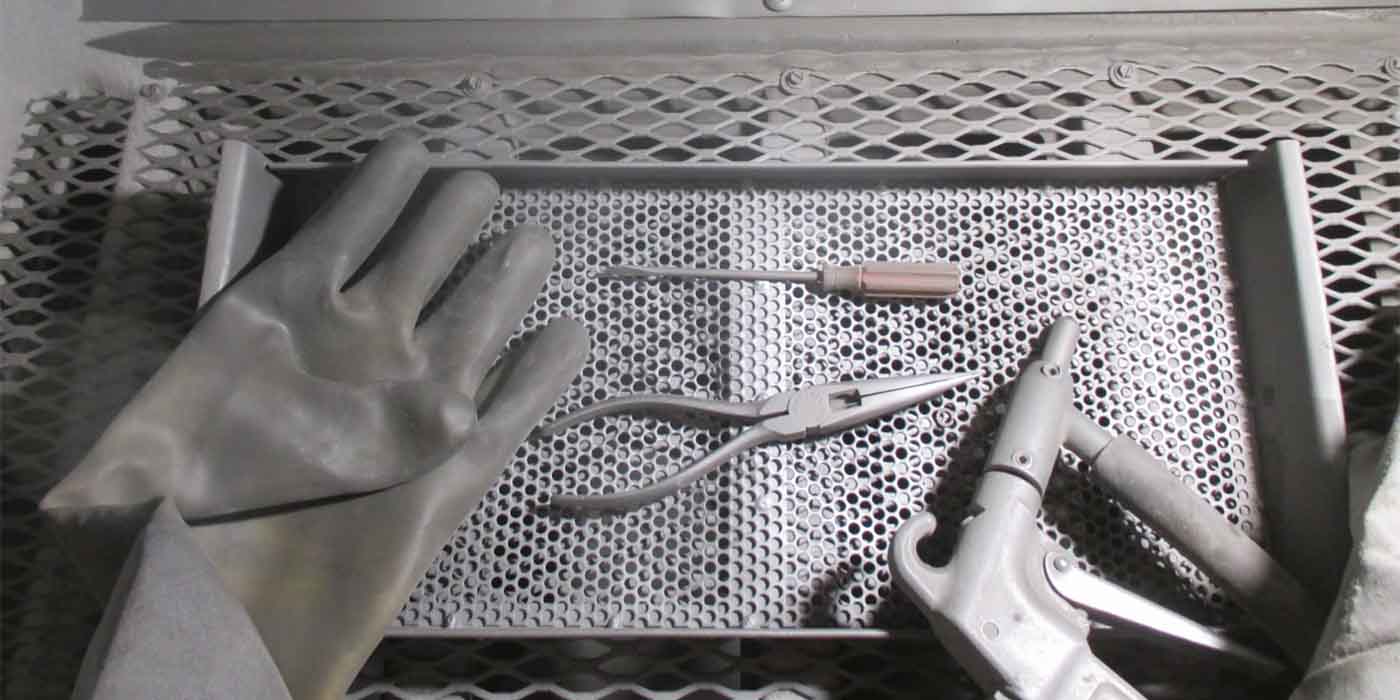
When I need to hone a harmonic balancer or anything else with a key slot, I use a common automotive body filler called Bondo, to fill it up and rough it close. The stones don’t catch on the edge of the slot, it does not clog the stones and it works quite well.
Randy Torvinen
Torvinen’s Machine
Menahga, MN
Sixteen Installation Tips
For Cylinder Head Gaskets
1. The engine should cool completely before disassembly
Heat expands metal, making head and manifold bolts more difficult to remove and more prone to breakage. Cylinder heads, especially aluminum heads may warp if removed while they are still hot.
2. Remove head bolts in reverse torque sequence
Follow the torque sequence in the gasket manufacturer’s Torque Tables or OEM manual in reverse order to loosen each bolt. Then repeat the process again to remove the bolts. This will minimize the chance of warping.
3. Clean head surface and block deck of all foreign material to ensure a good seal
Leftover debris can damage the new gasket or castings. Use a non-metallic scraper on aluminum surfaces and use a metal scraper and wire brush on cast iron. Conditioning discs are not advised as some contain aluminum oxide, a very hard and aggressive abrasive. Cover oil and coolant ports and clean surfaces with a solvent.
4. Inspect the old head gasket for wear and damage
Clues to potential engine problems may be found. A cracked armor may indicate abnormal combustion, detonation or pre-ignition. Even a high-quality gasket will fail again if abnormal conditions are not repaired.
5. Check for warping / distortion
Placing a straightedge lengthwise on the head surface or block deck, slide a feeler gauge between the head and the straightedge. Good rule of thumb: 3-cylinder applications should not be more than .003˝, 4-cylinder .004˝ and 6-cylinder .006˝ out-of-flat combined head and block. Widthwise, the head should not be more than .002˝ out.
6. Resurface the head or block if it exceeds the specifications mentioned in step 5.
Remove just enough metal to return the surface to flatness. Excessive resurfacing can result in possible valve/piston interference and in V-type engines, poor alignment of manifold bolt holes and ports.
7. Inspect all engine parts for any irregularities that may cause leaks
Irregularities such as gouges, scratches or cracks may cause leaks. Replace cracked or badly warped parts.
8. Never reuse head gaskets. A used gasket is one of the most expensive gaskets you can install.
9. Check head gasket for proper fit and match before installing
Check for fit on the head, block and against the old gasket. Combustion openings should be slightly larger than the engine bore. The gasket should accommodate a reasonable chamfer of uniform size. However, the combination of cylinder overbore and chamfer cannot exceed the cylinder head gasket combustion opening.
The gasket coolant holes may be smaller or shaped differently from the coolant passages in the head or block. There may also be openings in the engine head or block that are not in the gasket. These are casting holes.
10. Head and block surface finishes should be checked with a surface comparator
Too smooth, the gasket cannot grip the surface for a durable combustion seal. Too rough, the gasket will not conform to the surface causing combustion and fluid leaks. A micro inch finish of 60 to 100 RA is preferred for cast iron and 50 to 60 RA for aluminum. Some MLS gasket designs require a surface finish -30 RA max.
11. Inspect, clean and prepare all bolt holes
If the block has been resurfaced, check to see if the threads run up to the surface. Chamfer and tap the hole so the threads will not be drawn above the surface when the bolts are tightened. Use a thread chaser to clean the threads to the bottom of the hole and remove all loose material from the bottom of blind holes or the bolt may bottom out and reduce clamping force. The slightest irregularity can lead to gasket failure.
12. Clean and prepare threads on bolts
Wire brush threads on all assembly bolts and check for damage. Dry, dirty threads in poor condition reduce the bolt’s clamping force by as much as 50%. False torque readings and possible gasket failure may occur. Use spray white lithium grease on the underside of all bolt heads and washers and on the threads of all bolts that go into blind holes. Coat head bolt threads with a non-hardening sealer if they enter the coolant passages to prevent seepage. Replace bolts per manufacturer’s instruction.
13. Check for correct bolt length and blind-hole depth
To check, put a pencil in the block hole. Mark the hole’s depth on the pencil. Compare this to the length of the bolt threads that go into that hole. It will bottom out when in the bolt hole if too long. Place a hardened steel washer under the head of the bolt before assembly to correct this problem.
14. Follow the proper torque sequence and torque to the specified torque in foot-pounds
If using torque-to-yield bolts, turn the head bolts the additional amount shown in the torque tables, still following the torque sequence. Use a torque-to-angle indicator to measure the additional turn used to stretch the bolts.
15. Run the engine after complete reassembly and check for fluid and combustion leaks.
16. Re-torqueing the cylinder head gasket
Some cylinder head gasket designs need to be re-torqued. Re-torqueing can be done while the engine is still warm if the engine is cast iron. If the head or block is aluminum, allow the engine to cool to room temperature. Repeat step 14.
Engine Pro Tech Committee with thanks to Federal-Mogul Motorparts.

