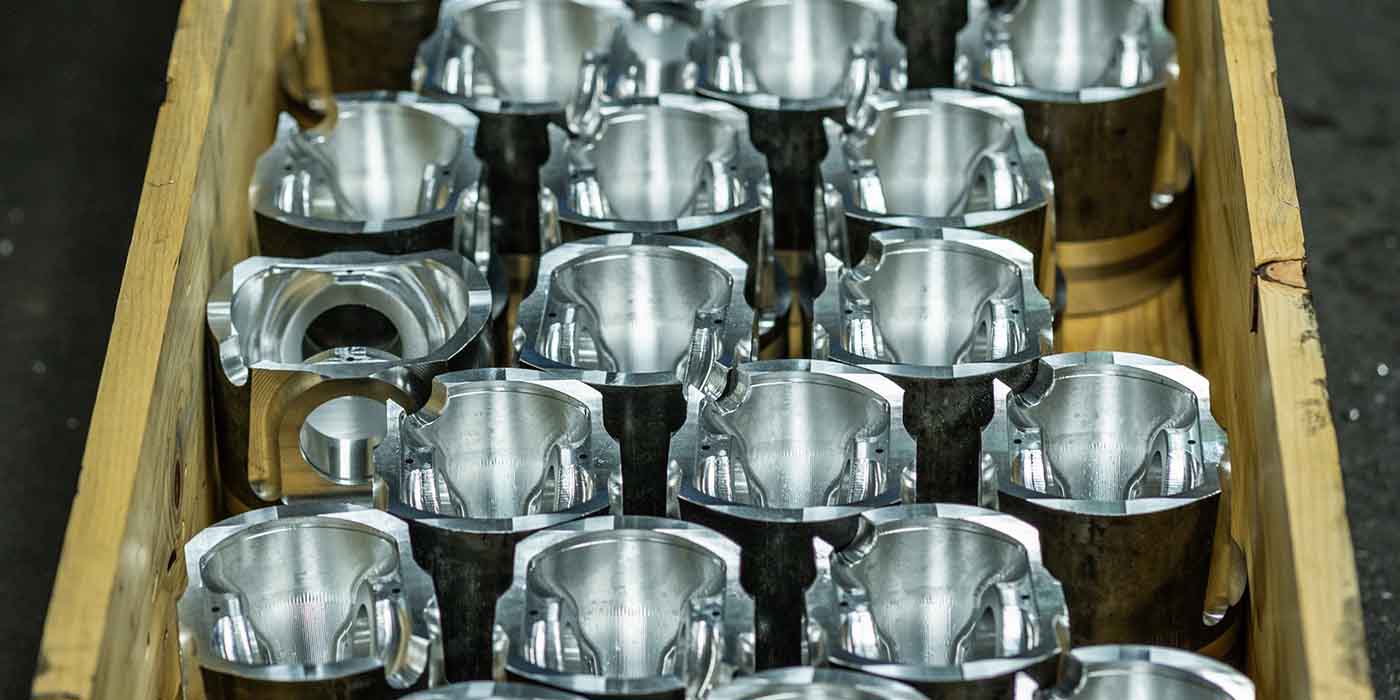
Today’s shop owner is always looking for the edge, the next big business opportunity – and you may not even realize that your flywheel grinder can be one of the most profitable machines in your business.
With basic skills, training, just about anyone in the shop can grind a flywheel properly. It doesn’t require a skilled machinist, it’s fast and the machines don’t take up much floor space (approximately 48” x 48”). Flywheel grinders are affordable, too. In just a short period of time, your customers will actually buy the machine for you through the labor dollars it creates.
The setup is simple and the job itself is very fast. In most cases you should be able to average over $100 per hour if you can keep the work coming in from your customers.
Flywheel grinders have been around for a long, long time and most flywheel grinders used here in the U.S. were made here. However, machine tool companies from Italy and other faraway places designed and manufactured flywheel grinders too.
They all have similar features, including a rotating table, coolant pump, a 5 to 10 horsepower motor – probably the most common feature that they all incorporated is the 1.250” arbor for mounting the wheel. That’s where the big question comes in: What grinding wheel should you be using?
Let’s start first with the standard vitrified or resin grinding wheel. These wheels come in a variety of sizes and each are designed to grind a certain material. So let’s break it down. What goes into a grinding wheel?
Here are the basics: Abrasive, Grit, Grade, Structure and Bond.
Abrasive is the material from which the wheel is made. This is what does the work. Most common abrasives include, Aluminum Oxide, Silicon-Carbide, Zirconia Aluminum Oxide, Cubic Boron Nitride (CBN) and Synthetic Diamond. Each has its characteristics and applications.
Grit is the size of the abrasive grain in the wheel. As you probably know, the lower the number, the coarser the grit. Coarse grits are used for soft, pliable, stringy materials when you want fast material removal, have a large contact area and high pressure. Finer grits are used to produce smooth finishes and when you’re grinding hard, brittle materials and have a small contact area.
• Coarse grits are 8, 10, 12, 14, 16, 20 and 24
• Normal grits are 30, 36, 46, 54, 60 and 70
• Fine grits are 80, 90, 100, 120, 150, 180 and 220
• Very Fine grits are 240, 280 and higher
Grade refers to the strength of the bond that holds the abrasive grains together. This can range from very soft to very hard and is represented A to Z in grinding wheel specs.
Softer grade wheels cut faster with less chatter. They require lower amps or power to drive them, have shorter wheel life and produce a rougher finish. Harder grades cut slower with more chatter. They produce a finer finish and have a longer life, but require more power/amps to operate.
Structure denotes the spacing of the abrasive grains in the wheel. The lower the structure number, the denser the wheel. Structure numbers range from 0 to 14.
The final component we’ll look at is the bond. As the name implies, this the material that holds the abrasive grains together in the wheel. There are several common types of bond – Vitrified, Resinoid, Epoxy and Rubber. Each of these bonds has its own characteristics and applications.
So, now that we’ve covered the basics of how the wheel is made, it’s time to decide which stone to use for which flywheel.
Match the Stone to the Material
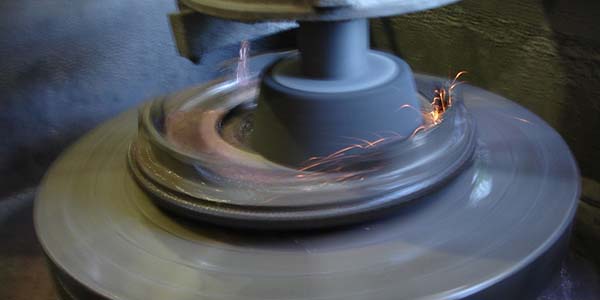
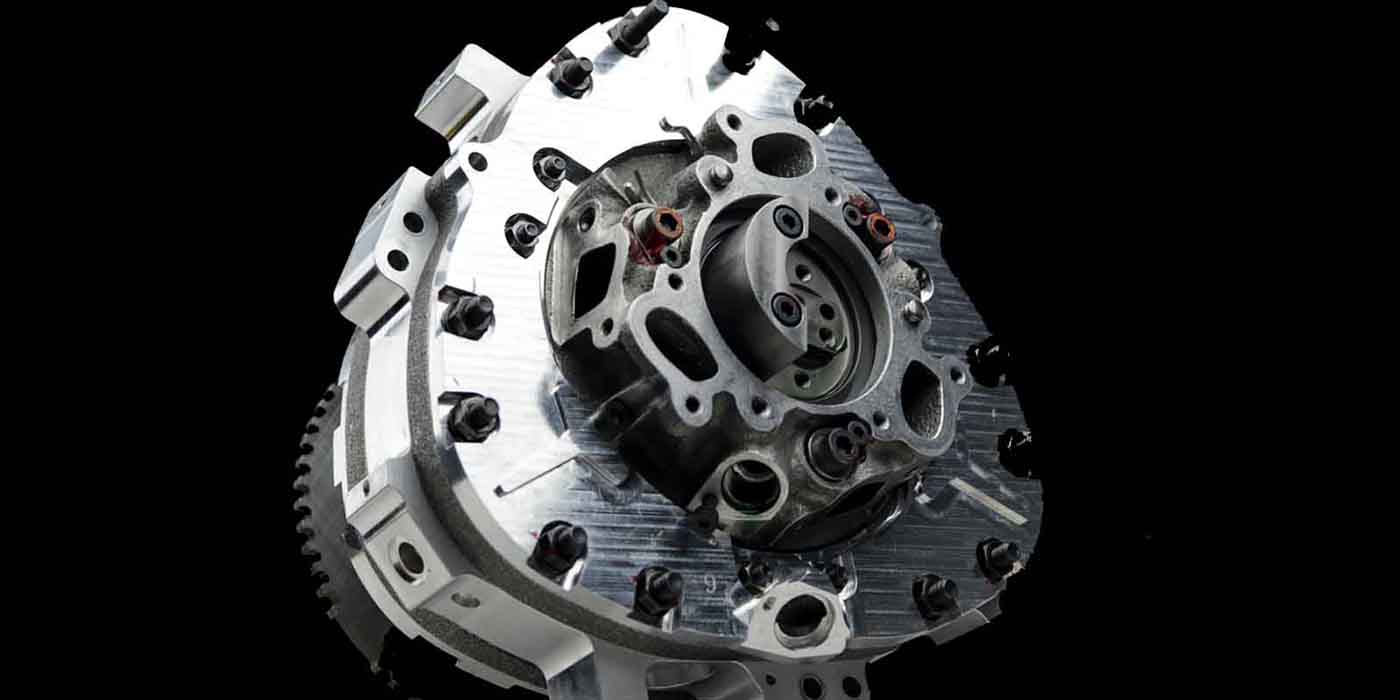
Most American automotive flywheels are cast iron. Most truck, bus and agricultural flywheels are cast steel. High-performance and a few import flywheels are billet steel. To determine what material your flywheel is made of (hardness), “spark test” a flywheel before grinding it. Using whatever grinding stone is on the machine, briefly touch it to the flywheel and watch the sparks.
• Cast Iron (soft) flywheels make deep orange sparks that travel only a short distance before burning out.
• Cast Steel (medium) flywheels make light orange to golden sparks that travel farther before burning out.
• Billet Steel (very hard) flywheels make bright yellow-white sparks that travel very far before burning out.
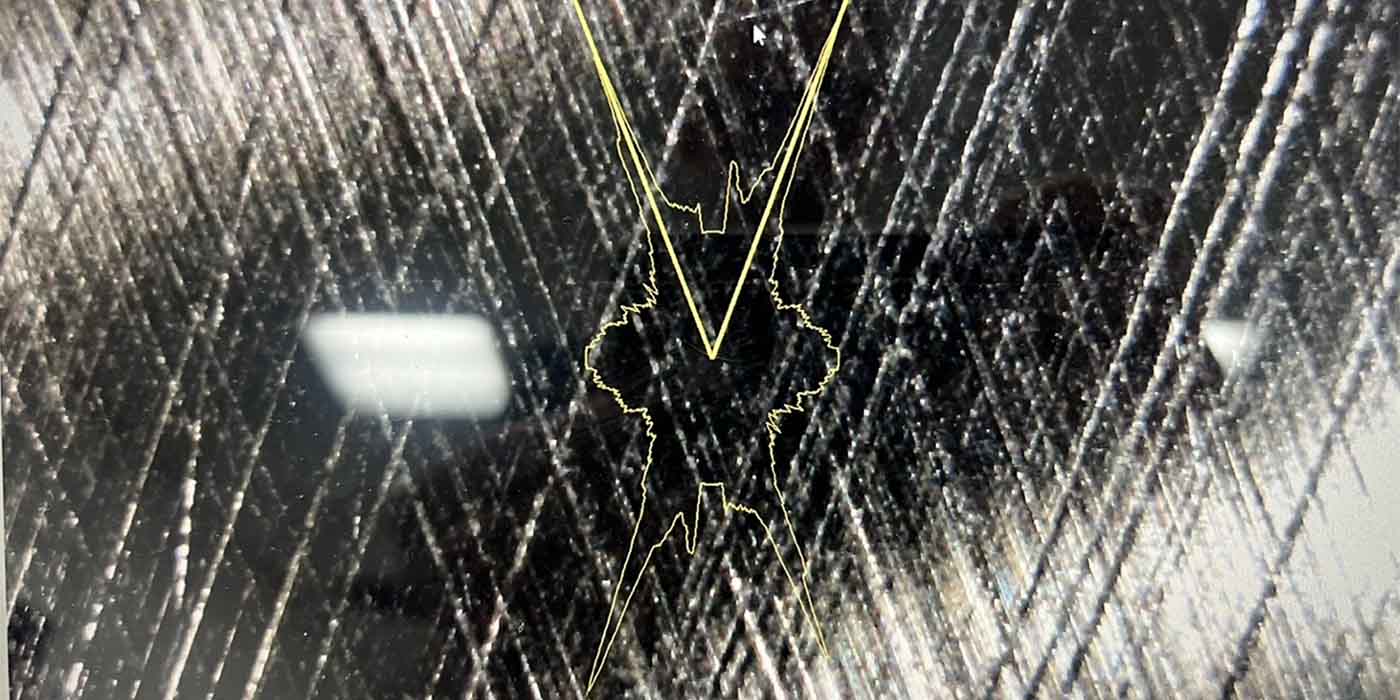
Another way to tell if you have a cast iron or steel flywheel is to look at the back of the flywheel. A cast iron flywheel will have a texture very similar to a small block Chevy block. The back of a steel flywheel will be machined and will look like an old vinyl record with grooved machining marks.
Dressing the Wheel
After you have selected the correct flywheel stone, it is important to apply a proper dress to the grinding wheel. Some flywheel grinders are supplied with a star-type dresser and others have a diamond-type dresser. Before dressing, always make sure the stone is properly mounted and wear eye protection. If you have a star-type dresser, bring it in close to the stone, just below the surface. Turn on the machine and slowly make contact by bringing the star up. Then traverse the star under the stone at a pace similar to the method used for dressing a valve refacer wheel. If you traverse too slowly, you will close the grains of the stone which will cause premature loading. A fast traverse is recommended to open the grains and allow the stone to be as free-cutting as possible. This will also reduce the time it takes to grind the flywheel.
Machines equipped with a diamond-type dresser are even more finicky. Again, it’s important not to “crash” the diamond into the stone. Traverse at a fast pace to open the grains and allow the stone to be as free-cutting as possible.
You can affect the way a stone grinds different materials by simply changing the amount of pressure you exert during the grinding process. If the stone is too soft, reduce the grinding pressure. If your stone is too hard increase the grinding pressure.
Mix Your Coolant
Coolant does more than keep the workpiece cool during the grinding operation. It also carries away the grit and material from the surface. Proper coolant mixing ratios are critical! Too much coolant will cause the wheel to load up. Too little coolant will allow your flywheel to get hot and might possibly start a rusting process in the reservoir of the machine.
Always follow the coolant manufacturers recommended mixing ratios for the ultimate performance of your coolant. It’s always a good idea to check your coolant concentration levels with a refractometer to ensure the proper ratio is there. Water evaporates, so you will have to add more water to your coolant from time to time. Keep the coolant clean. Use a sludge bag and remove the sludge build-up from the sump every few days.
Use a deburring stick to remove any rust or burrs from the surface of the flywheel grinder table. (If the flywheel does not sit parallel on the table, it will be ground unevenly.) Also, clean the swarf from the inside of the grinding stone after each job. It is always a good idea to periodically change the complete reservoir and start fresh. How often depends on how much flywheel grinding your shop is doing.
Feed Aggressively
Flywheel grinding is a job that really doesn’t take that much time. If you aggressively attack the flywheel with steady down-feed, the typical cast iron flywheel will be ground in about 15 minutes.
Don’t just dial-in a cut and walk away from the machine. This causes heat and premature stone loading. Stay with the machine and feed about .001” per revolution of the flywheel. This keeps the stone free-cutting and gets the job done. A steady, constant down-feed actually works the stone (meaning the stone “breakdown”) as designed. This unloads the material removed from the flywheel, along with fractured stone grain. If you down-feed properly, you won’t have to dress the stone during the grinding process.
Cubic Boron Nitrate
Now let’s talk about CBN (Cubic Boron Nitrate) flywheel grinding wheels. They come in a variety of diameters: 2”, 3”, 3 ¾”, 5” and 6”. The 6” wheel seems to be the most popular but all the other sizes do have a place on your tool board as well. CBN provides good abrasion resistance, good capacity to maintain their shape, longer service life and they produce an extremely good surface finish. Just like a regular abrasive wheel, the CBN must breakdown or fracture the crystals in a controlled manner to expose new and sharp cutting edges.
CBN is a by-product of man-made diamond. GE was the first company to synthesize CBN and CBN is the second hardest material after synthetic diamond. The process of making CBN abrasive is similar to that of synthetic diamonds: scientists treat hexagonal boron nitride at high temperature and pressure to create cubic boron nitride and treat graphite in the same way to create diamond.
There are several companies that actually manufacture CBN flywheel grinding wheels. Most of the difference is in the content of CBN abrasive or “magic dust” that makes these wheels grind as well as they do.
One of the most common calls we get is whether or not to use coolant when grinding with CBN. My answer is, no coolant means no grinding. All CBN wheels require a good flow of clean, fresh coolant. I have tried it both ways and believe me, coolant is the only way to go.
CBN grinding wheels can and will provide fast stock removal and provide longer life than traditional grinding wheels. Most of the Top Fuel and Nitro Funny Car teams use a CBN wheel for their floaters and clutches. I have also seen quite a few of the Alcohol Dragsters and Alcohol Funny Cars migrate to the benefits of using CBN versus traditional grinding wheels.
CBN in the right hands will deliver everything an owner wants out of his or her investment. I say investment because a single CBN grinding wheel can cost almost four times the amount of a traditional grinding wheel. However, the life of a CBN wheel is four to 10 times that of a traditional grinding wheel. I know that is a big spread but there are many factors that need to be controlled. A well-trained operator, well-conditioned and maintained machine, clean and fresh coolant and also the type of material being ground will impact a wheel’s longevity. One thing I do know for sure is, that if you crash a regular grinding wheel you may have spent $50 for a replacement – if you crash a CBN grinding wheel you will spend $200 plus. So additional set up is critical especially when you have a cupped or recessed flywheel.
My advice; next time you order flywheel grinding supplies add a CBN wheel to that order and do a side-by-side test in your shop. This will either confirm or deny whether or not your shop should be using CBN to grind flywheels.
Mount the Work Piece
Always remove the dowel pins prior to mounting the work piece. Be sure to keep track of the dowel pins and return them to your customer. Mount the work piece using the mounting flange as your reference. Be sure to clean and deburr the flange before starting to machine. Select the appropriate flange adaptor and a centering cone. Tightening the centering cone bolt will secure the assembly to the table.
Ready, Set, Grind
Hand feed the grinding wheel so that it almost touches the work piece. Before beginning, double-check to be sure all the dowel pins are removed. Put on your safety face shield and position the machine’s grinding wheel safety shield and the coolant shroud protective shield. Next, turn on the coolant, then the table, then the grinding motor. Manually feed the stone into contact with the work piece. For every revolution of the flywheel you or the operator should down feed the grinding wheel approximately .001” as this will insure you are grinding and not polishing. We want that wheel to breakdown to expose new cutting edges. This statement is true for traditional abrasive and CBN wheels.
Grind until you achieve the desired result. Keep in mind a constant spark pattern is necessary for efficient grinding. This will also cause the stone to break down and keep cutting more freely as well as keeping the stone from loading up. There will be times that you will need to stop grinding and redress the stone. Be sure to follow the manufacturer’s recommendations for this procedure. Continue grinding until you obtain both the finish and specification required for the flywheel. If you have an auto down-feed machine follow the manufacturer’s recommendations for this feature.
Maintenance … the Key to Profits
Are you truly maintaining your flywheel grinder? Make sure all of your machines, including the flywheel grinder, are level (I like a very slight forward tilt to assist in coolant drainage).
Due to the nature of the work they perform, flywheel grinders are dirty. But you can extend the machine’s life and profitability by wiping down the inside and outside after every job. Additionally, I like to recommend a coat of wax for any painted metal surface. The wax will make the wipe down go much easier. The inside of the coolant shroud also needs to be cleaned and waxed to prevent crud build up. The combination of grinding grit, metal and coolant, or crud, can build up and become like concrete if not removed after every job.
Another important step is to use a deburring stone to knock down any dings or dents that occur on the grinding table when mounting flywheels. This little procedure will increase the accuracy of your flywheel set-up. Inspect all your tooling and adapter rings.
Wire brush the threads of your hold down bolts so they don’t carry debris into the threads of your center-mounting hole. It’s also a good idea to periodically replace the center bolt-hole thread or run a tap down it to insure the threads stay in good shape. It’s also a good idea to deburr your centering cones and flange mounting adaptors and organize your tool board so you can quickly find the necessary tooling for mounting the next flywheel.
Check the Oil Level
Always double check your instruction and parts manual to be sure you use the recommended type and viscosity of oil for your machine. If your machine is equipped with a filter make sure you change it according to the manufacturer’s recommendations.
Open the back of your machine and you find the lead screw. The lead screw needs to be clean and well lubricated. It’s always best to use the type of lubrication recommended by the manufacturer. There should be a lead screw nut that the lead screw goes through. This nut also needs to be lubricated and may have an adjustment procedure to keep it within the manufacturer’s specifications. Again check with the manufacturer for proper spec on this lead screw nut. If you are experiencing a drop at certain places of where you put the grinding wheel this drop is caused by a loose feed screw nut. You MUST fix this or adjust it so you do not experience any drop. The sudden drop of the grinding wheel can cause the wheel to explode.
Most machines have guide plates that keep the grinding head in a locked position. This will also need to be adjusted from time to time. A good way to tell if your guide plates need adjustment is to lock the grinding head in position. Try to move the grinding head from left to right, if it moves a small amount, it’s time to adjust the guide plate.
Also, check to make sure the grinding head tilt is what the manufacturer designates and adjust accordingly. Inspect your dresser. Some machines have a star dresser and others have a diamond. Make sure the star is rotating and spins freely. If it doesn’t, it’s time to replace it. For machines that have a diamond, make sure it’s sharp and periodically rotated to insure even wear. Always replace if in doubt.
It’s a good idea to use a dial indicator when determining how much material is being removed. The lead screws are very accurate, however, they are not smart enough to know how much of the stone wore away during the grinding process. Always measure; never guess. It’s even more critical when you are working on a stepped-type flywheel. You must insure you remove the exact amount of material from the pressure plate surface as you do from the clutch disc surface. This will insure the original geometry stays intact.
I highly recommend that you refer to the AERA Flywheel manual or PRO-SIS for specifications on most flywheels. And, if you want, you can send me your photo of the oldest flywheel grinder you may have seen. Maybe we’ll post some of the best (or worst) examples!
See ya in the shop.

