I’ll be honest, it’s had me baffled. Even I’ve struggled to understand why I would put much research effort into the casting proliferation of this engine. My perception was, "Who in his right mind would spend the money to put a reman engine into a car that is so old?"
Yet, jump up onto AutoTrader.com and do a search for a 1995 Cadillac Seville. You will be amazed at the prices these vehicles command for one that is not a wreck! You can easily expect to pay 10K for one of these 12-year-old rides. That fact got me even more confused. Granted, these cars cost $40K in their prime, but they seem to be extraordinary at holding their value.
When I started making my own very unscientific inquiries, I found the majority of owners of these Cadillacs with Northstar engines are baby boomers. In addition, they’re probably the last of the generation to have a passionate relationship with their cars. They also have discretionary income to spend on one of these boulevard cruisers. In short they love their car and have the money to spend to keep it nice. It’s not that they can’t buy a new one: they just don’t want to.
However, still skeptical about this phenomenon, I decided to look at Northstar in the Wards engine population information starting with the 1998 wall chart. And wouldn’t you know it, the engine featured on the cover was the Cadillac Northstar. Now I was really intrigued, so I dug back into the Wards books to 1993 which was the Northstar’s year of introduction (well actually 1992.5 in the Allante but they were titled as 1993). Well guess what? There are about 1.6 million of these engines out there and they are owned by people who love them.
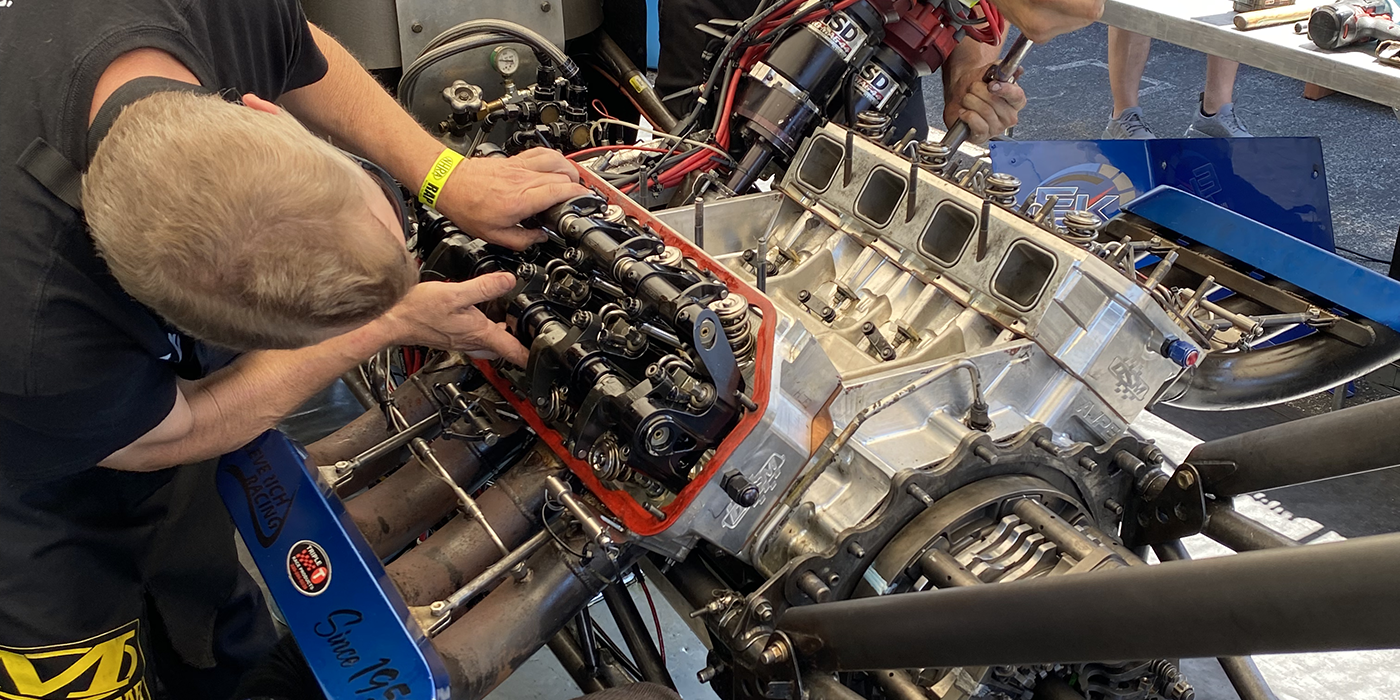
There was one issue that seemed to jump up a bit higher than many of all the other struggles in understanding the reman/build processes of this 4.6L V8 (which by the way, actually does get up and go with many of the best of them – another reason people love this engine): timing this DOHC bad boy is a challenge at best. Yes, you can get the instructions out of a GM, Mitchell or AllData manual and they’ll all provide basically the same information. That’s no guarantee you’ll be able to do it quickly or easily.
Well, I’m not going to give you a rehash of any of those, or even the easily obtained line drawings that we have all seen. You’re getting a pure PBT (Practical Builder Tip) that will solve your 4.6L Cadillac camshaft timing struggles once and for all. The cams are driven by an idler gear assembly in the center of the front of the block, not unlike where you would expect a cam gear to be for an OHV engine). There are timing marks indicated between the crank gear and the idler but if you really want to know the truth it makes absolutely no difference: so align the marks or not, it will have no bearing on the cam timing. If you do align them, don’t expect them to realign with just one engine rotation because they don’t. I have no idea how many times you have to turn it over for them to recycle to a match but it is a bunch. Add to that the fact there are no timing marks on the cam gears or the chains and the whole things gets a little tricky.
It also gets a little interesting when determining number one cylinder, since the reference to the engine banks will be both left-right and front-rear since the engine is FWD transversely mounted. The camshaft timing gears are marked left-right so let’s identify that right now. Facing from the rear of the engine the right side is the furthest forward bank and the first cylinder is Number 1, so that piston needs to be on top dead center before proceeding.
The left bank is the one that you need to assemble first since it is the rear chain of the idler. Before we go on, just so we are all on the same page, the information contained here assumes we are doing a fresh build and we have all new components: gears, guides, chains and tensioners with the engine on a stand or bench. Special Note: You want the cams situated on both cylinder heads with their gear alignment pin at 12 o’clock to the cam cover mounting surface.
Place the upper and lower chain guides in place for the left side (which will be your right side since you are now in front of the engine) and run the bolts down finger tight using a 10 mm socket and short extension since you need to go through the holes in the heads that have plastic plugs that seal them. You want the guides loose enough so that they can move around a bit.
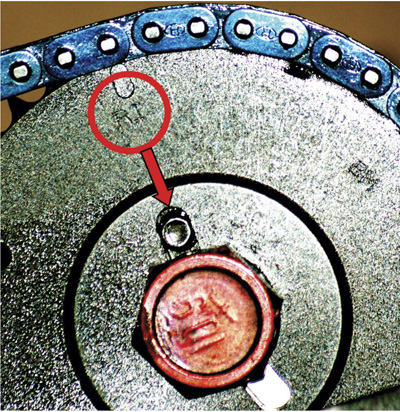
Before you put the gears on the camshaft you need to know how to identify them. Both the gears, intake and exhaust cam are the same on each independent bank so you have two pair. They have two slots on them which the alignment dowel of the cam fit into. The single most frequent cause of incorrect timing on these engines is installing the gears on the camshafts incorrectly. In alignment with each slot at the outer extremity of the gear by the teeth they are marked LI or LE for Left Intake or Left Exhaust (Figure 1). I am here to tell you these marks are very hard to see when the gear is clean and dry, and if you get any oil on them get a magnifying glass because they seem to disappear. Double check the double-check.
The exhaust cam on the left side of the engine is going to fight you. It will be under tension because of the way the lobes are situated with the cam pin at 12 o’clock. Each of the cams has a hex cast into it just in front of the first lobe so that you may use a wrench or adjustable to rotate them. You’ll need it for the left head exhaust cam.
Place the rear chain on the idler and drag it up through the cylinder head and along the guides. Now take the gear for the left intake cam and align the LI slot on the dowel pin and run the cam gear retaining bolts down on the gear, again finger tight. Pull all the slack out of the chain between the idler and the intake cam and install on the gear. Now if you pulled out all the slack you will be able to install the exhaust cam LE slot onto the pin with the chain onto the cam. You may have to reposition the chain a time or two because you cannot move the cam. After you’ve done this a few times you can do it alone, but the first time I recommend that you have a helper to keep the exhaust cam from moving on you, because it invariably will.
The second gear is not just a slide-on situation. It’s snug and tight and if you did not pull all the slack out you will not get it to fit.
Once you have all that together and all the bolts are finger tight, install the guide tensioner to the back side of the top guide on the left side. The tensioner is easy when you compress the ratchet gear and back it out one or two teeth and pull the locking lever and install a pin through the hole to hold the compressed assembly.
Next you’ll do the same thing on the left side, but the gear ID is a little easier because the exhaust cam on the right side has a pin sticking out of its front for the cam position sensor. Nonetheless, you can’t take for granted the markings for the RI and RE on the gears. Again install all the guides finger tight, intake cam first and exhaust cam next. In this case, the tensioner is on the lower guide.
The tool that I found to be the best for verifying alignment of the gear pins in relation to the cam cover surface is a simple carpenters speed square (see Figure 2). Now go back and torque all the bolts and you’re done, no marks to verify anything on the chains, just the speed square telling you you’re at 12 o’clock.
If this all seems a bit much or the entire engine is just overwhelming, there are four companies that I found have these engines available: ATK North America in California (www.atkengines.com); Jasper Engines and Transmissions in Indiana (www.jasperengines.com); PROFormance Powertrain Products in Missouri (www.goppt.com); and Promar Precision Engine Rebuilders in New Jersey (www.promarengine.com).