 How To Handle Engine Diagnostic Nightmares
Automotive machine shops are being asked more than ever to help diagnose engine related problems by a variety of customers. Repair shops, car dealers, parts suppliers and DIY’s are all in need of input from machine shop personnel. Two problem areas we see today frequently involve auto manufacturers designs and an influx of flood damaged vehicles from many parts of the country. These problems can create diagnostic nightmares.
First, auto manufacturers have placed air ducts in places which allow water to enter the induction system while the vehicle is driving through large puddles of water. Second is vehicles that have been submerged in flood waters and then attempted to be started while water is still in the cylinders or induction system. Either of these situations can result in water in cylinders and cause connecting rods to bend or pistons or piston rings to break.
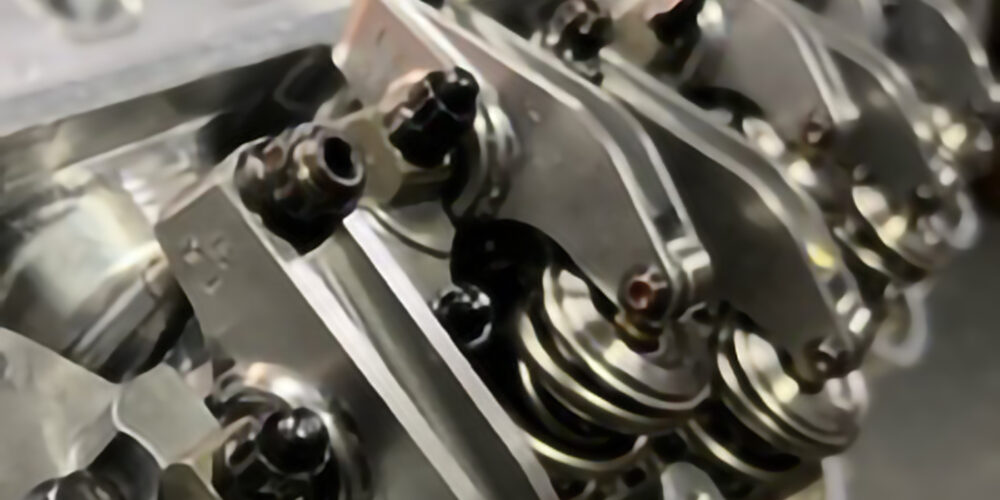
A case in point is a 2004 Audi A4, 1.8L turbo DOHC 20 valve engine that was diagnosed by a repair shop as needing valve service due to a misfire code on #3 cylinder. The technician performed a cylinder compression test and had his machine shop do a valve job. When retested, the vehicle still showed a misfire code on #3 cylinder.
After a brief exchange of pleasantries between the repair shop and the machine shop, the machine shop requested that a wet cylinder compression test be performed. Compression improved, the cylinder head was removed and a bent connecting rod was discovered. We always suggest that our customers perform both a compression test, cylinder leakage test and a wet compression test prior to removal of the cylinder head. The compression test alerts to low compression but does not prove the reason for the compression loss. The cylinder leakage test may point to where the loss of compression is occurring if there is leakage. The wet cylinder test may confirm piston ring or connecting rod damage.
If the head has already been removed prior to cylinder leak or wet cylinder compression testing, vacuum testing may point to a damaged piston or piston rings. Placing each piston at Top Dead Center of each cylinder and measuring or comparing the piston to block depth with other known good cylinders will help determine if the connecting rod is bent.
Too many good machine shops have their reputations damaged by not getting involved before the repair or not knowing how to diagnose these problems when their customer is faced with them.
Aldo Santini
Aldo’s Automotive Precision Machine Ltd.
Highland, NY.
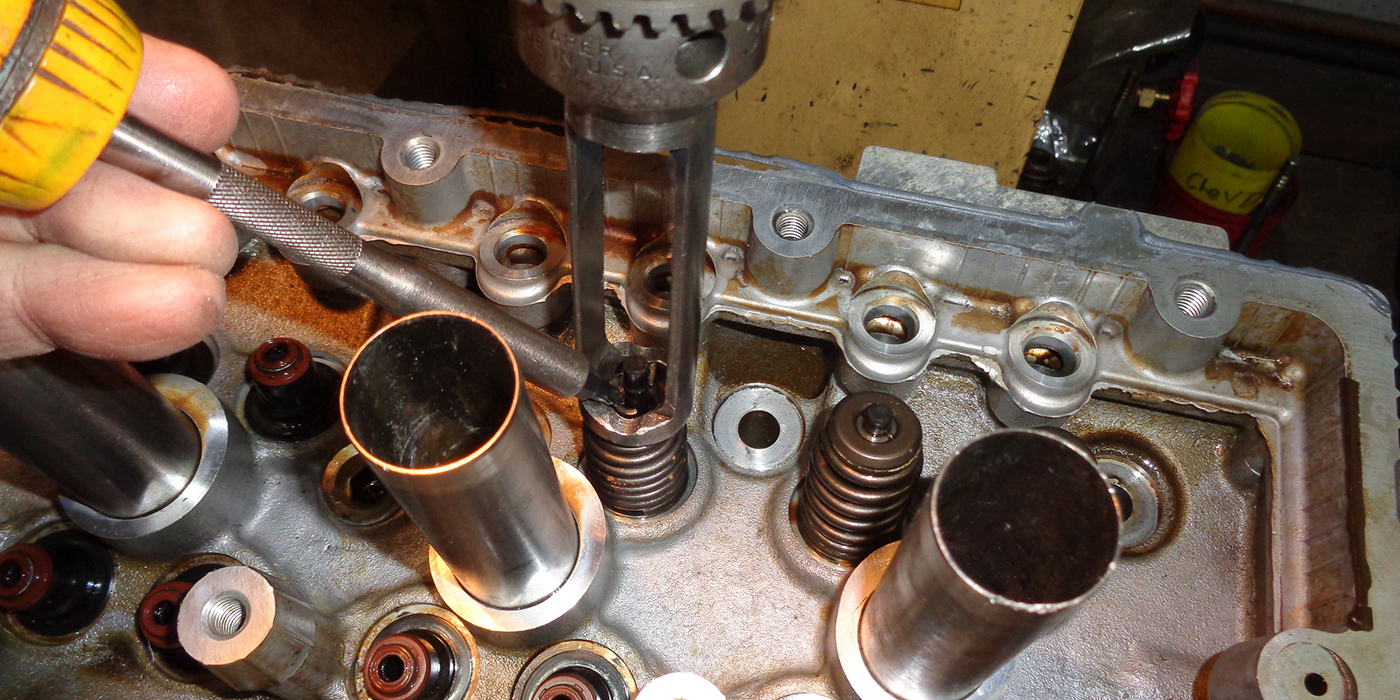
Removing Cylinder Head Alignment Dowels
To remove a stubborn cylinder head alignment dowel, I put a bolt in the hole then grab it with vise-grips or pliers. The bolt keeps the dowel from crushing and you can pull up on the bolt as you twist the pliers.
Arus Kinney
Austin Jordan Engines
Wyoming, MI
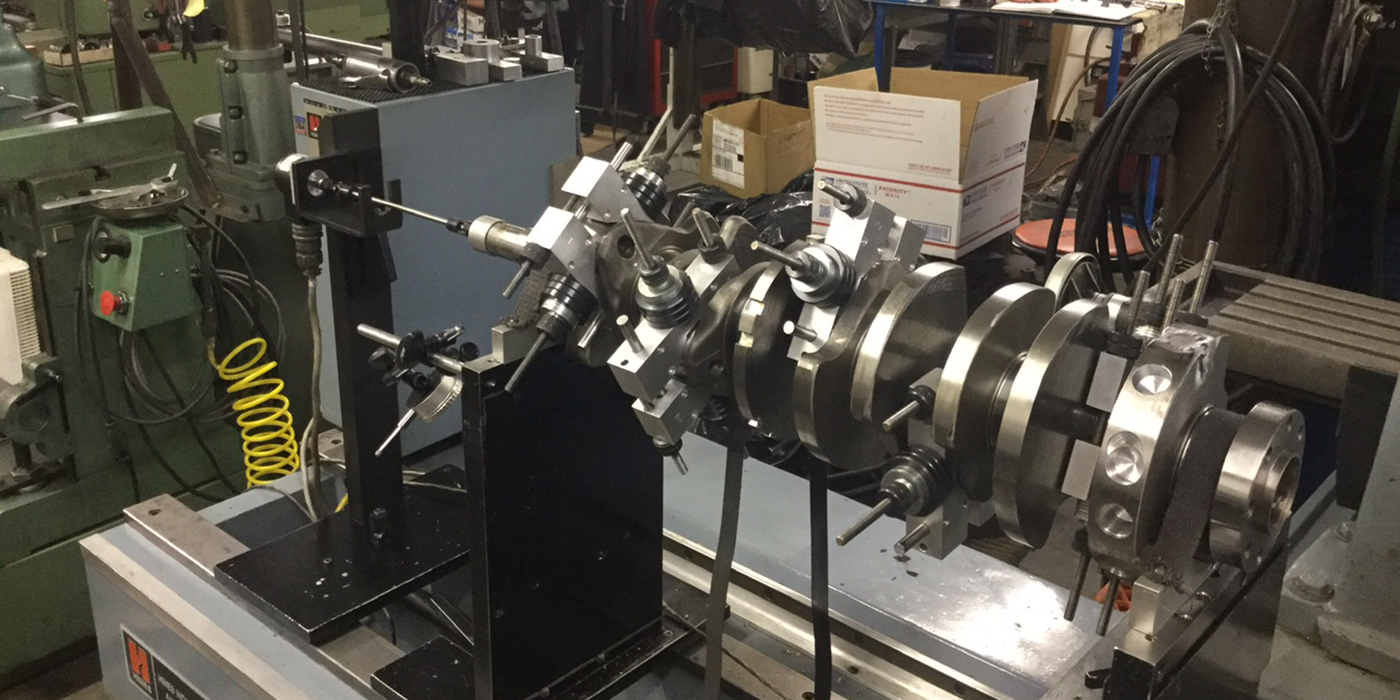
The Importance of Cleaning Crankshafts
Saying that a new or reconditioned crankshaft must be clean before installation seems to be stating the obvious, but it is a fact that many engine failures occur because the crankshaft was not clean before being installed.
First, DO NOT ASSUME that the new or reconditioned crankshaft you purchased is clean. Grinding media, cleaning media such as glass bead, steel or aluminum shot, or just plain gunk that did not get cleaned out of oil passages may still be there.
Thoroughly clean all oil passages with compressed air and a wire brush. Be careful not to blow dirt onto previously cleaned journal surfaces. Be certain all other crankshaft surfaces are clean, including counterweight balance holes.
Taking the time and effort to do this work is not fun, but it beats disassembling the engine, replacing the crankshaft and bearings, cleaning and reassembling the engine all over again.
Engine Pro Technical Committee
Removing Crankshaft Pilot Bearings Revisited
(In April we published a Shop Solution suggesting the use of toilet paper to remove pilot bearings. Here is another alternative.)
When removing a crankshaft pilot bearing, the easiest way is to use modeling clay or Play-Doh. Pack the clay into the hole first by hand, and then hammer it in with a tight fitting bolt or blunt chisel. It doesn’t take much force to make the bearing pop out. There is no mess, and the clay can be used over and over again.
We have been removing pilot bearings this way ever since there were pilot bearings. We all got a laugh out of your April edition where a reader suggested using wet toilet paper rather than grease. We already have clay around to balance crankshafts, and it just seems like the thing to use. Wet TP – HA HA HA!
Ray Crowley
Ray’s Precision Engines
Taylor, MI
Engine Builder Shop Solutions is sponsored by Engine Pro,
a consortium of 14 engine parts specialist WDs operating 33 branch
locations serving engine builders/rebuilders across the U.S. Shop
Solutions published in each issue of Engine Builder Magazine are
awarded a $100 Visa Gift Card. Winners will be chosen by
the staff of Engine Builder Magazine and the Engine Pro Technical
Committee.
To submit a Shop Solution simply mail your entry
to Engine Builder Magazine, Shop Solutions, 3550 Embassy Parkway,
Akron, OH 44333; or email to Shop [email protected]. Shop
Solutions may also be emailed to [email protected].You must include
your name, shop name, shop address and shop telephone number. Submitted
Shop Solutions not published will be kept on file and reevaluated for
publication with each month’s new entries. If you include your email
address you will be emailed notification of publication if your Shop
Solution is chosen.