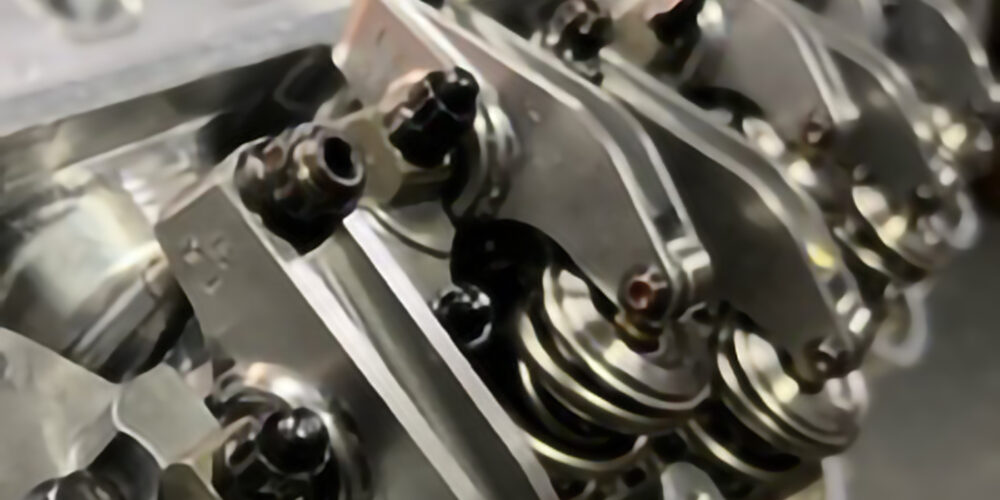
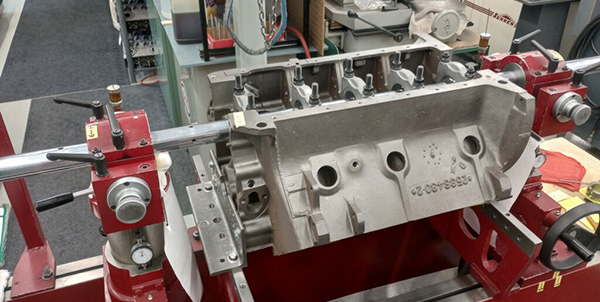
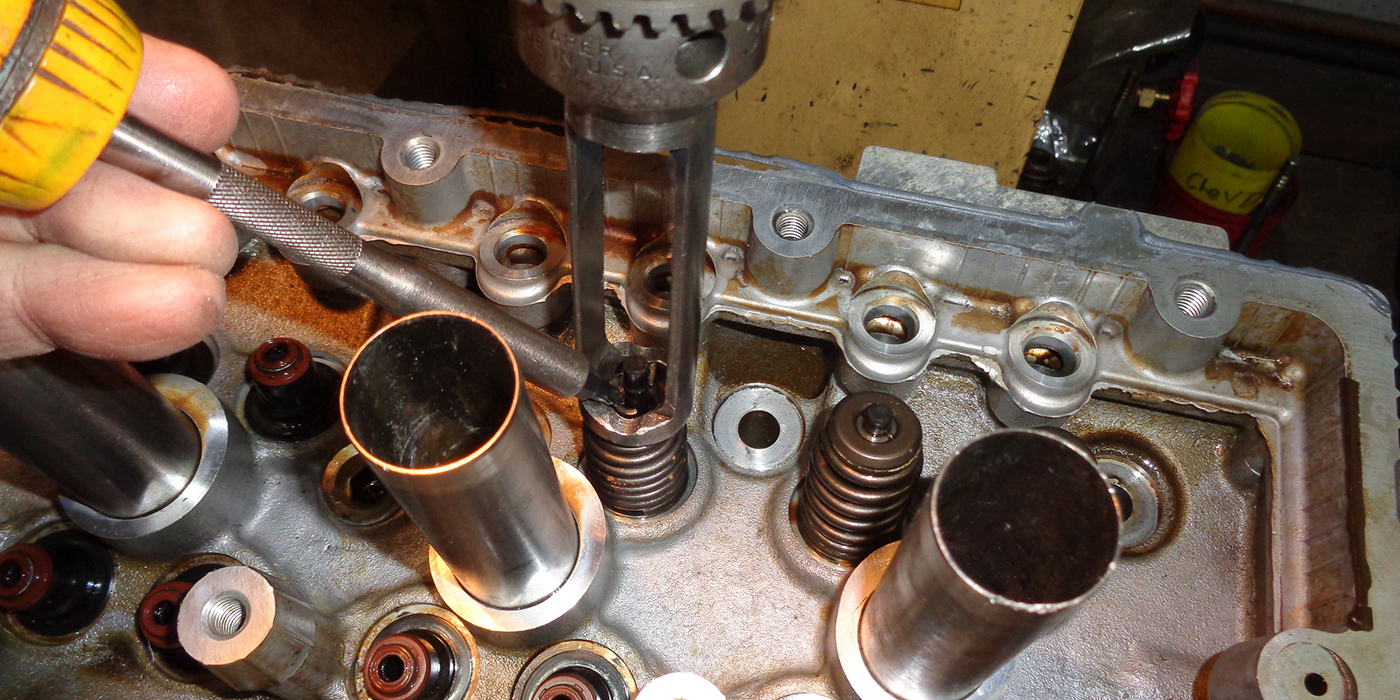
The Modular Block ‘Main Event’
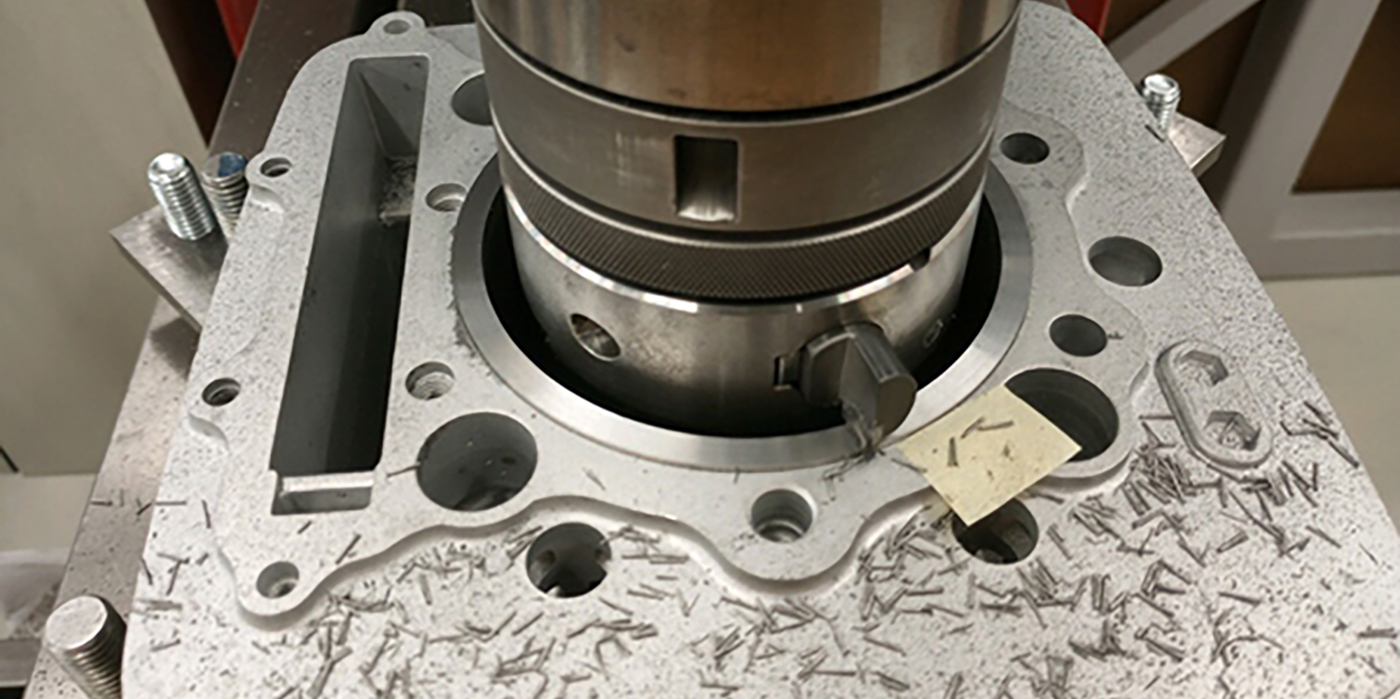
When performing main bearing housing bore work on an LS1, LS2, Ford 4.6L or other modular blocks the following procedures should be followed.
First do all of your cap indexing, with cutting or aftermarket cap installation, then put the final torque on the mains. Next, install both cylinder heads and torque them in place to the manufacturers’ specs before you begin boring or line honing. Then line bore and hone as usual. I have seen up to .002? change in bore dimension after the heads have been removed. This is very critical on aluminum blocks used in super stock racing where bearing clearance can be as little as .0017?.
It is also worth mentioning that you must hone cylinders with the head torque simulated on both sides as well. If you don’t have two plates, an old head works fine for the side you are not working on.
Rev. Ron Flood
Cedar Machine Service/Toxic Cycle Inc.
North Branch, MN
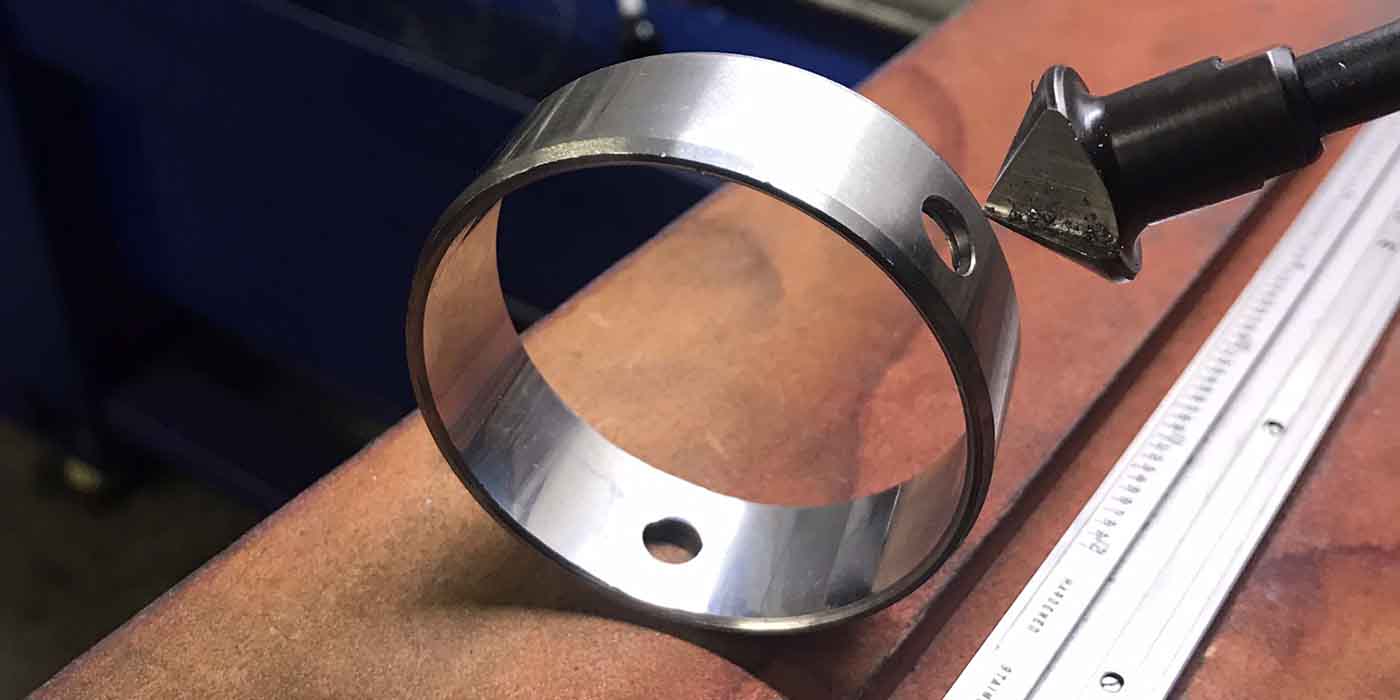
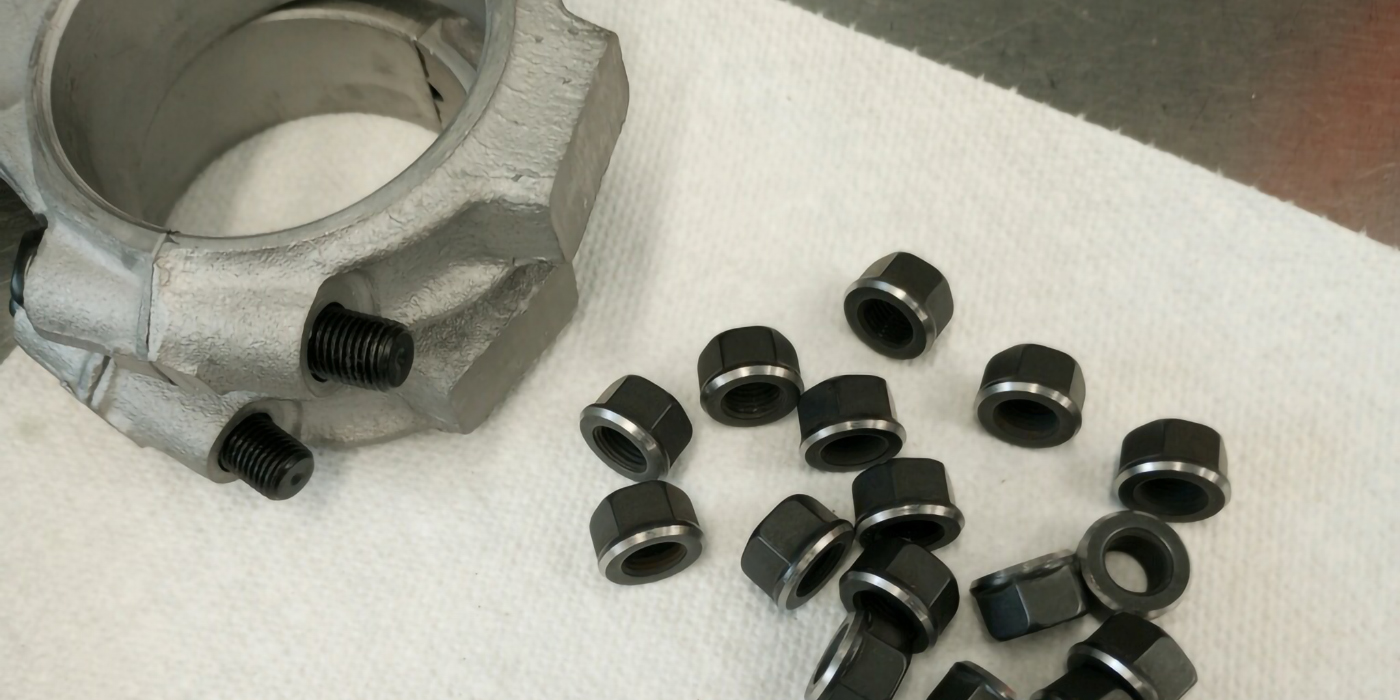
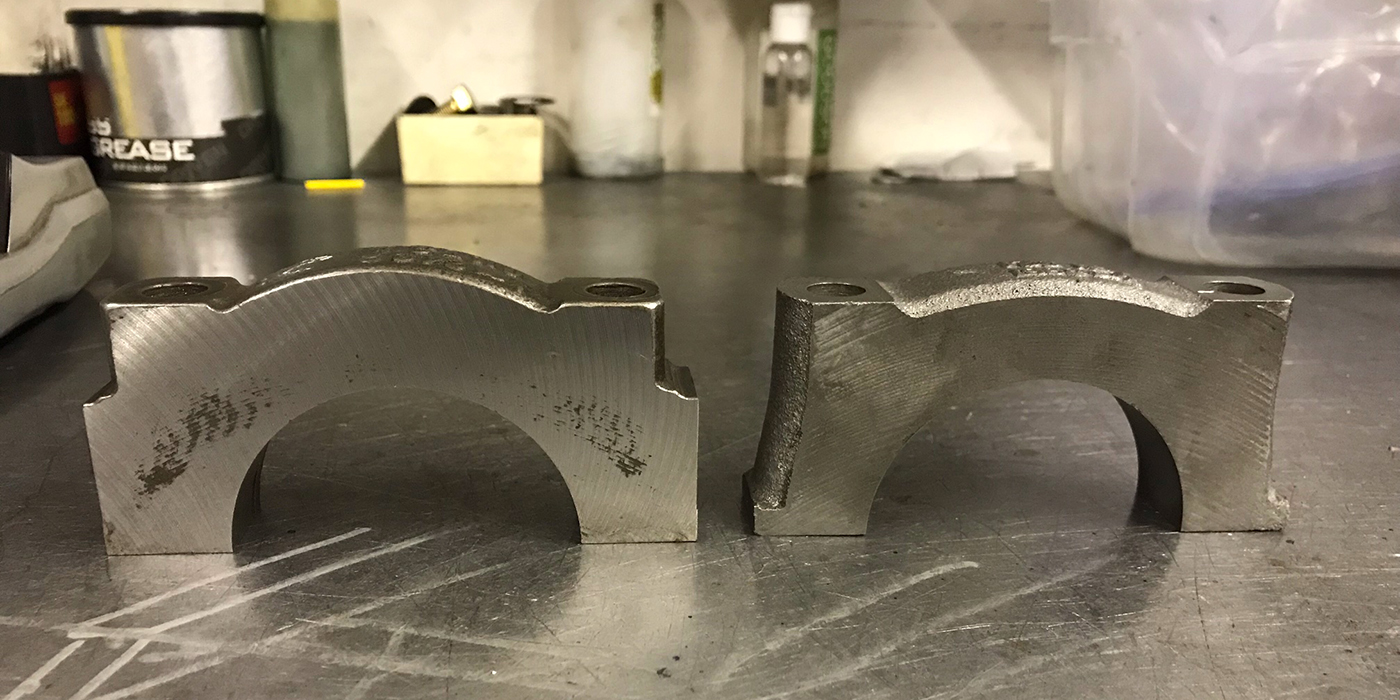
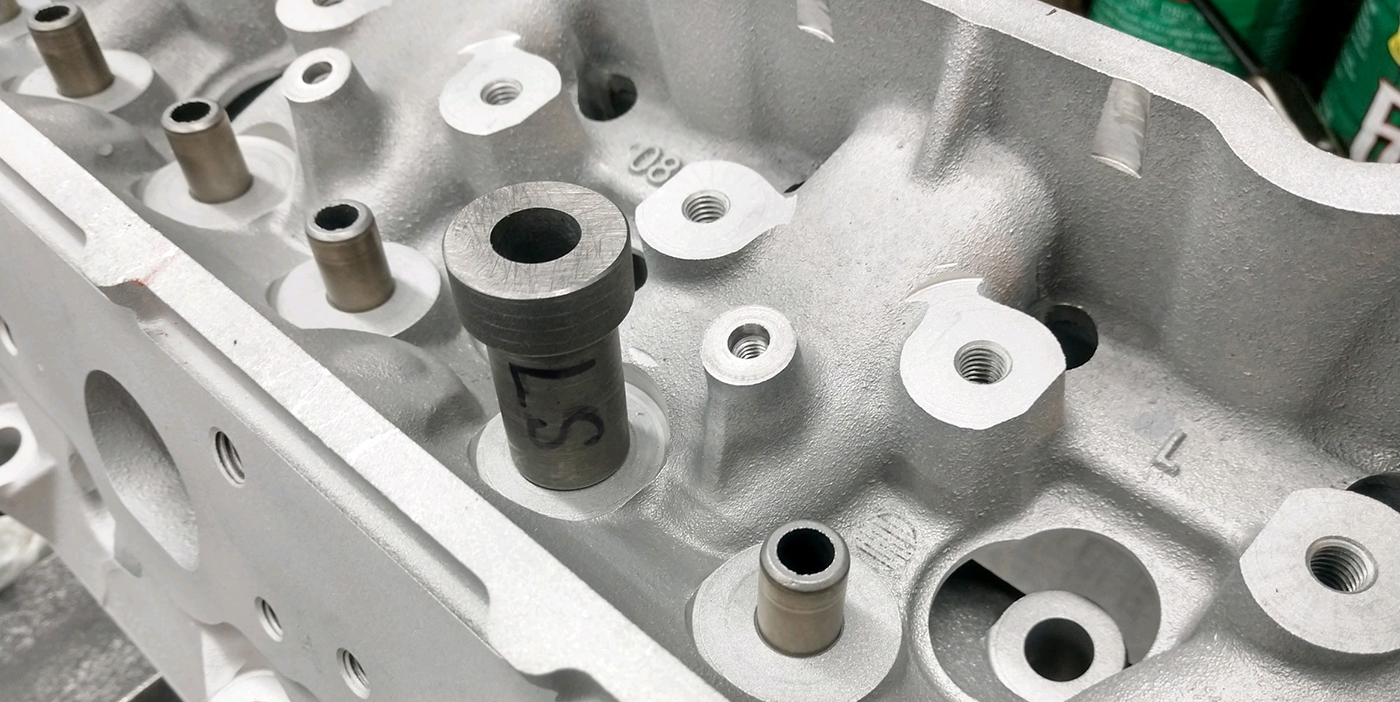
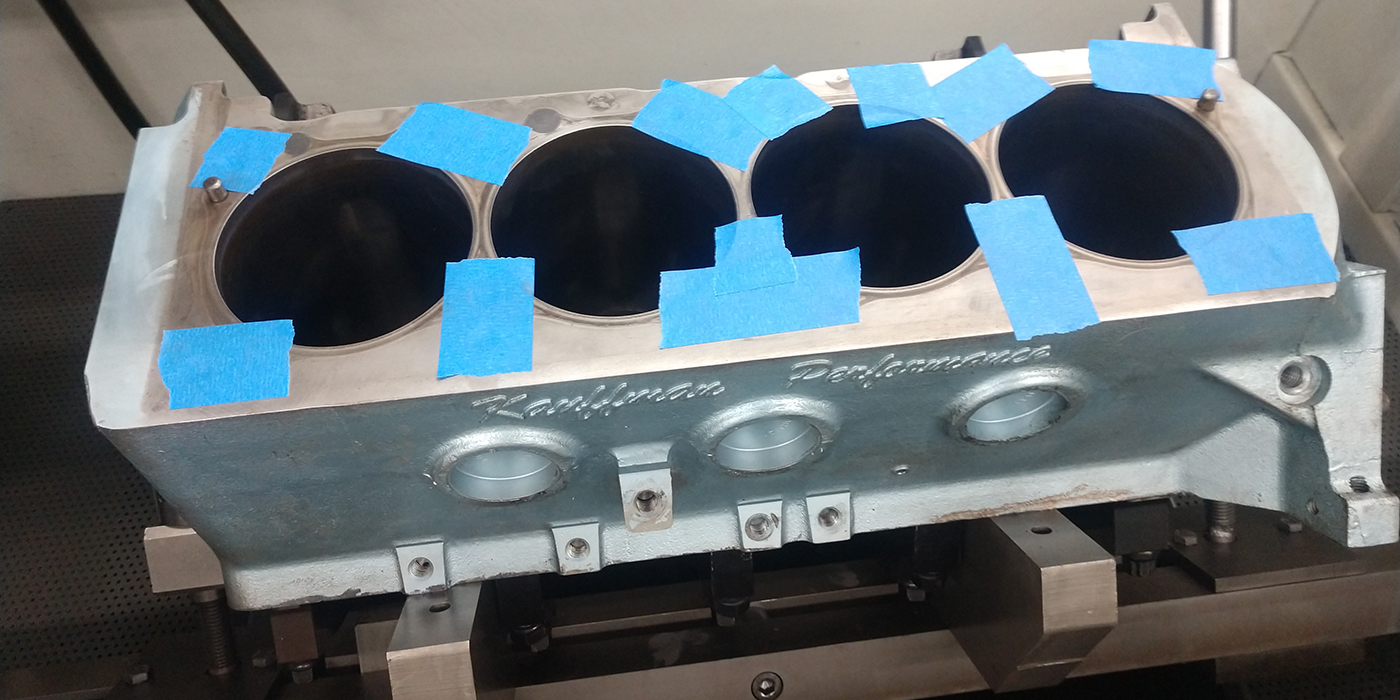
Main Register Protector
Always use moly-lube or anti-seize on the billet main cap to block register. Failure to do so will result in an out of round main bore. I see this more often with the advent of so many new blocks on the market today. Oil works fine on cast iron caps, just be sure to not get anything, especially moly, on the mating surface of the cap to block, as this too will give an inaccurate reading.
Rev. Ron Flood
Cedar Machine Service/Toxic Cycle Inc.
North Branch, MN
Three-Cylinder Block Bore
 In the past I was told that my Kwik-Way portable boring bar could not be used to bore cylinders on Suzuki three-cylinder engines. I was never given a reason just that it would not work. Since I have been rebuilding many of these engines, I decided to find out for myself if the Kwik-Way would work or not. The only problem I found, was that there is no way to bore the #2 cylinder. My solution was to bolt two blocks together, back-to-back. The result was a nice flat deck across both blocks, and I was able to bore two blocks with the same set-up.
Mike Tipton
Owner, Mike’s Automotive Services
Sequim, WA
Machinists: Educate your Installers
How many of you machinists say to yourself: Does this shop or person know how to install my engine correctly? How many of you buy engine warranties to protect yourself from this problem? Here are some tips you might try to ensure you get the best possible installer.
Proving why an engine failed shortly after installation can be very difficult, so you need to do some research about the people or shops who do your installations. Today’s complex internal combustion engines have much tighter specifications than engines from years gone by, so certain steps must be taken to prevent early engine damage or failure.
First you should do a thorough inspection of the engine prior to installation. Heat tabs, freeze/oil galley plugs, timing components, valve-lash/valve timing, check for damage from freight making sure it will bolt up properly. And lastly, make sure that the intake manifold is cleaned thoroughly. Be sure to check the tin and covers to prevent future leaks and failures.
Next, double check head bolts for proper torque, and don’t forget to check the harmonic balancer. If the rubber center is splitting replace it. If it has slipped even a few degrees it can cause incorrect ignition timing. Many engine rebuilders require a new radiator because of the oil cooler, but if the vehicle is over five years old it probably needs a new one anyway. And don’t forget a new thermostat. Proper cooling at engine start up is crucial. If your engine has a distributor make sure it is in good condition.
Now you are about ready to install the engine. Make sure all accessories are in working order; all rubber hoses and wires are okay. Change the fuel filter and check the remainder of the system (fuel pressure and volume). Check the torque converter and lines. Don’t forget to make sure the flywheel is within specs and properly installed to prevent thrust bearing damage. It’s also a good idea to install new engine and transmission mounts. If the old engine had been leaking these could be bad.
After the engine is installed it will be necessary to prime the oiling system. This is critical. Priming the oil system is one of the most important procedures to prevent early engine damage or failure. Cranking the engine over does NOT do this correctly. A pre-oiling system must be used on today’s engines with close tolerances.
Now, the engine should start up almost right away. If it doesn’t stop cranking and check the basics such as ignition timing, fuel pressure and spark. After the engine is running it will be necessary to monitor engine performance with a scan tool and an engine analyzer. Make sure the cooling system is circulating while watching for any oil or coolant leaks. The old engine may have damaged the catalytic converter, so you may have to check the system for no more than 2 to 2.5 psi of backpressure. Now you are ready to the test drive the vehicle after the engine has run at least 25 to 30 minutes for cam break-in. Continue to monitor the engine with a scan tool if necessary for any problems that may occur. Good luck and happy motoring!
Bill Williams
Beaverridge Auto
Fairplay, CO
Engine Builder Shop Solutions is sponsored by Engine Pro,
a consortium of 14 engine parts specialist WDs operating 33 branch
locations serving engine builders/rebuilders across the U.S. Shop
Solutions published in each issue of Engine Builder Magazine are
awarded a $100 Visa Gift Card. Winners will be chosen by
the staff of Engine Builder Magazine and the Engine Pro Technical
Committee.
To submit a Shop Solution simply mail your entry
to Engine Builder Magazine, Shop Solutions, 3550 Embassy Parkway,
Akron, OH 44333; or email to Shop [email protected]. Shop
Solutions may also be emailed to [email protected].You must include
your name, shop name, shop address and shop telephone number. Submitted
Shop Solutions not published will be kept on file and reevaluated for
publication with each month’s new entries. If you include your email
address you will be emailed notification of publication if your Shop
Solution is chosen.