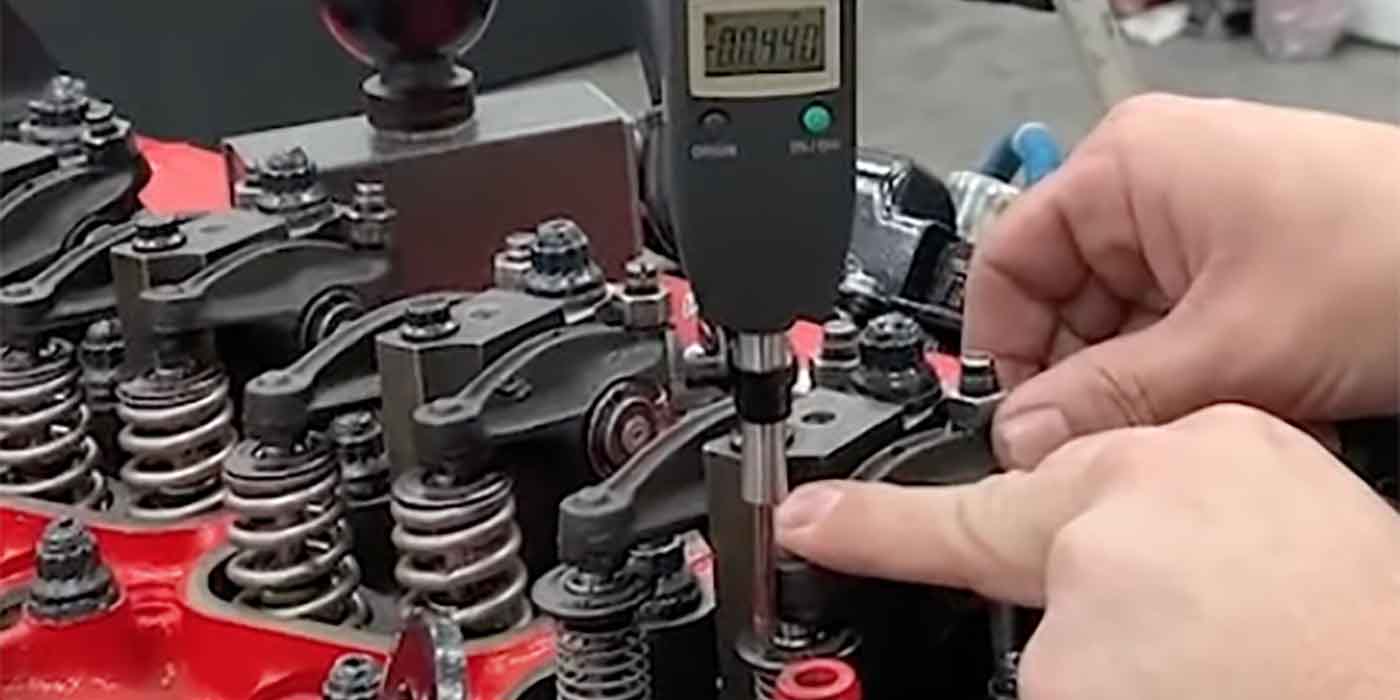
You will have to use a dial indicator to
find the TDC position of the number one cylinder on Ford’s 3.0L Duratec to make sure the crank
and camshafts are all properly aligned.
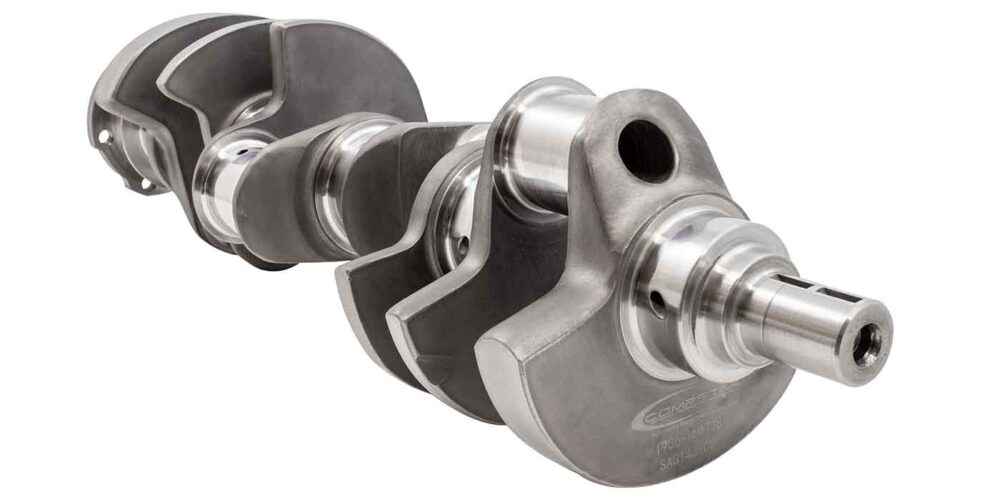
Ford says that when the crankshaft keyway is positioned at roughly
the 11 o’clock position, the number one cylinder should be at TDC.
Before you can remove the timing chain, the front cover has to come
off the engine. Then you have to remove the crank sensor pulse wheel.
Note the sensor wheel’s location before you remove it.
Rotating the crank until the keyway is at the 3 o’clock position
will move the right cylinder head camshafts to the neutral position.
The timing mark on the intake cam should be pointing to the right when
viewed from the front, and the timing mark on the exhaust cam should be
pointing straight up if both cams are in the correct position.
You can now remove the chain tensioner arm, chain guide and right timing chain.
To remove the left timing chain, rotate the crank clockwise 600°
(1-2/3rds turn) until the keyway is again at the 11 o’clock position.
This will position the left cylinder head cams in the neutral position.
This time, the timing mark on the intake cam should be pointing to the
left when viewed from the front, and the mark on the exhaust cam should
be pointing straight up. As before, you can now remove the chain
tensioner arm, chain guide and left timing chain.
Before you can reinstall the timing chains, you need to compress the
left and right chain tensioners in a vice. Compress the piston until it
is fully bottomed, then temporarily lock it in place with a pin or
paper clip.
If the replacement timing chain does not have timing marks for
aligning with the cam gears, you’ll have to mark the left and right
side chains. Start with the left chain, and mark one link as the
starting crankshaft timing mark. Then count 29 links and make a second
mark (for the exhaust cam). Continue counting to link number 42 and
make a third mark (for the intake cam). The second and third marks
should align with the timing marks on the intake and exhaust cams when
the chain is slipped into place. The chain tensioner and arm can now be
installed.
Next, you do the same procedure for the right cam. But first, you
need to rotate the crankshaft 120° clockwise so the crankshaft keyway
is at the 3 o’clock position. Mark the right timing chain and install
it the same as before.
Once both chains are in place, remove the locking pin or paper clip from the left and right chain tensioners.
Rotate the crankshaft 120° counterclockwise so the keyway is back at
the 11 o’clock position and number one piston is at TDC. Check to make
sure all the timing marks are aligned as shown in the illustration.
There should be 12 chain links between the right and left intake and
exhaust cam sprocket marks, 27 chain links between the cam gears and
crank on the non-tensioned side of each chain, and 30 links between the
cam gears and crank on the tensioned side of each chain.

