We’ve narrowed the field to the top 20 Shop Solutions, and now we need your help selecting the Top 5. All you need to do is read the submissions listed below, pick you favorite and click through to vote, it’s that simple!
The best part? By voting, you get a chance to win one of these cash prizes:
First Place Author and Voter: $1,000
Second Place Author and Voter: $250
Third Place Author and Voter: $100
Fourth Place Author and Voter: $100
Fifth Place Author and Voter: $100
Voting is open through Dec. 31, 2012 and voter prizes will be drawn at random.

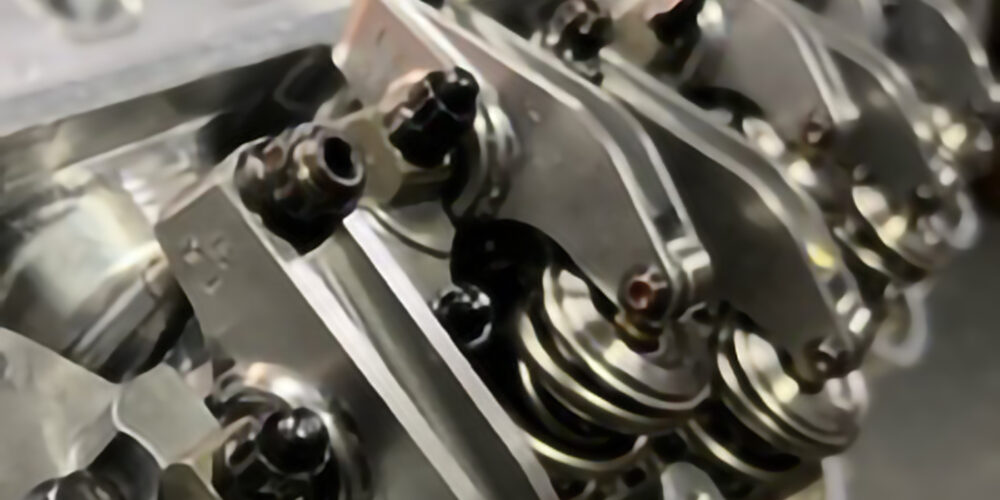
#1: Intake Manifold Cleaning Caution
If piston failure occurs in this engine, it is possible for broken pieces of piston to end up in the intake plenum. This is due to the design of the engine, which has tuned runners with the plenum located below the runners.
Click here to read more and vote now!
#2: Moveable Multi-use Shop Hoist
This A-frame hoist can span an entire machine shop, moving blocks and other parts to all locations in the shop. One end rests in a track running along one wall.
Click here to read more and vote now!
#3: Removing Crankshaft Pilot Bearings
When removing crankshaft pilot bearings I have found the easiest way is to use toilet paper!
Click here to read more and vote now!
#4: Removing Crankshaft Pilot Bearings Revisited
When removing a crankshaft pilot bearing, the easiest way is to use modeling clay or Play-Doh.
Click here to read more and vote now!
#5: Debunking the 10 X 10 Crankshaft Myth for Customers
As a retired crank shop owner, I really enjoyed the article on "Debunking the 10 X 10 Crankshaft Myth" (Engine Builder Shop Solutions, March 2008) and was glad to see someone tackle the subject to clear up the myth. You are 100 percent correct that grinding a crank undersize only reduces strength a small amount. Additionally, I think I can clear up some of the origin of this myth. Click here
#6: Avoiding Flat Cam Syndrome
Along with the use of assembly lubes, break-in oils with ZDDP (Zinc Dialkyl Dithiosphate), and a lifter bore grooving tool our shop does this; on all flat tappet cam engines our shop has added one step before final assembly.
Click here to read more and vote now!
#7: Got Leaks? Try Putting the Silicone Away
Many times oil leak comebacks are caused by the use of silicone or some other type of sealant coating that is used with the gasket.
Click here to read more and vote now!
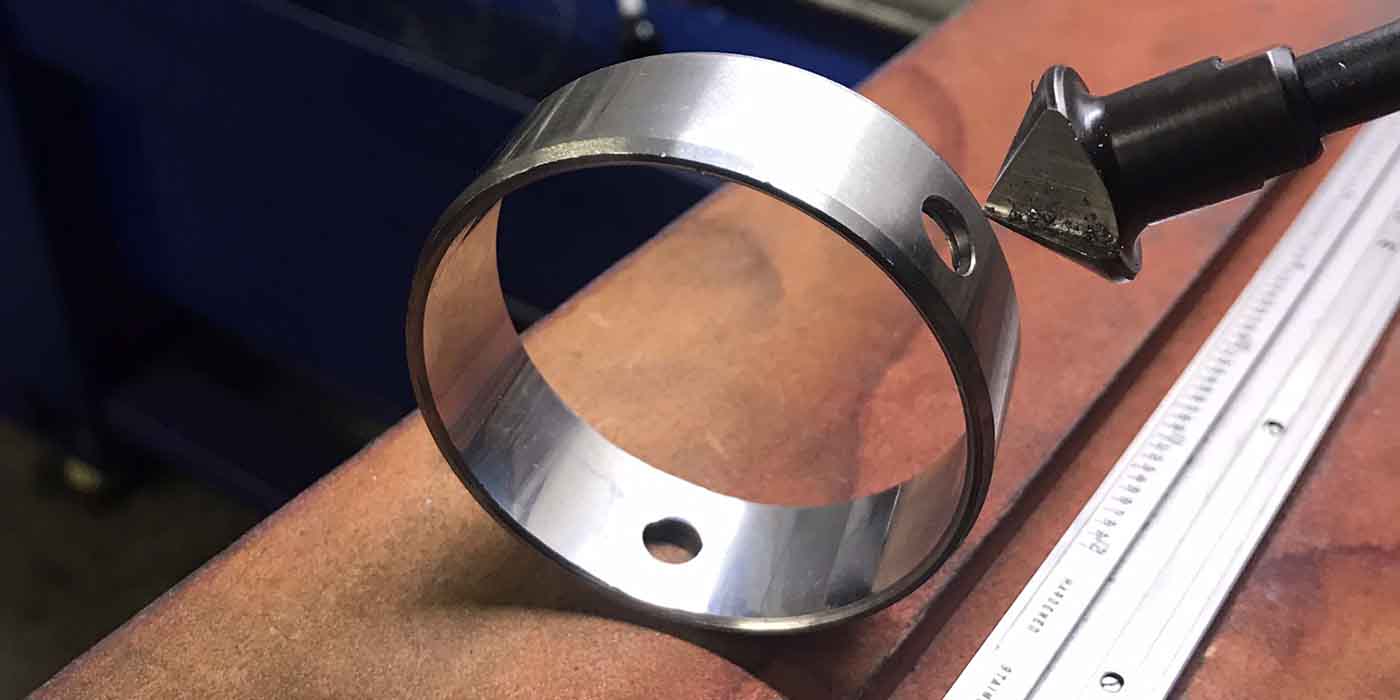
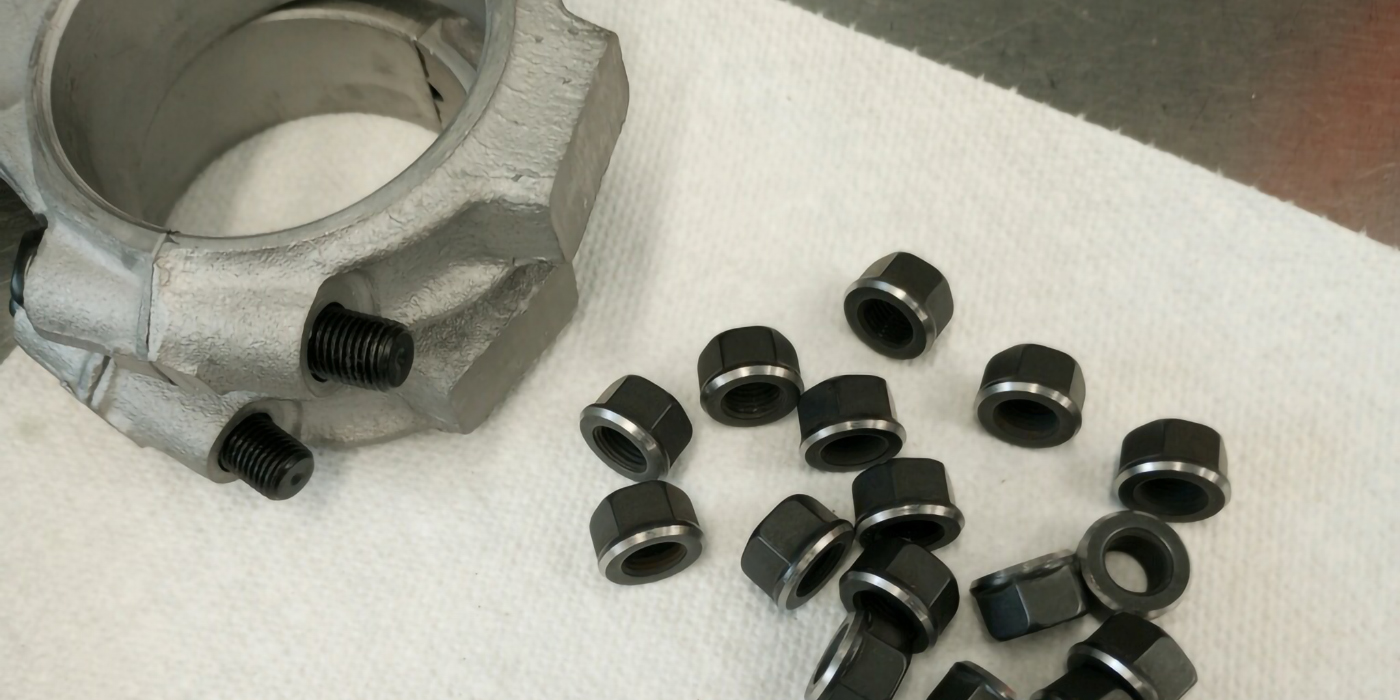
#8: Proper Fastener Preparation
In order to obtain proper torque (or torque to yield) values, it is absolutely imperative that threaded fasteners are clean and in good condition.
Click here to read more and vote now!
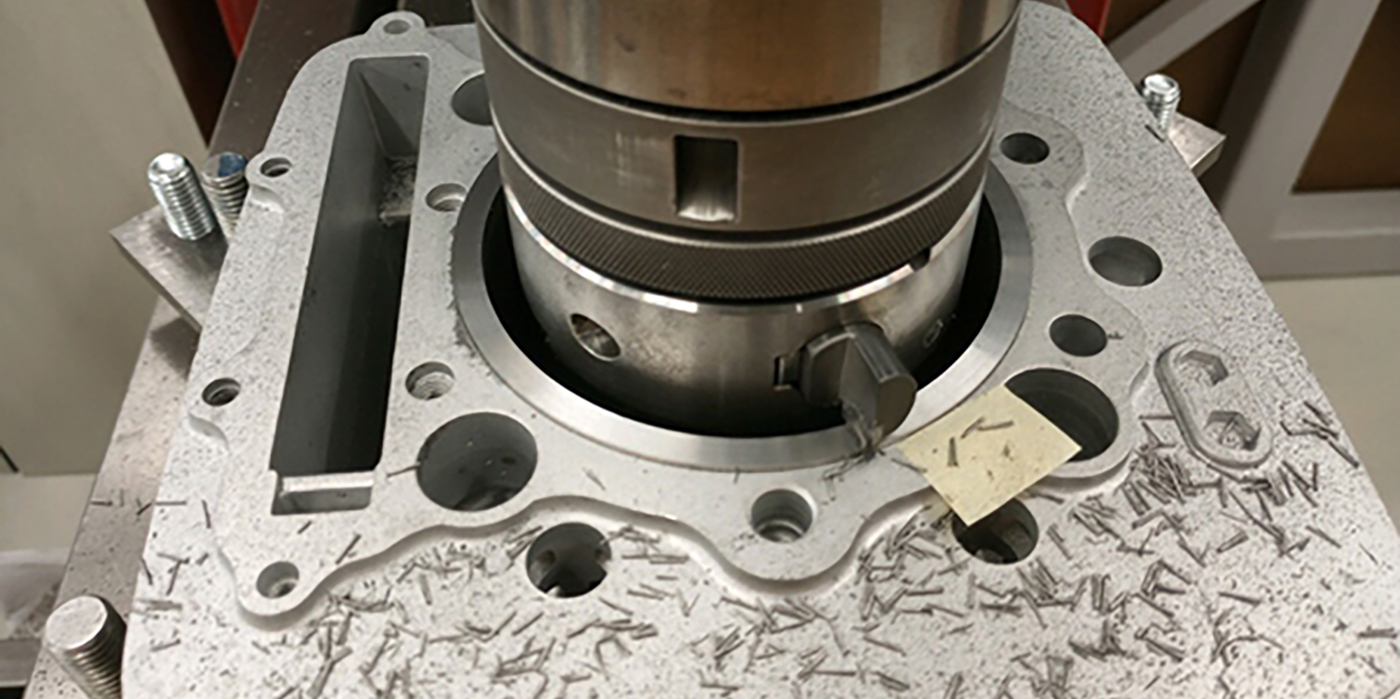
#9: Cold Air Tool Cooling For Machining
We have been using cold air cooling in our shop for cast iron machining for several years. It does several things: it keeps the tool cool without the use of wet coolant, it blows away the dry chips, and it eliminates having the mess of coolant everywhere. Also, we no longer have to pay to have drums of coolant removed. Click here to read more and vote now!
#10: Checking Piston Ring Gap
Here is an easy way I have found to square piston rings in cylinders for checking ring gap. I use various size old flat-top pistons according to the bore size being checked. These must be flat-top pistons with no taper on the edges. You will also need two matching wrist pins. Note: A standard diameter piston will still work with a .030? overbore.
Click here to read more and vote now!
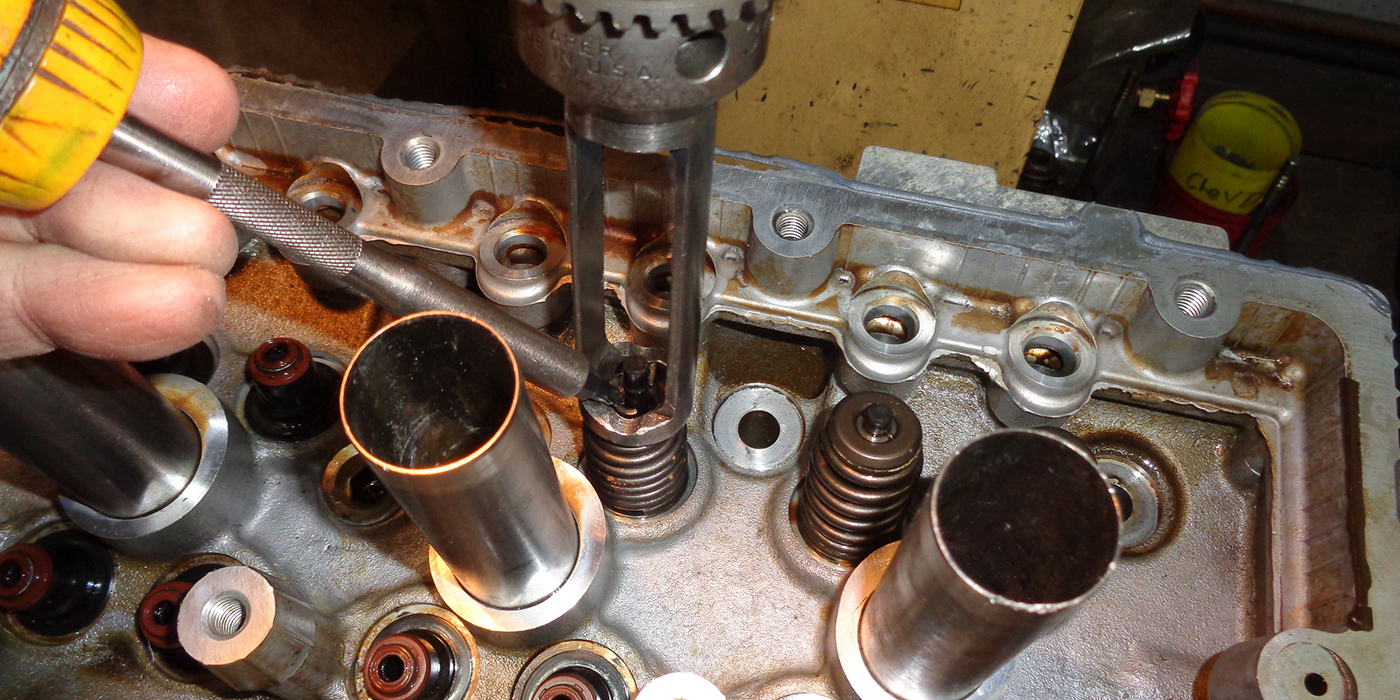
#11: Piston-to-Valve Clearance
Someday you could find yourself at the track, out in the field, or at home in your garage needing to check piston-to-valve clearance after a cam swap or cylinder head change and there is no clay available.
Click here to read more and vote now!
#12: Grumpy Jenkins’ Braided Line Cutting
Twenty years ago I was lucky enough to have Bill "Grumpy" Jenkins show me a great way to cut steel braided lines. He used a sharp wide chisel.
Click here to read more and vote now!
#13: Removing Dowel Pins With a Claw Hammer
To remove a dowel pin from small block Chevys there a several options. One way is to purchase a specialty tool. Another option is to hammer it flush and push it through with a center punch, which may result in mushrooming the top, making it hard to remove and also ruining the pin.
#14 Inspection: Vacuum Check That Engine
With the advent of foreign castings, some less than stellar, it is important to be more critical than before during inspection. I have a large vacuum pump that I use to vacuum check every engine’s water jacket before it leaves my shop. My pump pulls around 22 inches of vacuum. When it reaches that point I close the valve to check for leaks.
Click here to read more and vote now!
#15: Taking The Mess Out Of Cylinder Honing
To cut down on the mess that your cylinder hone makes, take a plastic coffee can and cut out the bottom. Click here to read more and vote now!
#16: Aligning Cylinder Hone With Cylinder By Using Laser Guide
A laser guide, such as sold by Harbor Freight or other tool suppliers as a “Laser Marker” for under $5, saves quite a bit of time when cylinder honing by allowing the hone head to be easily lined up with the cylinder.
Click here to read more and vote now!
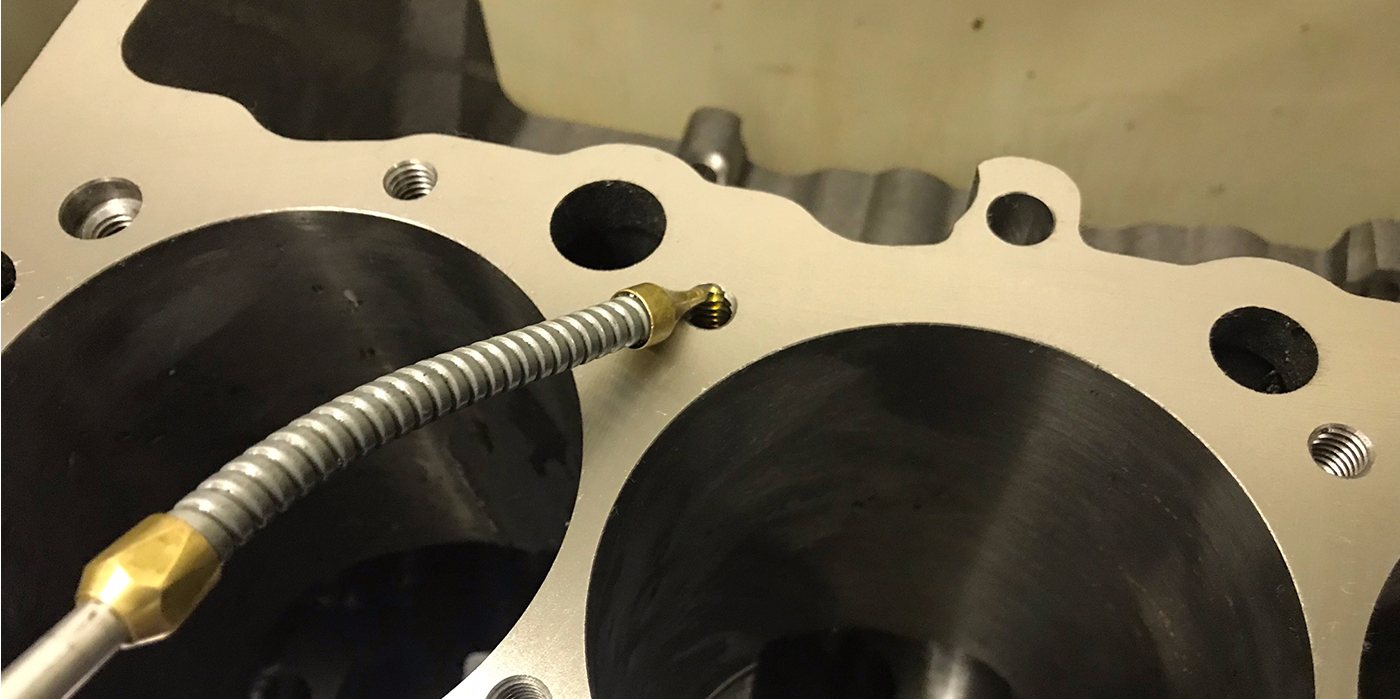
#17: Pressurizing Camshaft Thrust Oiling On Big Block Chevys
Start by drilling through the lower thrust face in the block to intersect the #1 main feed hole, then partially tap the hole to insert a 6-32 set screw. Drill a 0.028? hole in a brass set screw, for a metering jet.
Click here to read more and vote now!
#18: Removing Round Wire Wrist Pin Retainers
A tire valve core remover works great for removing round wire wrist pin retainers.
Click here to read more and vote now!
#19: Keeping Your Parts Washer Clean
I was having difficulty keeping my parts washer clean, and the fluid/solvent was not lasting long enough. By utilizing an old oil filter housing from a 390 Ford motor, I found a way to keep the parts washer clean and increase the longevity of the washer fluid.
Click here to read more and vote now!
#20: Welding Cast Iron
When attempting to weld a cracked and/or broken cast iron part there are several things to consider. First, a die penetrant test should be conducted to check the extent of the crack. Once the length of the crack is determined, I like to drill a small (1/8?) diameter hole at each end of the crack to prevent further propagation of the crack during the welding process.
Click here to read more and vote now!