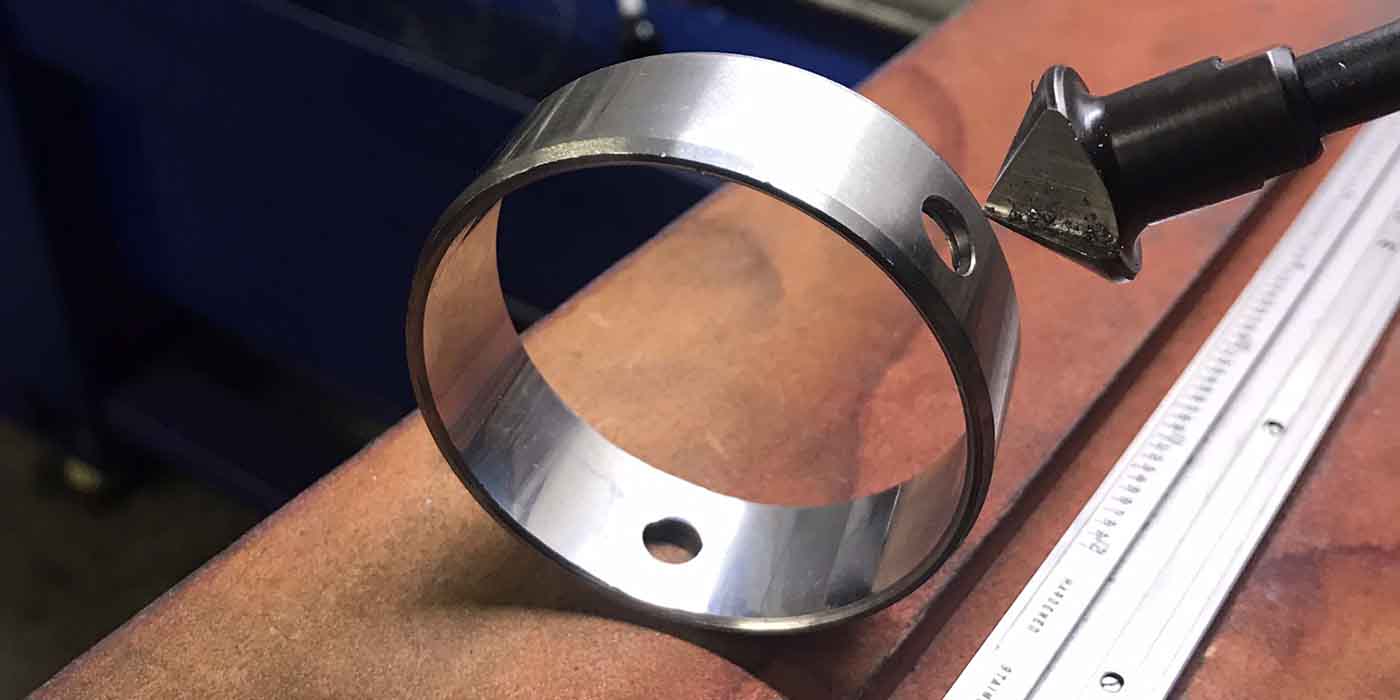
Making Your Own Piston Ring Compressor
Some customers have been asking me for piston ring compressors in sizes we do not carry. My suggestion to them is to do what I do.
Look in a cylinder sleeve catalog and find one that is close to the ID of the job you’re working on. Place the sleeve in a lathe, cut off the length needed and chamfer the edges. Now you have the piston ring compressor you need! Not only does this save you a ton of money in the long run, but in some cases you can make two or three ring compressors from one sleeve at a cost of only $10 to $20. It takes some time to make, but it is worth the time if you are a budget builder.
Paint your new compressor with Glyptal and it will last a long time, at least until it is dropped, and then you can make another one from the same sleeve you started with.
Roy Maloney
Engine & Performance Warehouse
Houston, TX
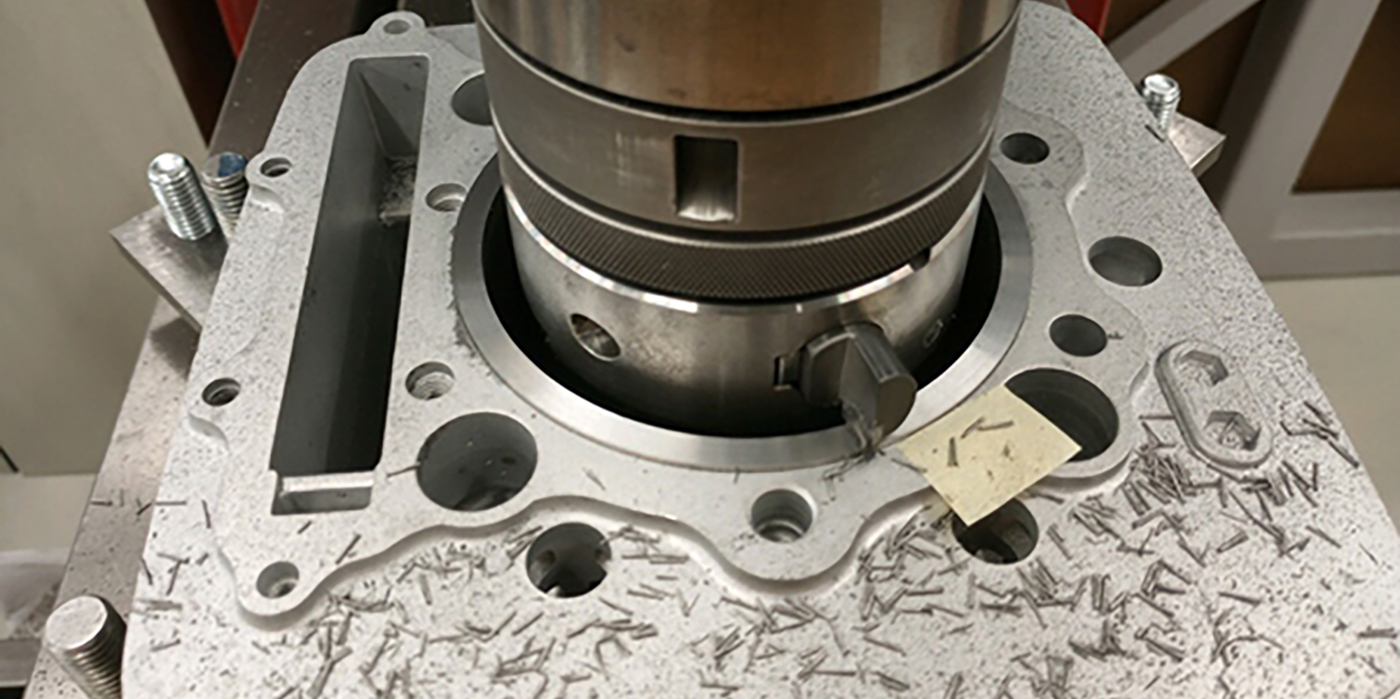
Sanitary Gasket Removal
Various companies, including 3M, offer a “backing pad” system to mount a non-marring abrasive pad to any 1/4? die grinder. The key advantage of this method of gasket removal is that the soft abrasive pad does not remove the metal or aluminum from the parts being cleaned. The old method of scraping, especially on softer aluminum parts, creates metal shards that can get into the crankcase or oil system and contaminate the internals of the engine being rebuilt/repaired.
To further guarantee a sanitary job, a shop vacuum can be used to catch any material that may otherwise land in the engine while you are removing any silicone or cork from the part being repaired. This is a quick and simple solution to unwanted material getting into your engine.
Rob Wood
Engine & Performance Warehouse
Anaheim, CA
 Multi-Tasking: V8 Torque Plates on V6 Engines
Save money by using your V8 torque plates on V6 engines. I know for a fact that the small block V8 Chevy torque plate works great on V6 Chevys.
Norm Johns
Norms Auto Machine
Petaluma, CA
Finding the Center of Your Workpiece Quickly
Here is a quick way to find the center of a workpiece using inches with fractions:
First, take the OD measurement of the piece in inches and divide by 2. Then multiply the denominator of the fraction by 2.
Example: Find the center of 7-5/8. Solution: 3-1/2 (3-8/16) plus 5/16. Answer: 3-13/16.
It’s simple and no calculator is required.
Lee Johnson
Pro Performance
Denver, CO
FACTOID OF THE MONTH
Milestones in the Wide world of wheels:
1891 - First Auto Accident In The U.S. happened In Ohio City, OH. Someone ran into a hitching post.
1909 – First Paved Concrete Road In The U.S. was Woodward Ave in Detroit, MI. One mile of concrete pavement was poured on a base of wooden planks.
2012 – First Time One Billion Cars Ran On The Roads Of The World. If you happen to live in Southern California, they all seem to be on the 91 Freeway at 5pm.
Yet Another Way To Remove Broken Bolts
Have you ever had a customer bring in a block or cylinder head to have work done and he says, “by the way, can you get the broken bolt out?” After a closer look you see he has already tried to remove it, and to make it worse, he broke an easy-out in it.
I have found an easy way to remove these broken bolts or studs, including ones that have broken easy-outs or drill bits in them. It can save you a lot of wasted drilling, grinding and chiseling time, not to mention the cost of drill bits and carbide burrs.
First, depending on if the bolt or stud is broken off flush or recessed below the surface, you will need to grind the exposed part with a grinder just enough for a clean surface. Next, take a nut and place it over the broken bolt or stud. Place a slightly larger nut over the bolt you are removing; for example place a 7/16? nut over a 3/8? bolt. Weld the nut to the broken bolt or stud, let it cool, then remove.
In some cases, if the broken bolt or stud is recessed it helps if you build up the surface with weld prior to welding the nut on. This is also helpful when you are removing broken bolts in the vehicle. Be patient and you will be surprised how easy it actually is.
Paul Mariana
Mardinly Motors
Broomall, PA
Manufacturer Shop Solution: Centering LS Chevrolet Oil Pump on the Crankshaft
For stock applications, placing the oil pump onto the crankshaft and installing the oil pump mounting bolts will provide adequate alignment of the oil pump to the crankshaft. For performance applications, the alignment of the oil pump can be more closely controlled by following the steps outlined below:
1. With a quality Torx bit, remove seven oil pump screws.
2. Remove rotor assembly from the housing, checking for chamfer on outer rotor.
3. Install pump housing over crankshaft and install the four pump to block bolts finger tight.
4. Lubricate and install inner and outer rotors into housing over the crankshaft.
5. Install three shims (.0015? to .002?) equally spaced between the inner rotor and splined pump drive to center inner rotor on pump drive.
6. Install three shims (.002? to .003?) equally spaced between the pump housing and outer rotor to center the outer rotor. Crankshaft rotation may be necessary.
7. Tighten pump housing mounting bolts to 18 ft.lbs. (2.5 Nm) in a star pattern sequence.
8. Remove the shims, install pump cover and screws with a drop of Loctite 242 on the threads (use sparingly), tighten screws to 80-106 in.lbs. (9-12 Nm).
Mike Osterhaus
Product Development Manager
Melling Tool Co.
Jackson, MI
Engine Builder Shop Solutions is sponsored by Engine Pro,
a group of 9 engine parts specialist WDs in the U.S., and one in Australia, operating 35 branch
locations serving engine builders/rebuilders across the U.S and Australia. Authors of Shop
Solutions published in each issue of Engine Builder Magazine are awarded a prepaid $100 Visa gift card. Entries will be chosen by
the staff of Engine Builder Magazine and the Engine Pro Technical
Committee.
To submit a Shop Solution simply mail your entry
to Engine Builder Magazine, Shop Solutions, 3550 Embassy Parkway,
Akron, OH 44333; or email to Shop [email protected]. Shop
Solutions may also be emailed to [email protected].
You must include
your name, shop name, shop address and shop telephone number. Submitted
Shop Solutions not published will be kept on file and reevaluated for
publication with each month’s new entries. If you include your email
address you will be emailed notification of publication if your Shop
Solution is chosen.