GREASY HANDS LOSE GRIP
When my hands are a little greasy, I have a hard time turning and gripping the twist knob to send my centering fingers out on my Kwik Way Boring Bar to contact the cylinders firmly. My fix was to cut a 2- inch long piece of a used bicycle inner tube to wrap over it.
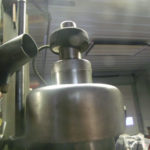
Wow, even when greasy I can grip and turn it without slipping. This idea can also be used for hammer handles, crescent wrenches, screw drivers, and a good shock absorber for Axe or Sledge hammer handles. You can even double it over if you want more cushion.
Mike Segar
Segar Machine
Bloomington, MN
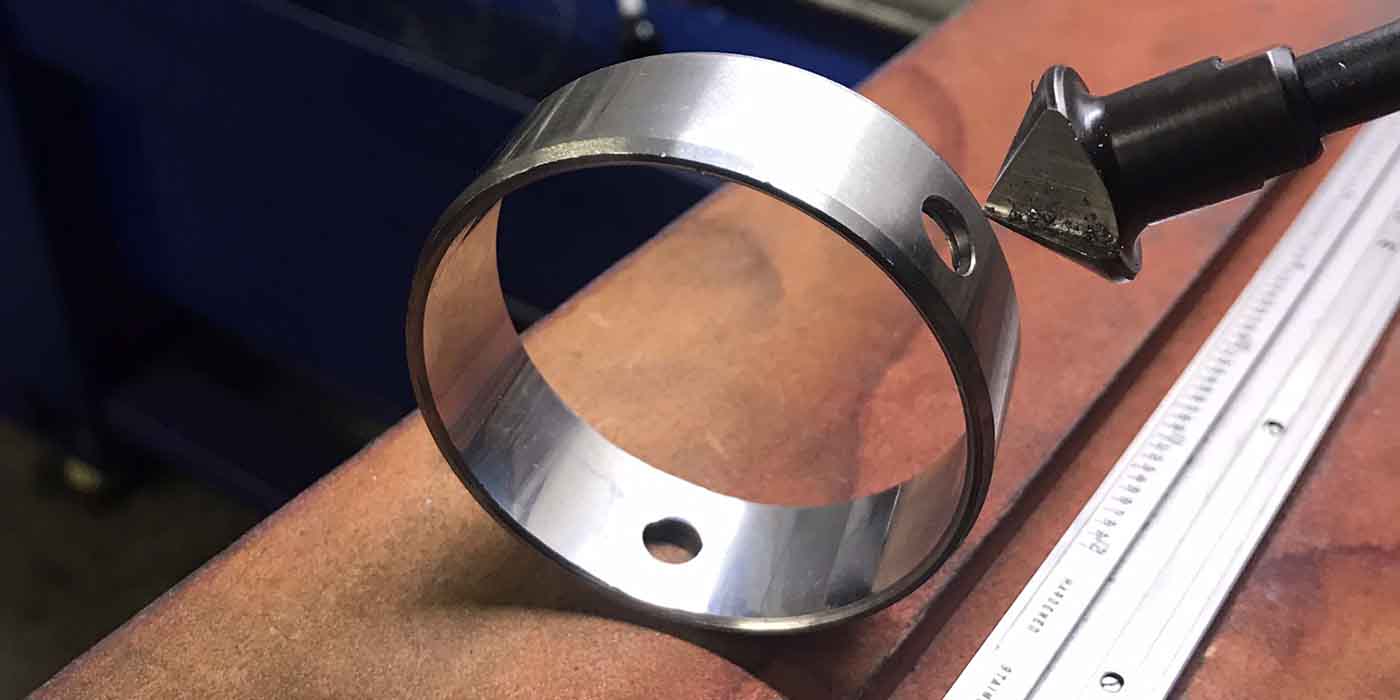
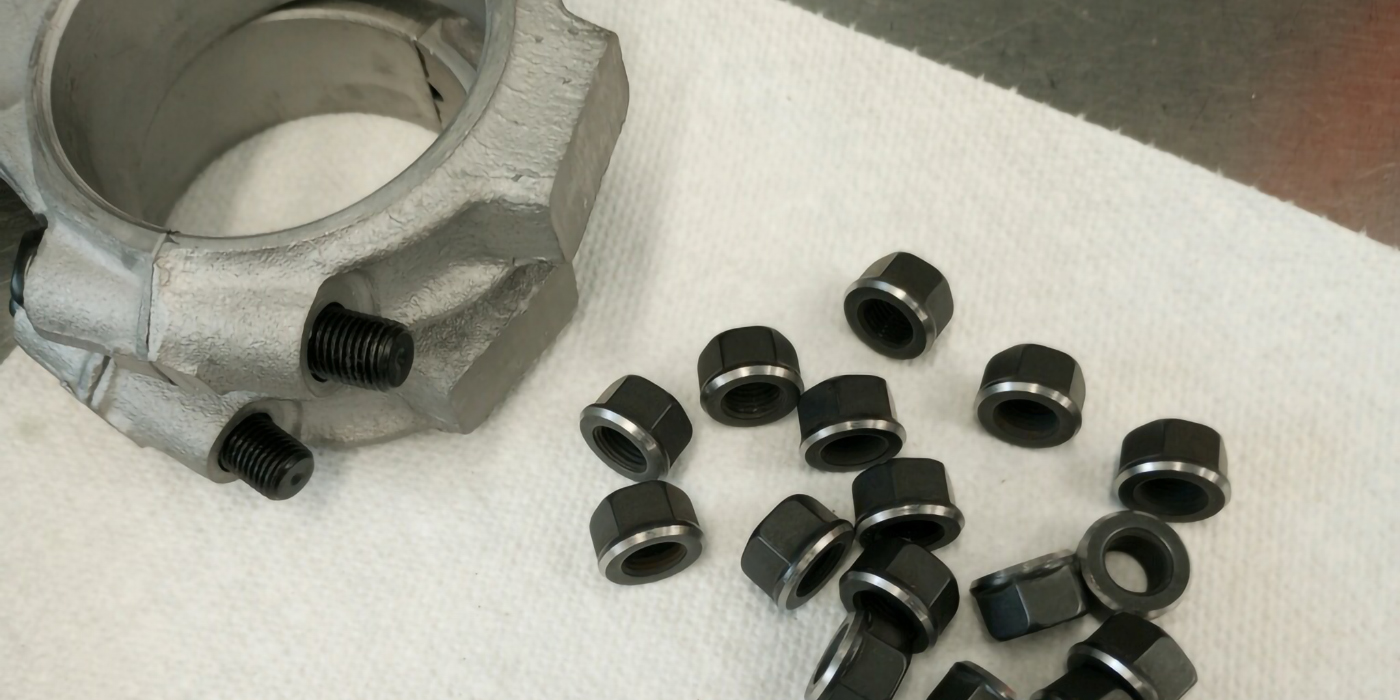
SPATTER SHIELD
I frequently use my MIG welder to weld nuts onto broken or rounded- off fasteners on engine components so I can remove them easily. When welding on a greasy old fastener you will likely get some weld spatter from the process and you do not want that spatter to stick to the surrounding areas of the component. I simply wrap the surrounding areas with tin foil so any welding spatter will be blocked.
Dave Matton
D and D Auto Machine
Bloomington, MN
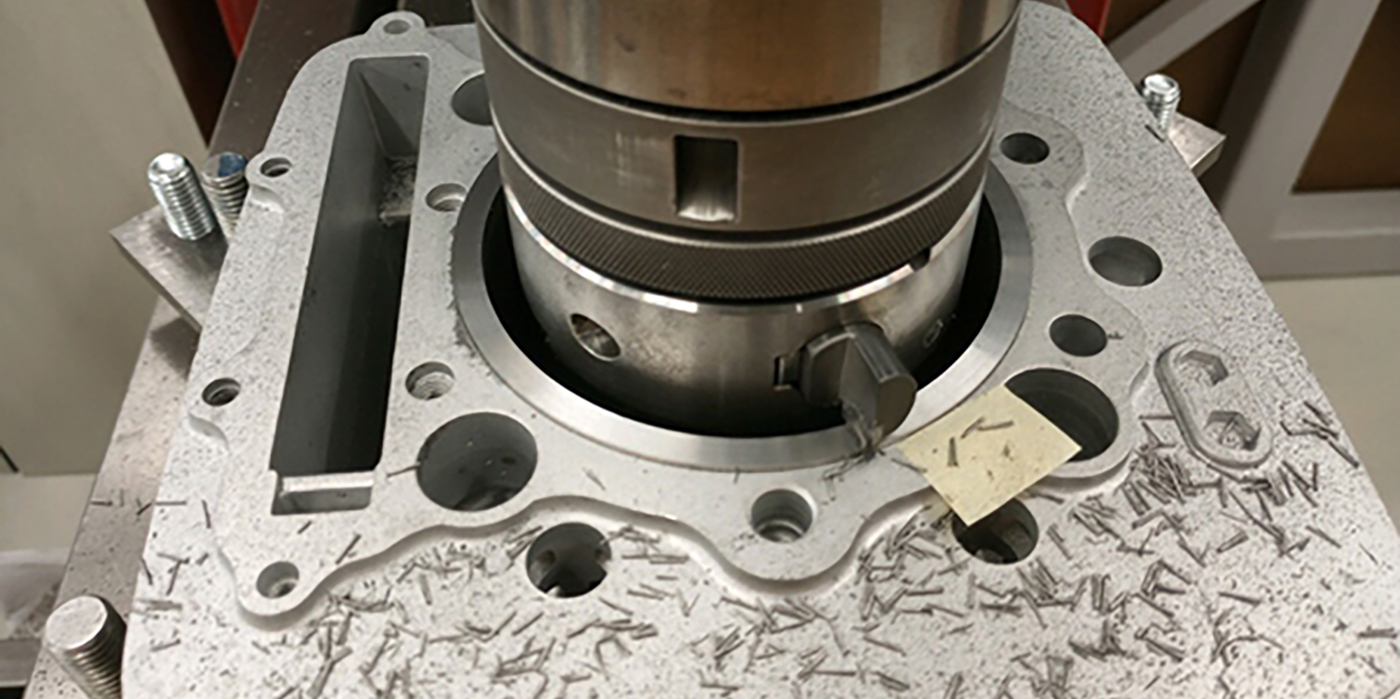
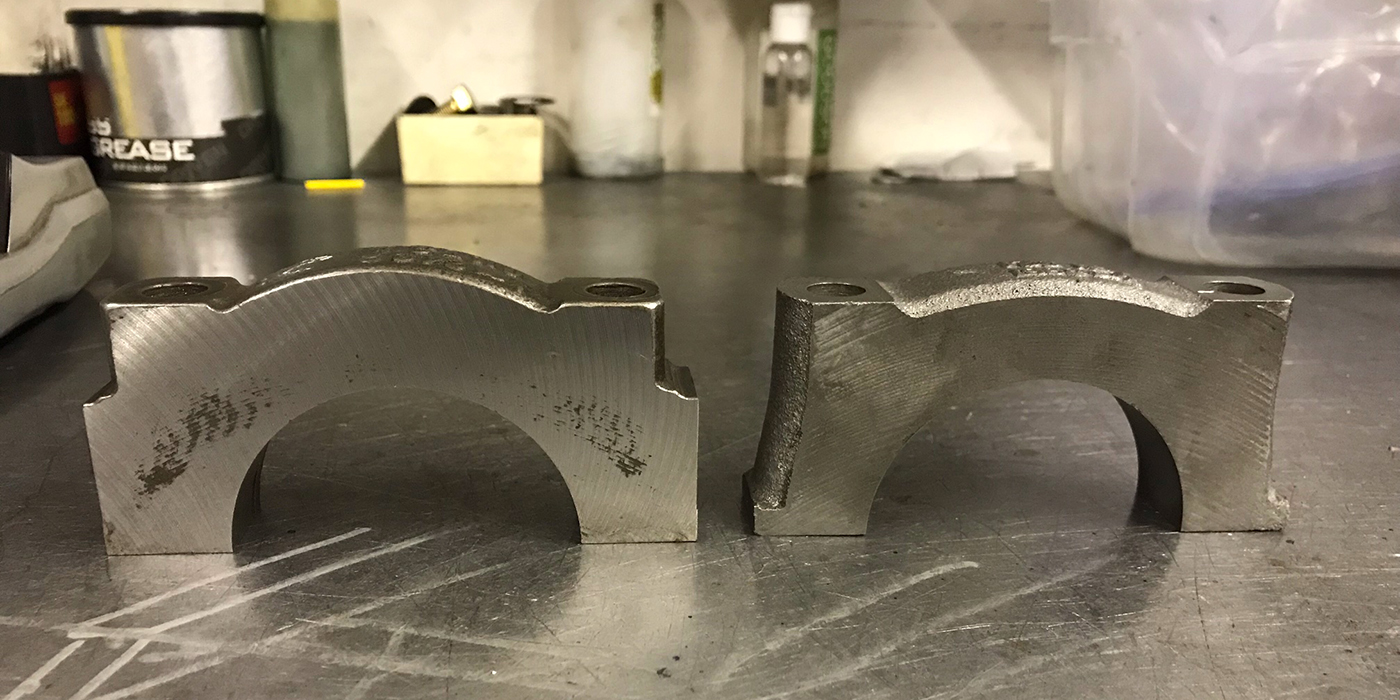
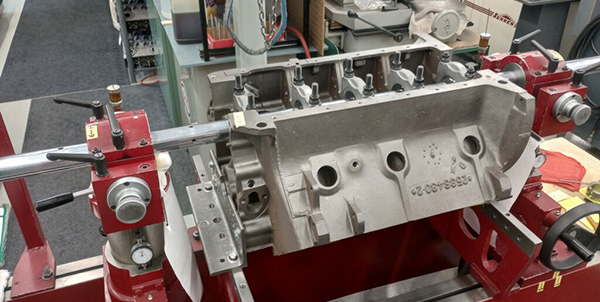
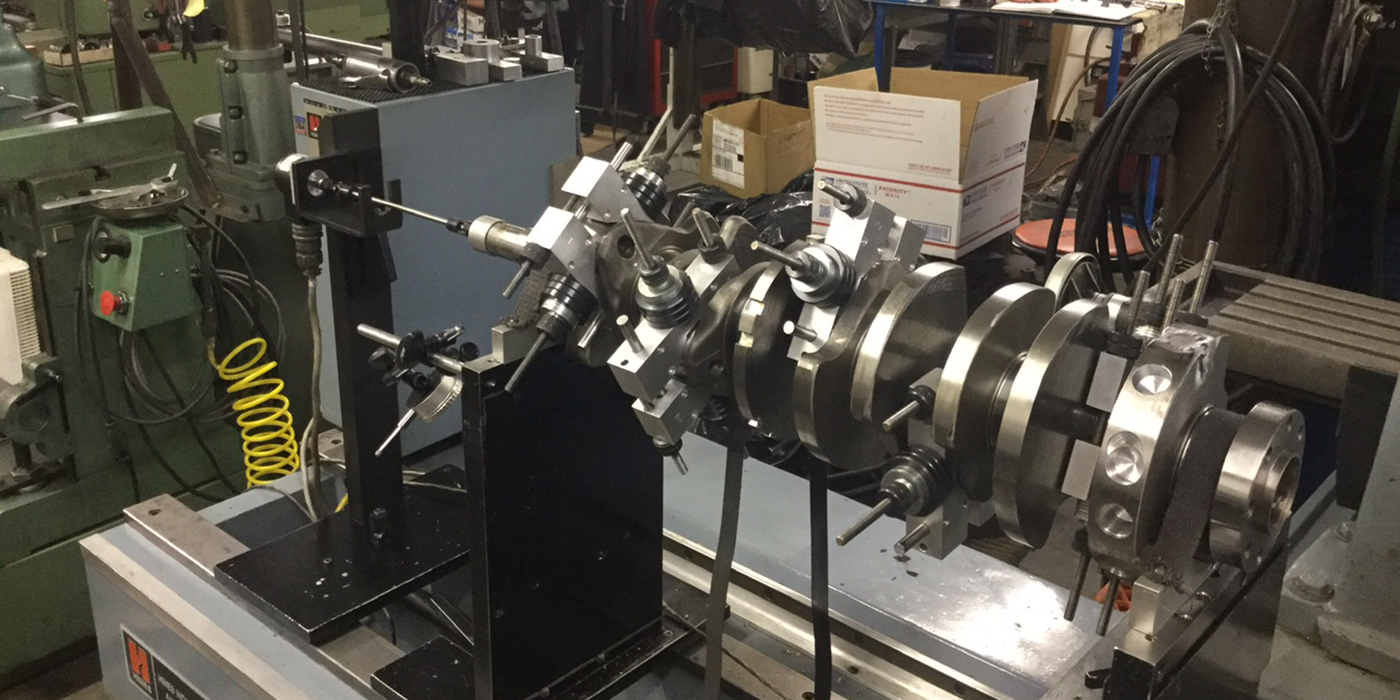
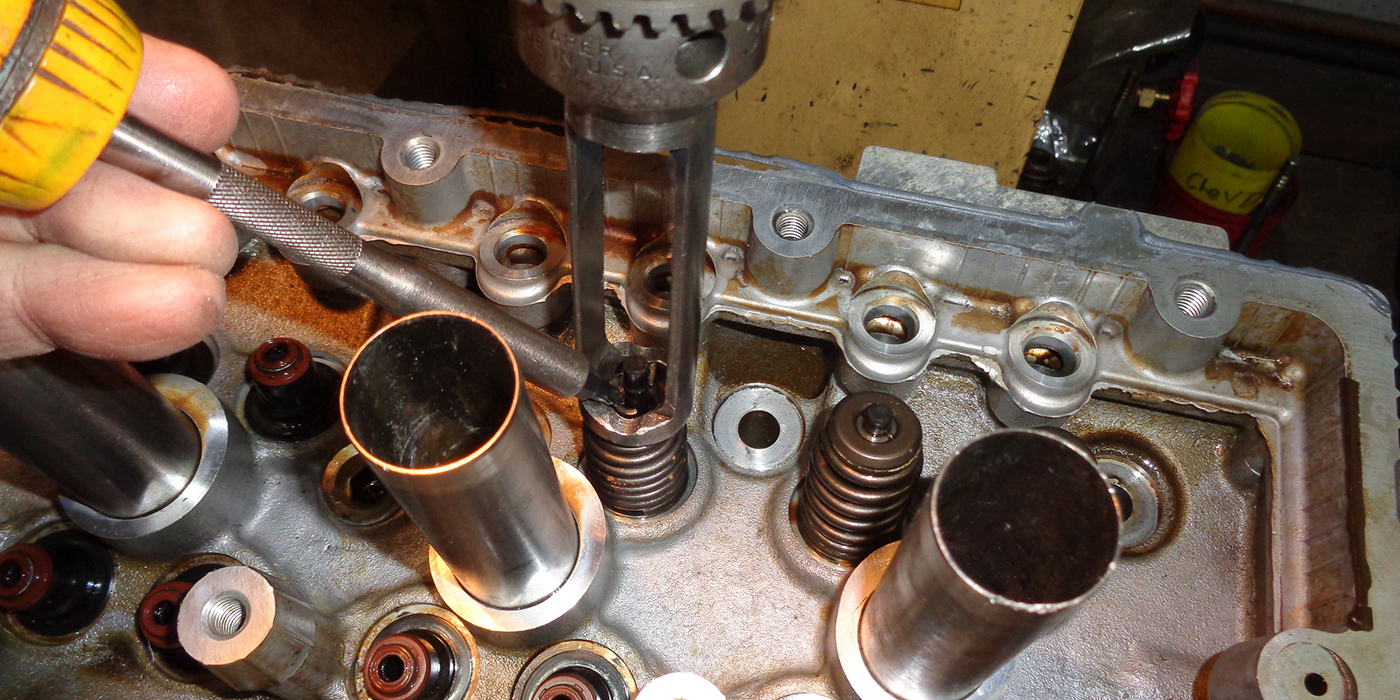
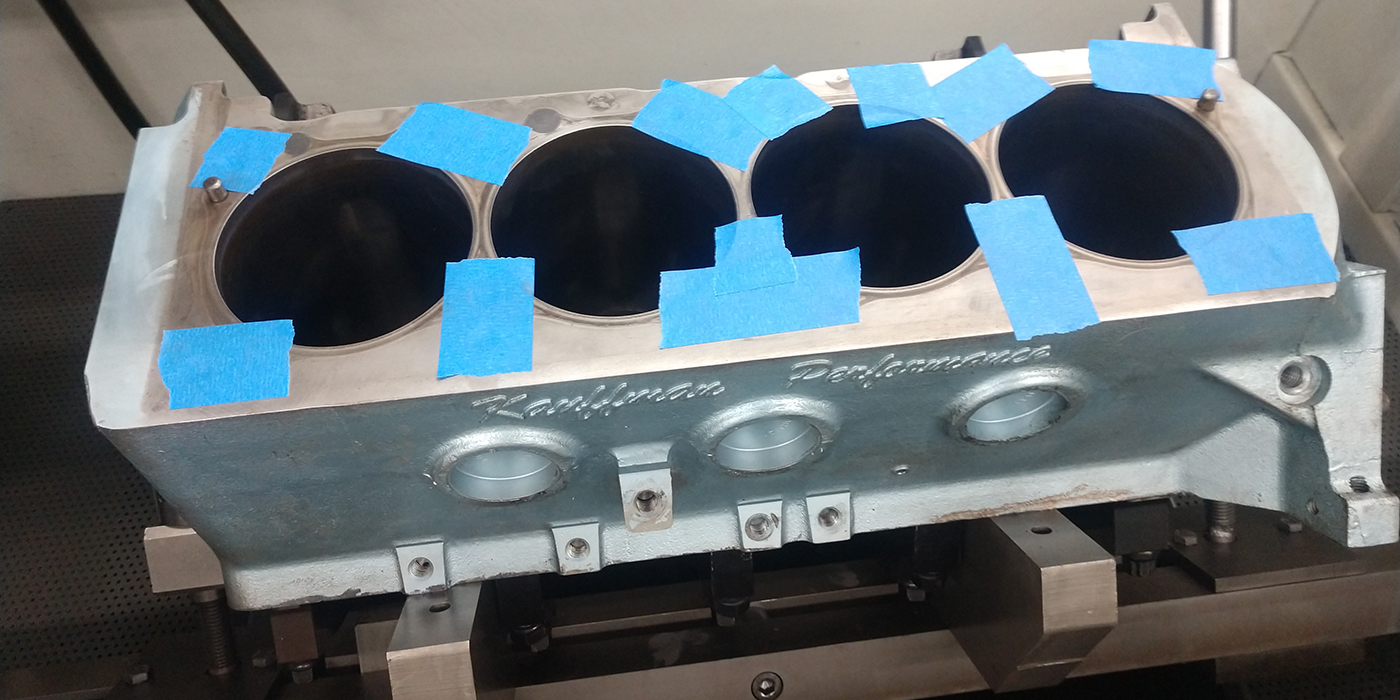
CAM BEARINGS SAVER
I use a piece of PVC pipe inside the cam bore when I need to machine a block with cam bearings already installed. The pipe is 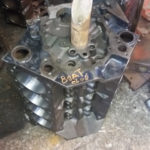 large enough for the hold down bar in our boring and honing equipment to pass through and the PVC protects the cam bearings from getting scratched.
Bruce Lizotte
Lake Park Auto Machine
Palm Beach, Florida
A PEA IN A CAN
You may think there’s nothing new to learn abou using a can of spray paint, but I’ll bet there are some simple tips that can help you use them more efficiently.
Did you know the rattle-ball in an aerosol can is called a “pea?” Here’s a few tips on how to use every drop of paint from an aerosol can.
1. Shake it. It’s important to thoroughly mix the contents. Most cans suggest shaking for 2-3 minutes so watch the clock because 20-seconds of shaking seems like minutes.
2. Spray it upside down before you start painting. Turn the can upside down and spray until a consistent stream of air comes out and clears the nozzle.
3. Spray upside down after you are done painting. Turn the can upside down and spray again until a steady stream of air comes out of the nozzle. Remember, when the can is upside down, the end of the dip tube is in the propellant so you are blowing air through the dip tube and valve to clean it out after use.
4. Shake at least once per year to keep the solvents mixed and your aerosol paint can be stored upright for years.
Steve Rich
Sterling Bearing, Inc.
N. Kansas City, MO.
PRIMING AN LS OIL PUMP
Priming your oil pump and your engine before start up of a new engine is very important. No new engine should be started up dry, but it is often difficult to prime on new engines with front crank driven oil pumps. Here is where we need a pressurized oil priming tank.
Sometimes a shop may replace an oil pump in the car. This is common with the GM Gen 3 and 4 or LS platform engines. There are some important steps that need to be addressed before starting the engine.
On the GM LS engines the oil pick up screen is attached to the bottom of the pump and sealed with an o-ring. It is important that the correct o-ring be installed or air may leak in and cause severe engine damage. Use engine oil to lubricate the o-ring and install it on the pick up tube, then install the tube to the oil pump. We should also point out that now is a good time to install a new pick up screen rather than chance getting any debris from the old screen into the new pump. This can easily cause a by-pass to stick, creating a low or no oil pressure condition. Also, a screen clogged by varnish build up can starve your engine of oil.
When installing the pump, it is important to install the locating bolts just finger tight. Once all the bolts are snug, it is important to torque the bolts to the correct torque spec, working around the pump in a star pattern. Now it is time to complete the engine assembly.
Make sure your oil level is correct and fill the new oil filter with new clean oil before installation.
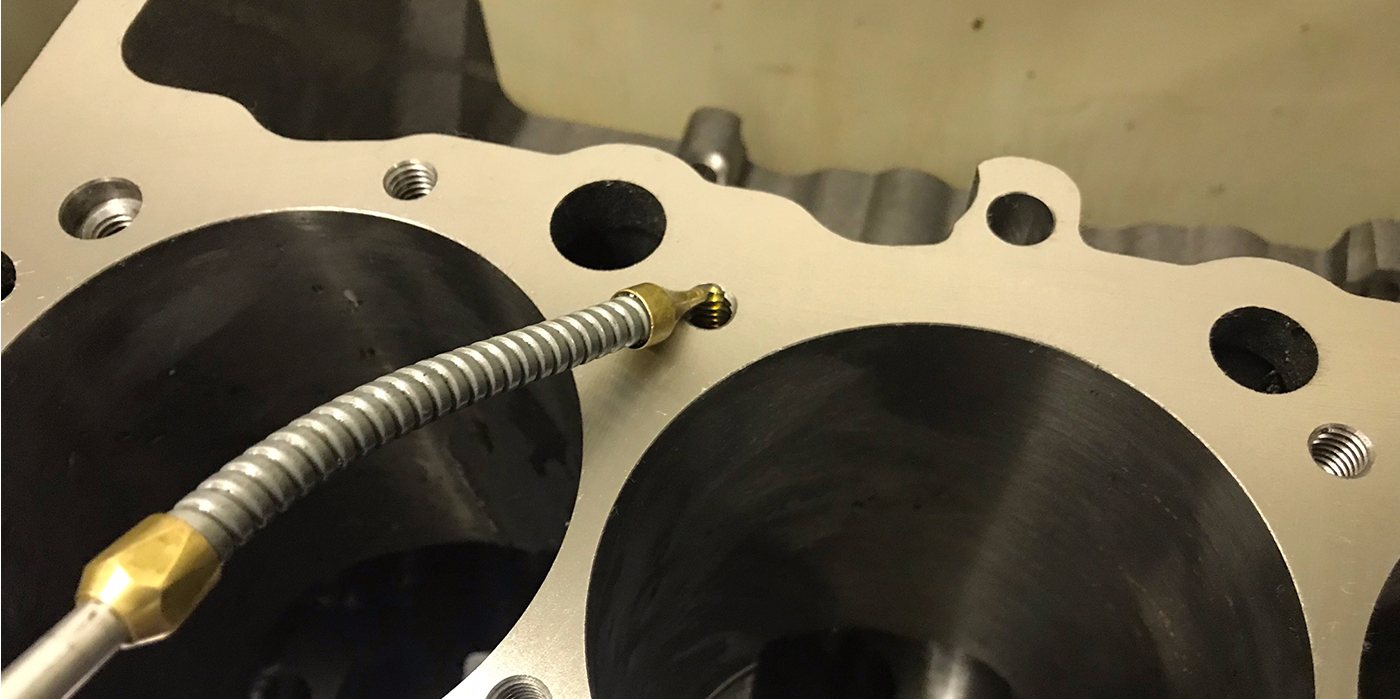
Now, to prime the pump, use an 8mm Allen wrench to remove the oil galley plug on the left, lower, front corner of the block. Use a 2-ft. long length of 3/8 I.D. fuel hose and screw it about and inch and a half into the hole where you just removed the plug. Place a funnel over the hose and slowly pure about 8 oz. of engine oil into the funnel.
Wait about 3 minutes, then remove the hose and replace the oil galley plug.
Your pump should now be primed and ready for the engine to start.
Engine Pro Technical Committee
with special thanks to Melling Engine Parts