This is the second in a series of articles about building a competitive sprint car engine that can successfully compete with crate and spec motors at a customer-friendly, business-boosting price point.
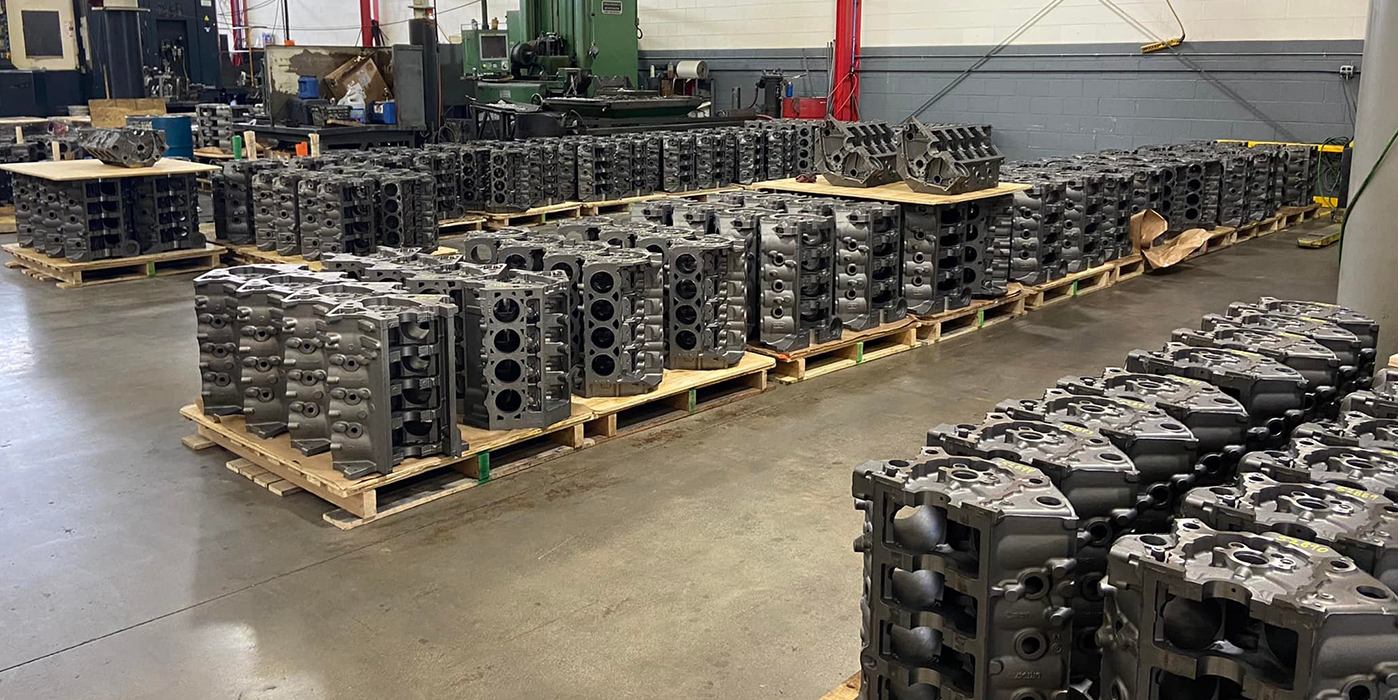
GM made many different block castings. For this project the older 2 piece main seal are preferred. There is a list of legal casting numbers in the Racesaver.com rules. There is a Dart block but the extra cost kept it out of this project.
Customers may want to reduce cost by doing work themselves. Stripping the block, removing plugs, deburring and lifter galley polish will save you some time. Once out of the hot tank and magnafluxed and pressure tested, sonic check the cylinders. The 5.7” rods put extra stress on the walls and we have seen cracks in #5 and #7. Stock style water pumps can result in hot spots. To even cooling, open the water jacket bottom drains to 3/8 or ½” npt. Water lines from the pump will be added later.
Used blocks benefit from decking and line boring. Stock 2 bolt main caps will work but we are adding aftermarket 4 bolts caps left from another build. There is a girdle that works with stock caps milled flat. Use longer studs to allow for a windage tray. Run a ½” drill thru the oil passage in the main cap. Make sure there is adequate thickness between the bore and the outer wall then install and line bore.
Depending on cylinder wall thickness, piston bore can be up to 0.060” over with a stock 3.480” stroke crank for 315ci legal limit. Piston fit and hone pattern will depend on the piston and ring selection
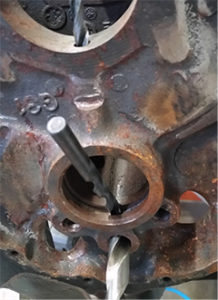
Tap the small return holes in the lifter valley for ¼ npt plugs. Increase the ports on both ends as much as the block allows. The goal is easy return oil to the pan while reducing windage loss on the crank. Debris screens are optional. I don’t use them since part failure is rare.
There are different opinions on the SBC oil system. Sure, it will work as is but we are looking for longevity at higher power and RPM. I’m a fan of more flow at less pressure with synthetic oil. Opening all the oil passages allows that while removing any trapped debris.
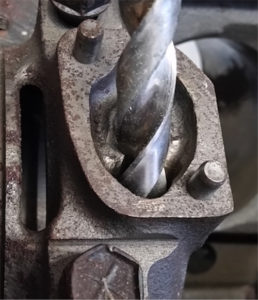
You need a ½” or 9/16” drill bit at least 12” long. I use a 2 handed drill with ½” chuck. Take your time to avoid breaking a bit in the bore. Cast iron can be a pain to drill. I do both ends with the ½” then the 9/16” since that’s the tap drill for a 3/8” npt plug. The lifter galley passages just get brush cleaned and tapped ¼” npt.
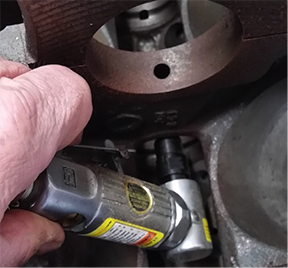
Use a ½” bit and open all the passages around the oil filter housing and tap for pipe plugs. Don’t forget to tap for the plug in the riser passage. Tap the holes in the lifter passages for ¼ npt plugs.
Holes in the bearings determine the actual oil flow to the crank, rods and cam. Enlarging the passages allows the builder to increase that if desired while reducing hydraulic losses in the oil flow. The stock bore from the main oil passage, around the cam and to the crank main journal is about ¼” which is fine for getting grandma to church. Increasing that to 5/16” will increase the flow rate 57% at the same velocity. A “P” drill (.323”) doubles the flow potential. For you math types, Volume = Area*Velocity. Area .25 = 0.049in2. Area .31 = 0.077in2. Area “P” = .082in2.
This flow goes around the cam bearing to get to the crankshaft. Use a small V profile mounted stone on a 90° grinder to open the groove outer diameter. You don’t need to increase the width, just make the slot a bit deeper and blend edges at the drilled holes.
Back in the day the trick was a big block oil pump for SBC. Melling now offers the 10555c with helical cut gears. Take it apart and clean it. Drill the oil passage to ½” and blend the area around the mount stud for better flow. Deburr the cast opening in the cover plate with a small Dremel to remove any loose material. Coat the gears with assembly lube, put it together with your pickup and it’s ready.
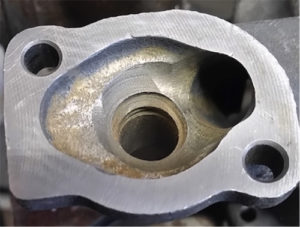
Early blocks had a tapped hole angled in the front of the block for the oil pressure sender. Most still have a flat there. We drill the hole into the main oil rail and tap it for an external line from the filter.
Once the freeze plugs are in and all the pipe plugs installed, the block is ready for assembly. One other trick is to use a small center drill and put shallow holes along the oil pan rail. This gives the gasket additional “teeth” to prevent leaks.
Don’t worry about the rust in the pictures. This is just the photo block. The race version will be squeaky clean. Parts are on order for the short block build.
Stay tuned!