

There is perhaps no more important component contained in the internal combustion engine than the connecting rod fastener. Regardless of whether a particular connecting rod uses a bolt/nut arrangement, or a capscrew configuration, the connecting rod fastener’s performance is critical. Understanding the details for proper installation is important for veteran engine builders and first-timers alike.
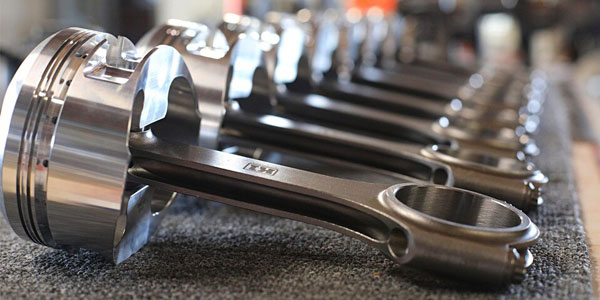
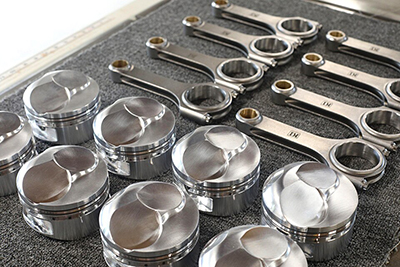
The connecting rod is designed to take the reciprocating motion of the piston’s travel in the bore and turn it into rotating motion at the crankshaft, turning combustion forces into propulsion forces. The fasteners, which holds the rod’s big end together, can make—or break—your high-performance engine.

Each connecting rod fastener is tasked with maintaining its clamp load whether the connecting rod is at bottom dead center (BDC) or top dead center (TDC) in the cylinder bore. At TDC, the fastener’s difficult job is to prevent the connecting rod from separating at its big end and permitting the piston to crash into the cylinder head.
“The rod bolt is essentially an extremely stiff spring, and we rely on the elasticity of the material to stretch and rebound to maintain the correct clamping load in operation,” says Michael Skeen, Technical Sales Representative at K1 Technologies.
Regardless of what you’ve heard elsewhere, checking fastener stretch is the best way to ensure connecting rod fasteners are installed correctly.
“The recommended method for accurately tightening rod bolts is to use the stretch method to properly preload the bolt. This is the method recommended regardless of the engine building situation, rod material, or fastener material,” says Skeen.
This is because just measuring torque does not accurately inform you how much the fastener is stretched, nor its clamp load; instead, measuring the torque simply provides you with the amount of friction it takes to turn the fastener. This can be affected by the use of lubricating oil, molybdenum lubricant, or any other liquid you’ve seen used over the years to install connecting rod bolts and is most definitely not the most accurate way to determine whether the fastener is providing the proper clamp load to the connecting rod.
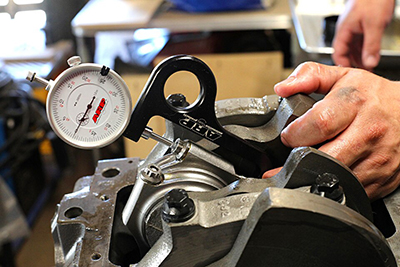
Measuring connecting rod stretch is not difficult, but it does require the use of a stretch gauge, which is available from ARP and other sources.
“If the bolt is not stretched enough there will not be enough clamping force to keep the rod in place. This could lead to a spun bearing or a broken bolt. Alternatively, if the bolt is overstretched beyond the yield strength of the fastener, it is possible that the bolt could fail,” says Skeen.
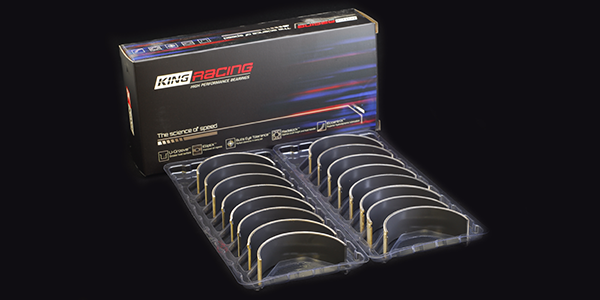
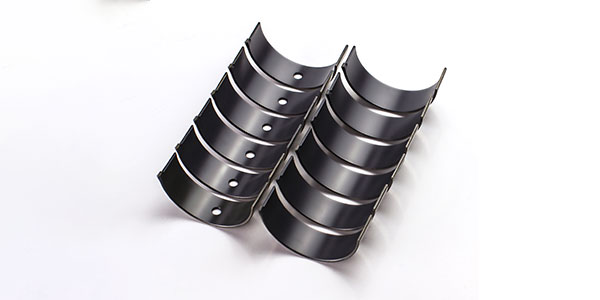
Prior to the installation of the connecting rod’s cap and fasteners, the first step is to ensure you have a notepad handy to mark down your measurements and prevent any confusion. Each fastener must be measured before it is installed, to note its free length in a relaxed state. Each K1 Technologies connecting rod set comes with ARP 2000 fasteners, which have dimples on each end of the fastener so that the gauge can be properly centered on the fastener to measure its length.
Before any torque is applied, set the stretch gauge’s ball ends into the dimples on the fastener. It will feel like the stretch gauge drops into place in the dimples. Make sure to adjust the outer ring on the dial gauge to ensure it is at Zero on the gauge face. Each fastener will have a stretch specification, which K1 Technologies provides with the connecting rod set.
Two critical things to note here: you must make sure you are using an accurate torque wrench, and you must be able to snug the fastener down in one single pull. If you stop partway through, it can provide inaccurate readings. It is also to have a connecting rod vise to hold the rod stable during the stretch measurement process.
Now you may note that we mentioned the use of a torque wrench, right after we say to not use a torque wrench. Well, that’s because you can use the torque wrench as a backup of sorts to the stretch gauge.
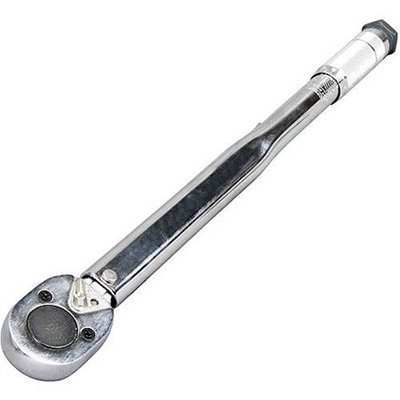
What we mean by that is this: once you establish how much torque it takes to achieve the proper fastener stretch, you can determine the torque value it took to achieve that amount of stretch, and then duplicate that on the rest of the fasteners. But you can see how having a reliable torque wrench is a critical component to this process. If the wrench is not good, then the values will be incorrect, and you run the risk of over-stretching the fastener, which will ruin it. If the bolt is stretched past its yield point, it’s permanently deformed— and we don’t want that.
Once you have determined the torque value it takes to stretch the fastener to the proper length, then repeatability is appropriate across the rest of the fasteners. However, it’s still pertinent to continue to measure the fastener free and stretched length as you go.
Something specific to note is that the use of lubricant can and will affect the stretch of the bolt as it reduces friction. Because of this, using the bolt stretch method is without a doubt the most accurate, because if you rely on torque values alone, you could get vastly different amounts of fastener stretch depending upon how much lubricant you apply to the underside of the fastener.
“Tightening the fasteners by torque value alone is not an acceptable method for installing the rod cap and should never be used. Since torque value is only measuring the resistance to turning, lube amount and type can introduce too many variables to make sure that the fastener is properly preloaded,” says Skeen.
Of critical importance: upon removal, if the fastener length changes more than .001-inch from the pre-installed length—yes, you should measure bolts on disassembly—it must be replaced as it has been stretched beyond design limits.
Lastly, for instances where the stretch method just simply isn’t possible for one reason or another, Skeen says K1 does have an option.
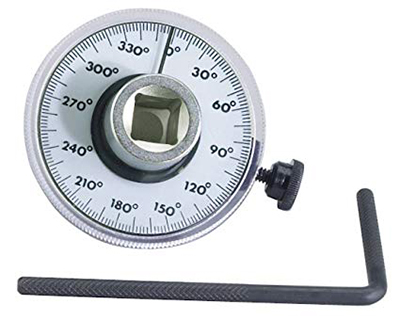
“Although stretch is the recommended method of securing the fasteners when installing the rod caps, we do offer specifications for torque + angle tightening. This method requires a small initial torque, followed by a specific number of degrees and relies on the precise pitch of the threads to properly stretch the fastener,” says Skeen.
This article was sponsored by K1 Technologies. For more information, check out the K1 Technologies blog!