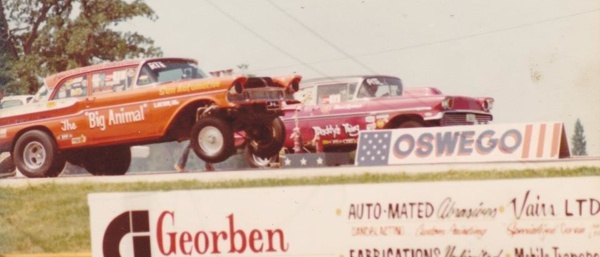
In 1969, I started drag racing at sanctioned drag strip events as a young mechanic and hot rodder. Formerly, my racing had been illegal on county roads. Amazingly, in my first sanctioned effort, I won a trophy in the 1D Hot Rod class at Oswego Dragway in IL. What I learned in the next 50 years would pale in comparison to what I knew in ’69, and the learning never stopped.
By 1976, I was a rookie racing in the National Pro Stock ranks. Being a hands-on owner/driver (Old School Pro Stock days) I had to learn – sometimes the hard way – what went on with the moving valvetrain parts when running big roller camshafts at mega rpms.
I learned about cam timing, valve-to-piston clearances, spring pressures, rates, coil bind limits, retainer and keeper options, spring locators, and shims. I also learned about valve seat materials and angles, valve seal types, how to grind stainless and titanium valves, the best valve guide materials and clearances, using lash caps correctly, types of rocker arms and ratios, rocker arm geometry, rocker arm girdles, special shaft rockers, pushrod deflection verses spring pressures, and what diameter pushrods to use.
(Note-If using canted or hemi heads with big lift cams, such as I did, check intake-to-exhaust valve clearance when valves pass closest to each other. Spec is .030˝ min.)
Common Mistakes
Rocker arm geometry is one of the biggest mistakes I find in modified engines. Incorrect geometry can cause premature wear on valve guides and stems and cause horsepower loss.
The second biggest mistake I find in modified engines when using bigger lift cams is valve stem seal clearances, especially retainer to seal and also inner spring clearance.
Most of the things I mentioned can be found in “how to” books, cam catalogs, online, (careful there) or from instructions enclosed with new parts.
Most hot rod heads need special valve seals. With older, original heads the seal bosses will need to be cut to a lesser diameter and height for special valve stem seal fit. Machining the spring seats may be needed for larger outer and perhaps added inner valve springs.
If using inner spring it must clear the seal shoulders a minimum of .075˝. Those springs bounce all over – even when contained by lower spring locators and upper retainers.
Checking the retainer to seal clearance is easy with the cylinder head off or on. If the head is off, put an intake and exhaust valve in the head. Install seals on the guide bosses. Put retainer and locks on top of the valve stem, and keep the retainer tight by pulling up so the valve seats.
If the head is already installed, just remove springs and retainers with lighter test springs. A good machinist ruler is usually all that is needed. Measure the space from the bottom of the retainer to the top of seal and record that distance. Then, subtract gross cam lift. That is your valve seal to bottom of retainer clearance. I like .090˝ minimum.
If building the engine, and the cylinder head is still off, mock up #1 with both valves, install the head on the block and torque (with used head gasket if possible since this is only a mock up). Install the lifters, pushrods and rockers.
Set the rocker adjustments at recommended lash, then turn the engine over slowly a couple times, rechecking valve lash.
When the rockers are at lash, the rocker should be fairly horizontal. Roller on tip should be slightly inward on top of the valve. Next, turn the engine over until the valve is at half gross lift. The roller tip should now be on top center of the valve stem. When it goes full lift, the roller tip will move slightly inward and then back on return.

If the geometry is off, use the adjustable pushrods to obtain the proper length to correct geometry as needed. Then, order the proper length, diameter, hardness and strength pushrods.
Sometimes including a lash cap on the valve stem will correct a geometry problem. (If using lash caps, use 10-degree retainers and keepers with step for lash caps). Cap should sit on valve stem, not on keeper step.
Another frequent mistake is clearance spec for the bottom of cap to bottom of keeper shelf. It should be .005˝ minimum.
This would also be a great time to do a primary check of valve timing. If you’re smart, have clay on the pistons to check valve-to-piston clearance. Be sure to put a coating of oil on top of the clay so it doesn’t stick to the valves!
As my learning has continued over the years, I’ve been fortunate to be able to pass my knowledge on to my engine customers.

