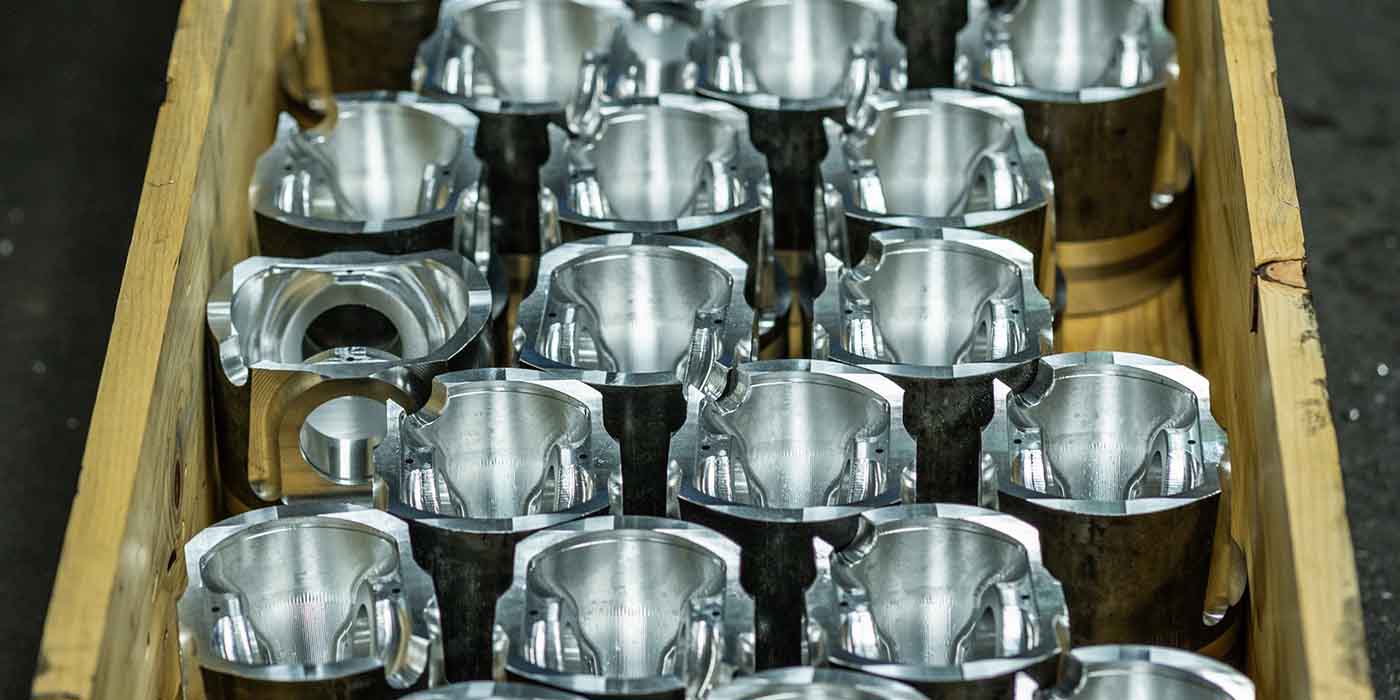
Engine sleeves have long been used to repair worn or cracked cylinders that can’t be bored to oversize. Installing a sleeve can save a block that would otherwise be unrebuildable.
But sleeves can also be used to strengthen cylinders, especially in performance engines that are being pushed way beyond their original design tolerances.
A prime example of this would be Honda B-Series aluminum blocks. These little 1.8 liter engines can be found in various Honda Civic, CRX and Integra models and were originally designed to deliver 106 to 200 horsepower depending on the application. They are a popular engine with sport compact enthusiasts because they can be modified to make upwards of 1,000 horsepower with a big turbo and lots of boost pressure.
However, the stock block can’t handle this kind of power so the options are to replace it with an aftermarket purpose-built performance block that is made from a stronger alloy and fitted with ductile iron sleeves (expensive!) or to bore out the stock block and install dry ductile iron sleeves or wet sleeves. The latter approach can also be used to install larger cylinder bores for increased displacement and a better bore to stroke ratio.
Another example is the 5.0L Coyote V8 in late model Ford Mustangs. In stock form, this engine makes 400 to 435 horsepower. Bolt on a street supercharger or turbo with 6 to 8 lbs. of boost and you can easily bump it up to 500 to 650 horsepower. But as boost pressure and power go up, reliability of the stock aluminum block becomes iffy. Pushing the stock block beyond 700 horsepower increases the risk of a cylinder mushrooming outward and cracking because the stock cylinders are too thin to handle such high loads reliably. There are some drag racers who are making upwards of 2,000 horsepower from a stock block 5.0L Coyote V8, but for how long is anybody’s guess.
If you want to build a reliable engine that’s going to last, bore out the cylinders and install ductile iron liners. Such a modification should allow an otherwise stock block to safely handle 2X to 3X the power it was originally designed to handle.
It’s the same story with Ford 4.6L modular V8s, Chrysler 5.7L, 6.1L and 6.2L Hemi engines, Chevy LS-Series engines or any late model engine with ordinary cast iron sleeves or spray-coated unsleeved aluminum cylinders. If you push the block too hard, you risk cracking the cylinders.
The factory cast iron sleeves in a stock Chevy LS1 aluminum block are designed to handle peak pressures of about 1,100 psi. If you boost the engine with a supercharger or turbo and/or add nitrous, you can easily make 1,300 to 1,800 hp. But the cylinders will then be subjected to peak pressures in excess of 3,000 psi – more than enough to crack the stock cast iron sleeves.
To handle this kind of power, you can replace the stock block with an LSX block or aftermarket performance block (again, spending big bucks) or you can upgrade the stock block by machining out the stock cast iron sleeves and installing dry or wet ductile iron sleeves. Various wet and dry sleeves are available to fit many of these late model engine applications. Ductile iron is about three times stronger than ordinary cast iron, and is more than capable of handling a high output application.
Aftermarket sleeves are available in various diameters, lengths, thicknesses and alloys. There are standard sizes and custom sizes. Some suppliers can make you custom sleeves if there are no standard size sleeves to fit the engine you are building.
It’s important to work with your sleeve supplier when choosing a sleeve for a particular engine so you get the best sleeve for that application. Stock engines can be fitted with ordinary cast iron sleeves that will work just fine, but for high horsepower engines you want some type of high grade ductile cast iron sleeves.
If you opt to go the wet sleeve route to upgrade a block with no sleeves or factory cast iron dry sleeves, you’ll gain several advantages in addition to stronger cylinders. Wet sleeves typically provide better cooling because the coolant is in direct contact with the outside of the sleeves. This is an essential feature for high horsepower applications. You also gain the ability to easily replace individual sleeves or all of the sleeves without additional machining should that become necessary at a later time. That means a racer can repair or freshen up the motor at the end of the season by simply swapping out the old sleeves for new ones.
Almost all Top Fuel funny cars and dragsters run some type of sleeved aluminum block. According to one sleeve supplier who virtually owns this segment of the market, the preferred sleeve material is a special ductile iron alloy that has a tensile strength of 140,000 PSI and a yield strength of 90,000 to 100,000 PSI. This alloy is two to three times stronger than most other ductile iron alloys thanks to the unique mix of carbon, manganese, magnesium, silicon, phosphorus and sulfur in the iron, and the way the sleeve is heat treated. The sleeves are also centrifugally cast to improve density, consistency and quality. The final product can withstand 7 to 9 runs in the punishing environment of a Top Fuel motor before replacement is necessary (compared to 1 or 2 runs with other ductile iron liners).
Heavy-Duty Liners
In the heavy-duty market, wet sleeves (liners) are mostly used in cast iron blocks for longevity. After 500,000 to a million miles, the original liners are pulled out and replaced with new ones. No boring or machining is necessary, provided the sealing surfaces for the liners are still in good condition and dimensionally within tolerances.
When replacing wet liners in a diesel block, the bores and seats in the cylinder block must be carefully cleaned and must not be damaged.Corroded surfaces must be carefully and accurately remachined to accept liners with an oversized flange and outside diameter.
The bearing area of the flange must be perpendicular to the bore, have a flat surface and have adequate chamfer. If the bearing area of the flange is not flat, the liner may crack.
Before final assembly, insert the liner without its sealing rings to make sure it fits properly. The projection height of the liner must also be within the engine manufacturer’s specifications.
After lubricating and installing the sealing rings on the liner, measure the diameter of the cylinder in the area where the rings are installed to make sure the diameter is correct and has not changed. Incorrect sealing (in terms of diameter or material) can cause deformation, shrinkage and possible piston seizure!
Make sure you use the correct lubricant on the O-rings. Engine manufacturers specify what type of lube should be used on their O-rings rings before installation. The more common choices are engine oil, vegetable oil and dish soap, so refer to their service literature to find out which lube to use.
A common mistake here (besides using the wrong lubricant), is waiting too long to install the liner after the O-rings have been lubed. O-rings are designed to swell once lubrication has been applied. If too much time passes it may be difficult or impossible to get the liner in without cutting the O rings.
There are a few applications where a wet sleeve originally had an O-ring and the O-ring has been eliminated and replaced with sealer. The problem with sealers is overuse. Don’t fall for the mindset that if a little sealer is good, slathering on more must be better. Use just enough to get the job done and no more.
Installing Dry Sleeves
Whether you are repairing a damaged engine or beefing up a stock block for a performance application, there are a number of things to keep in mind when installing dry sleeves.
The amount of interference fit that’s needed to keep a sleeve from moving in the block will depend on the type of block (aluminum or cast iron) and whether or not you can machine a lip at the bottom of the cylinder bore to hold the sleeve in place.
If a sleeve does not bottom against a lip, or there is not the proper amount of interference fit to lock it in place, the sleeve may slip down in the bore. This can allow a loss of sealing at the top of the sleeve, causing the head gasket to fail. Or, if the sleeve slips too far down into the crankcase it will hit the crank and rod causing a catastrophic failure. If you use a small lip or ledge at the bottom of the bore to prevent the sleeve from dropping down, make sure the lip is not so thin that it breaks when the sleeve in pressed down into the block.
The typical recommendation for interference fit when sleeving a cast iron block is .0015 to .002˝. For aluminum blocks, the recommendation may vary from .002˝ to .003˝ to as much as .004˝ due to aluminum’s higher coefficient of expansion. However, some sleeves can be installed in aluminum blocks with as little as .0005 to .001˝ of interference if anaerobic sealer (such as Loctite 518) is used to lock the liner in place. The sealer prevents oil from migrating up from the bottom of the engine into any spaces or voids between the cylinder bore and sleeve.
The thickness of a straight wall sleeve can also affect how much interference fit is needed to keep it from moving. Sleeves as thin as 1/16˝ can be installed in many blocks. But a sleeve with a very thin wall thickness may allow a loss of radial tension that could allow the sleeve to move. As sleeve wall thickness decreases, so does the radial tension it exerts outward against the block that’s necessary to hold it tight.
Too much interference fit between the sleeve and block may overstress the block, which could lead to cracking and/or sleeve and cylinder bore distortion.
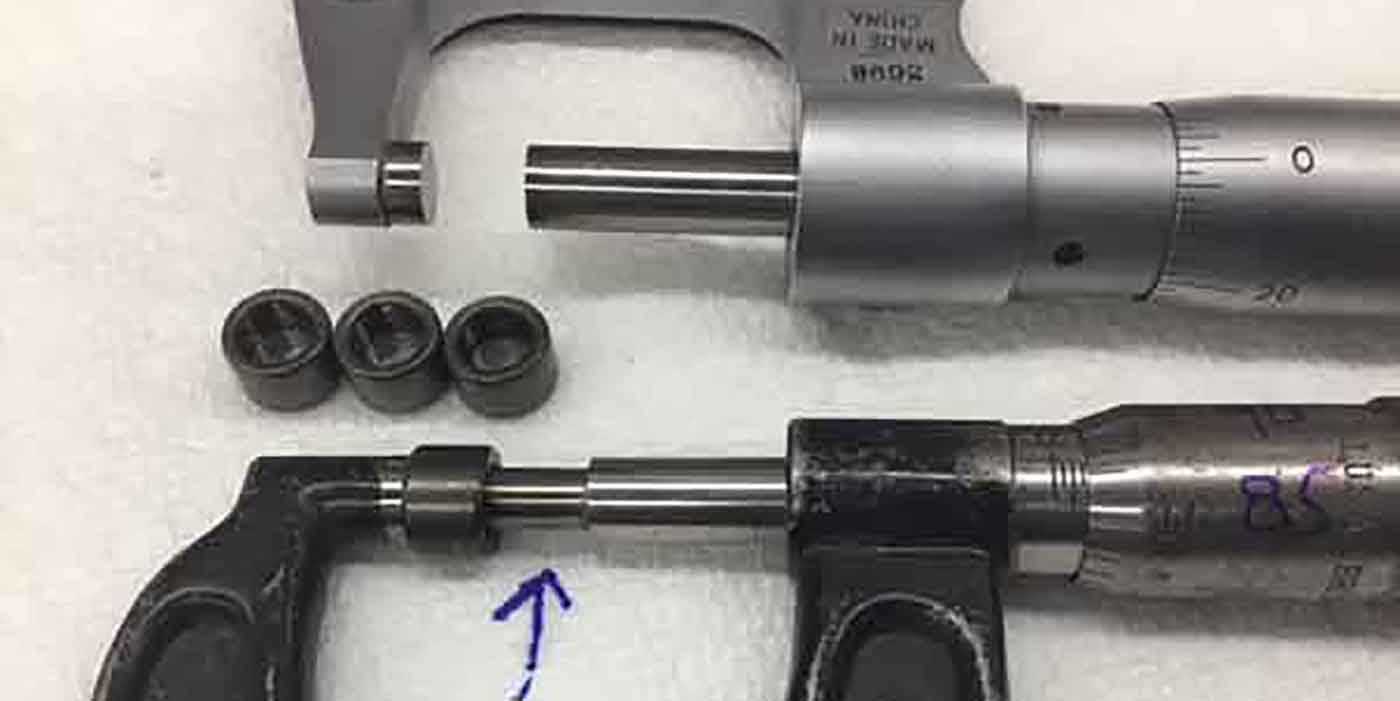
Ask your sleeve supplier how much press fit is recommended, then carefully measure the outside diameter of each sleeve in several locations (top, middle and bottom) to determine an average diameter, then measure the inside diameter of the bores in the block (top, middle and bottom). To do this, you’ll need an accurate OD micrometer and ID micrometer or bore gauge. Once the dimensions are known, you can calculate how much metal needs to be removed when you bore the block to achieve the desired press fit.
The rounder and smoother the holes are in the block after they have been bored, the less distortion the sleeves with undergo when they are installed. Plateau honing the bores prior to installing the sleeves with #280 grit stones will help assure a smooth fit, easy installation and maximum metal-to-metal contact for optimum cooling.
Chilling the sleeves and/or heating the block so you have about 100 degrees F difference in temperature will allow most sleeves to drop into place with little or no effort. Never beat a sleeve into place with a hammer and block or wood — unless you want to distort or damage the sleeve. If it needs some encouragement to slide into its hole (which it shouldn’t if you measured the sleeve ODs correctly, bored the block correctly, and chilled the sleeves and/or preheated the block), use a mandrel to slowly and evenly press the sleeve into position. Be careful not to cock the sleeve as it enters the bore.
Also, make sure the bores are clean before you attempt to install the sleeves. Any debris left in the cylinders can distort the sleeve and make installation more difficult.
Oil or grease should NEVER be used to insert a sleeve in a block because they can hinder cooling. If a lubricant is needed, use molybdenum disulphide.
If a dry sleeve has a flange at the top, the seat area where flange mates with the block must be chamfered. Interference in this area can cause the flange to crack.
A flanged sleeve can be installed with as little as .0005” of total press fit. One of the advantages of using a flanged sleeve rather than a straight wall sleeve is that the flange can provide stability to the deck surface for a better head gasket seal. Another plus is that less press fit allows you to sleeve one cylinder bore without disturbing the bores next to it. In an iron block, this avoids the need to bore the neighboring cylinders to oversize, which saves you time and money. Also, if you are sleeving all eight cylinders on a V8, installing flanged liners with almost zero press fit reduces stress throughout the whole block — which is important on older iron blocks with narrow bore spacings.
The top of a flangeless straight wall sleeve will usually protrude slightly above the deck surface of the block after it has been installed, so you will have to carefully machine it down flush with the deck surface. The deck surface on the block can then be resurfaced as needed to achieve the desired deck height, surface finish and flatness.
After installation, check the inside diameter of each sleeve at several locations, especially at the top and bottom to check for bore distortion. If the sleeve is out-of-round, this can be corrected by honing.
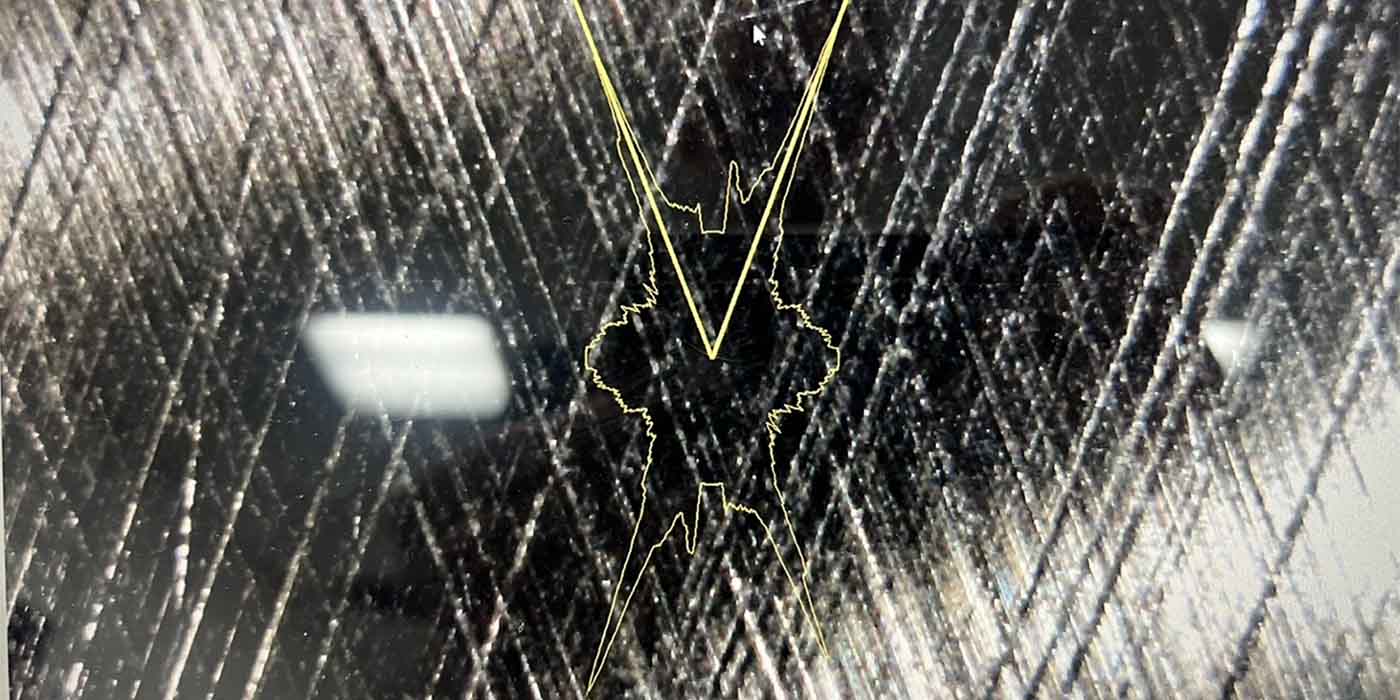
If the surface inside a sleeve is unfinished, the sleeve will have to be honed to size and finished as needed. A plateau finish is recommended for rapid ring seating and to reduce blow-by. If the sleeve comes with a prefinished bore, you should still check the finish and final hone as needed to achieve the desired microinch finish and crosshatch.
A final step recommended by some engine builders after sleeving a block is to mount the block on a vibratory table and shake it for 15 to 30 minutes to destress the block – or cold soak the block in a cryogenic tank at 300 degrees F below zero to settle the metal.
Sleeves can do a lot of things, including improving an engine’s performance and even saving it from the vehicle owner’s best attempts at destruction. Be certain you’re using the right product for your application. ν

