ROD TO CAM CLEARANCE GAUGE
![]()
Using a plastic banding strap as a feeler gauge works great to check for clearance. The straps are generally .035˝-.045˝ thick, so you might want to double them up to check for the minimal .050˝-.060˝ clearance recommended. These work great as they easily bend to any curvature you need.
If you can’t find these straps around, you can always cut any discarded plastic jug or bucket into strips to use.
Tip: I have found that on Chevy V8s, rods #2, #5 and #6 are the ones that get closest to the cam lobes.
Mike Segar
Segar Auto Machine
Bloomington, MN
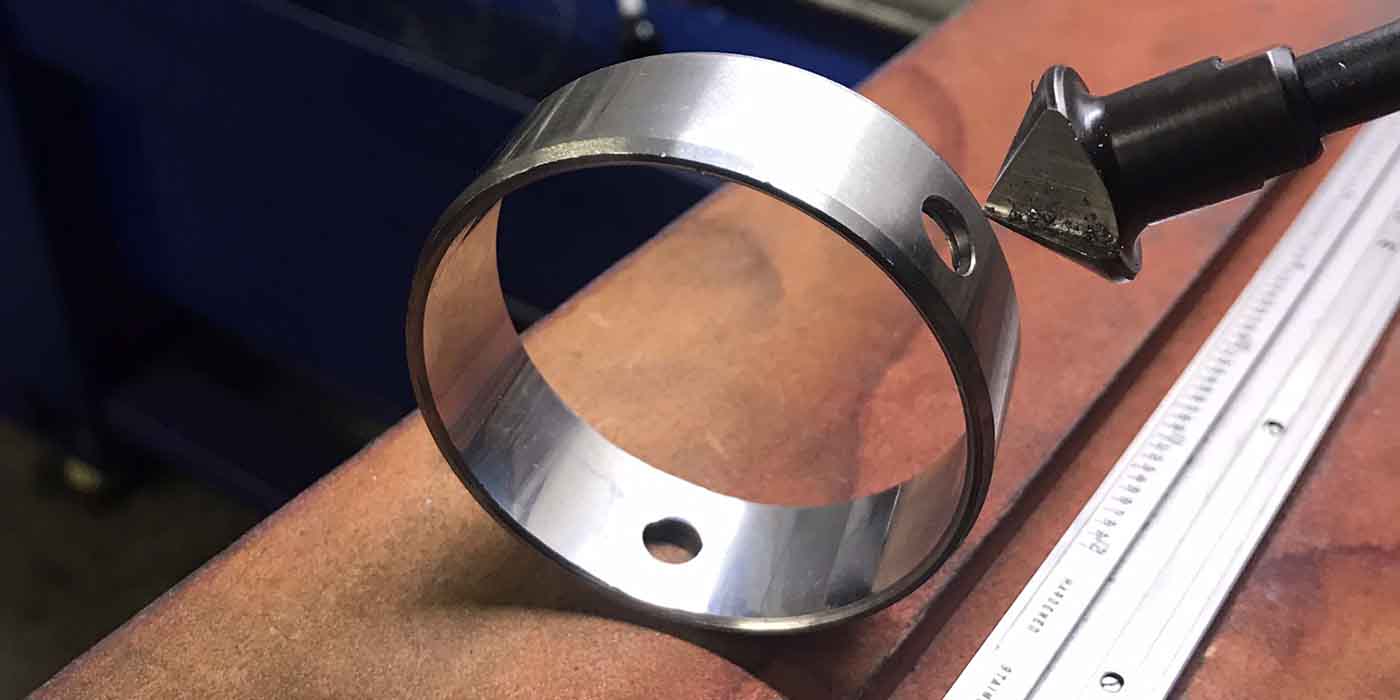
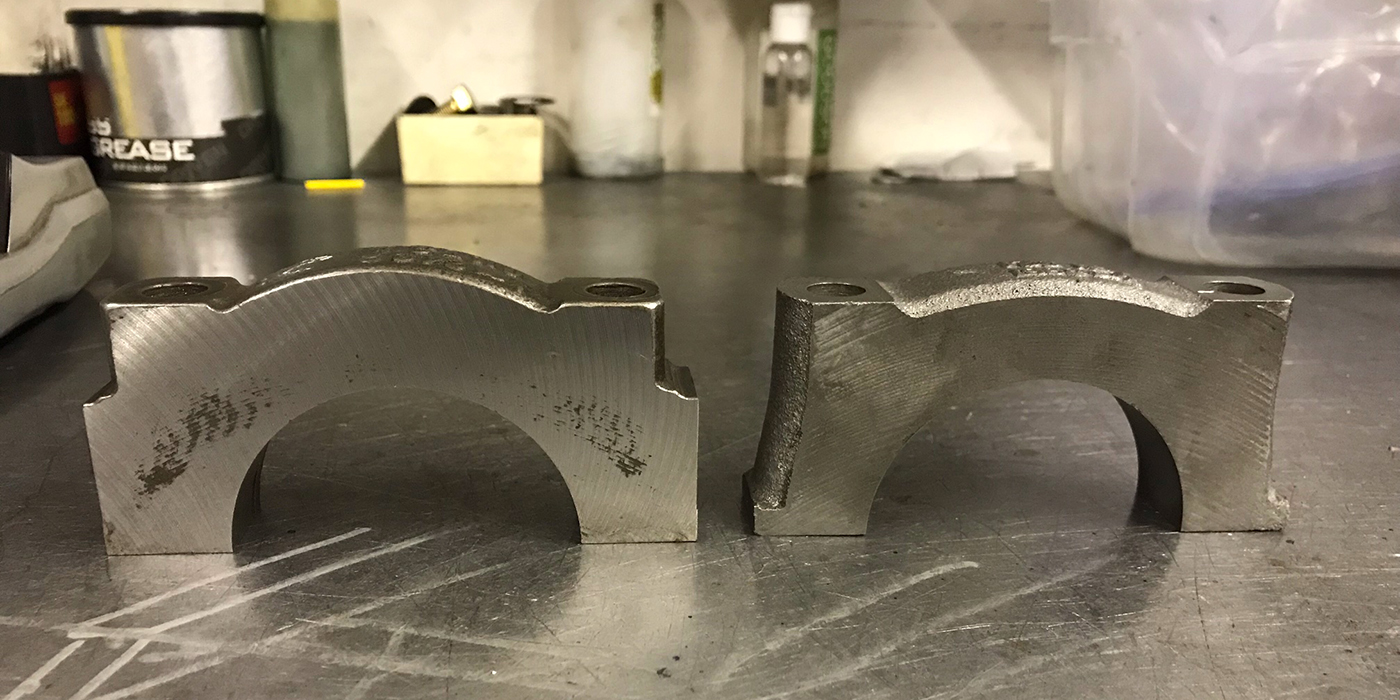
TAPERED ROD PIN BORE MANDREL
Our aftermarket pistons for an LS7 Chevrolet came with SBC .927˝ pins. The standard LS7 pin is .925˝. There is meat in the bushing to hone, but the problem is the shape of the small end of the rod and bushing: they are tapered.
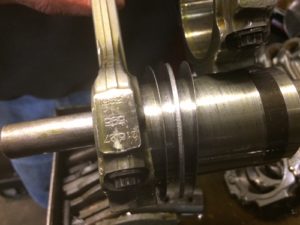
It looked like you couldn’t just hone like a regular bushing, and we had no special mandrel to hold the rods. It seemed like too much might come off the thin top part of the bushing or the bushing would get bell-mouthed. So we made a sleeve to the fit big end of the rods by turning a tube down to the rod housing bore diameter.
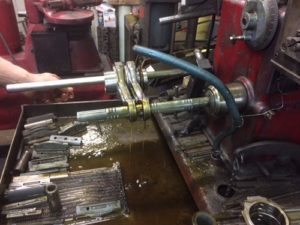
We shimmed with differential shims so two rods would stay straight and stable. The small end is wider than the big end, so they needed to be shimmed apart. We kept the small ends just touching. They were easy to hone to size now, in pairs.
Mike Schmelzer
Bay Speed Center
De Pere, WI
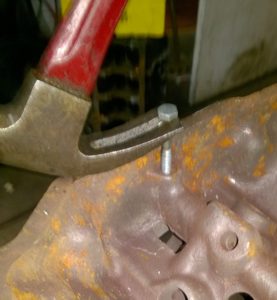
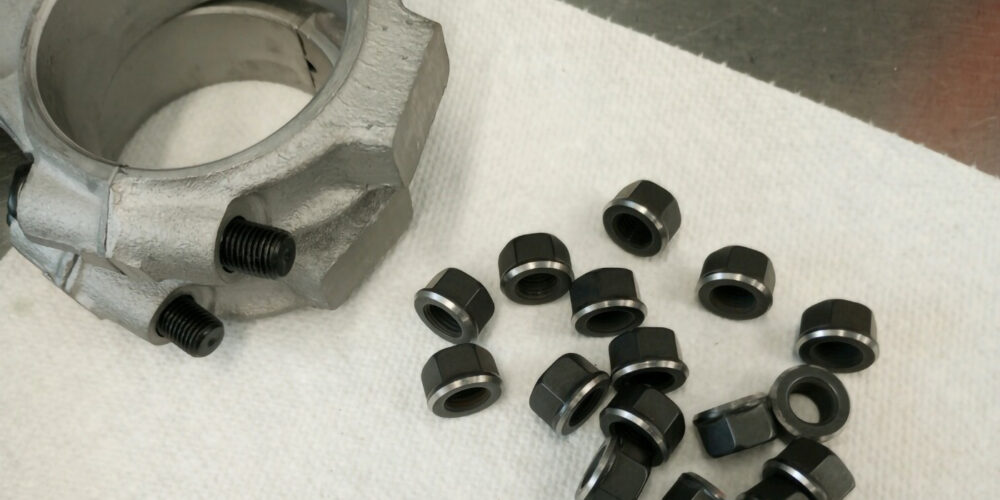
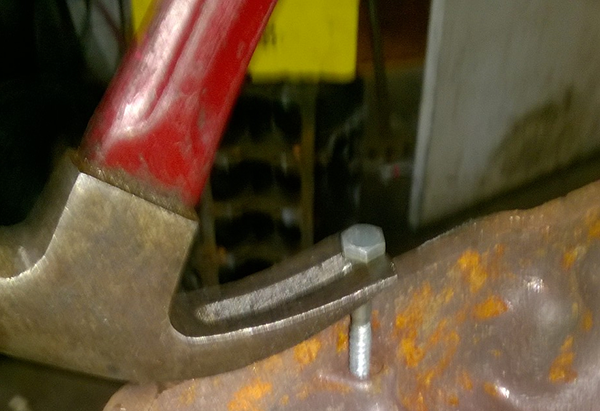
PULL THE PLUG
Removing press-in oil galley plugs from blind holes, like a Ford FE block, can be a little bit of a challenge because you cannot just pound them out from the backside. First I center drill them with a 3/16˝ drill bit. Then I install and tighten a lag screw into the plug. Next, I pull it out using a claw hammer or crow bar. Quick and easy.
Dave Matton
D and D Machine
Bloomington, MN
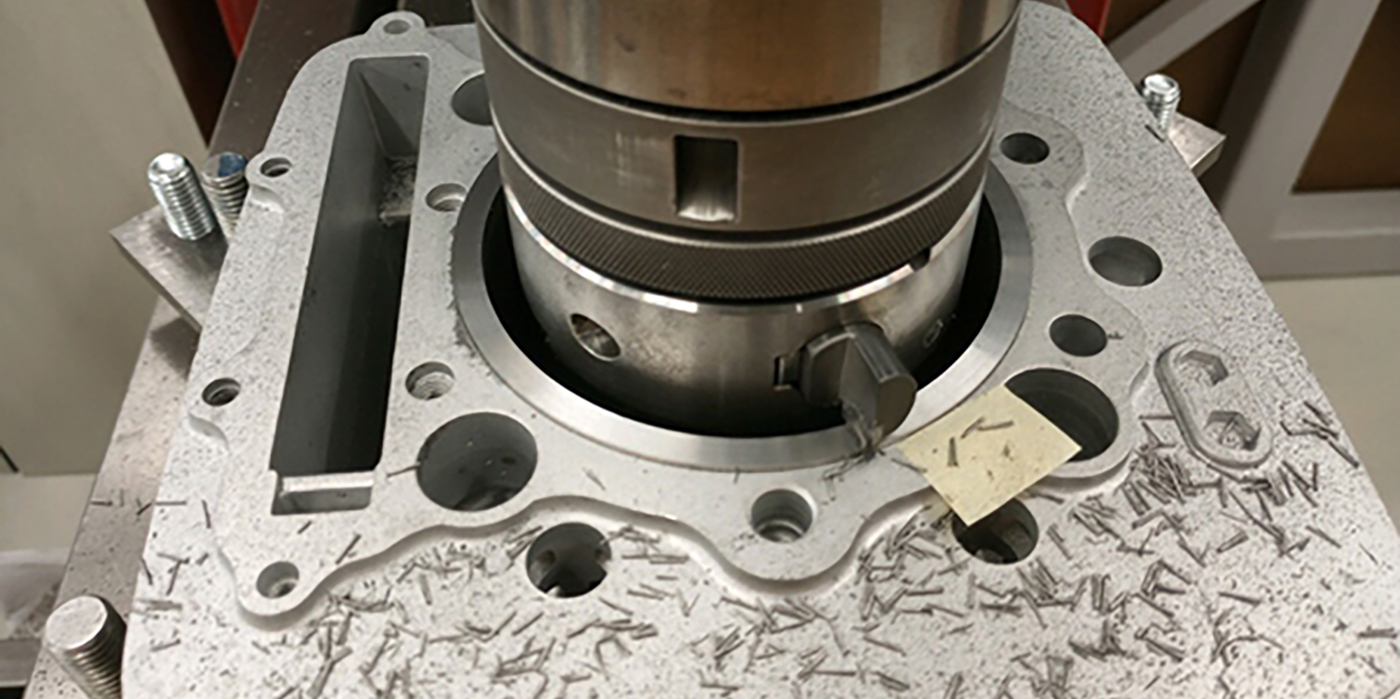
BETTER ALUMINUM FINISH
For a nice finish on aluminum, I save my chips from boring ductile sleeved blocks and add them at a 20% mix to coarse glass bead in the blaster. I find that it gives the aluminum a brighter finish that doesn’t stain as easy. It removes carbon real well too.
It takes a minute to “break them in” but they seem to last quite a while. Keep mixing by back blowing the nozzle.
Ron Flood
Cedar Machine
North Branch, MN
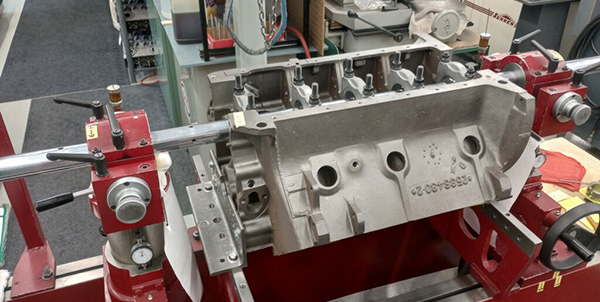
CAMSHAFT IDENTIFICATION
Our shop has had a cam analyzer for over 28 years so I recently had to remember how we did it back in the old days when I was out-of-town at a friend’s shop. He needed to verify which of the three customer-supplied cams to install because the previous shop that had built his engines had ground the name and ID numbers off all three!
I told him to install the cam in his lathe on centers, with a degree wheel on the tailstock end, and to put a pointer on the degree wheel as well. A small piece of heater hose over the tailstock center will hold the degree wheel up against the end of the cam.
I then instructed him to put a magnetic base dial indicator on the lathe’s cross slide and set it up against a lobe. We zeroed the pointer and the dial indicator. We rotated the cam until the indicator read .050˝ – at that time we set the degree wheel to zero without moving the cam. We then rotated the cam over the lobe until the indicator again read .050˝ and took that number and multiplied by two. This number is the duration at .050˝ for that lobe.
Do each lobe a few times until you get repeatable results, then move on to that cylinder’s other lobe and do the same thing. Then move to the lobe’s top and zero the indicator. Go .050˝ down one side of the lobe and zero the degree wheel, then go up over the top of the lobe to .050˝ down the other side of the same lobe. Read the degree difference, divide by two and set the degree wheel to zero.
Move the indicator to that cylinder’s other lobe, and zero the indicator again at the lobes top. Go down one side .050˝ and record the number, then go down the other side of the lobe .050˝ and record that number. Again divide by two, subtract the one number from the other number again, and that is your lobe center in degrees. Play with a known cam until you get the hang of things and can get good results. You may be off a few degrees one way or another, but with care you will get close enough to identify an unknown cam.
For lobe lift numbers, just zero the indicator on the base circle, then rotate the cam to the highest number, and that will be the lobe lift. Multiply that by the rocker ratio and you have the lift at the valve.
Timm Jurinc
Tuf-Enuf Auto & Marine Performance
Avondale, AZ