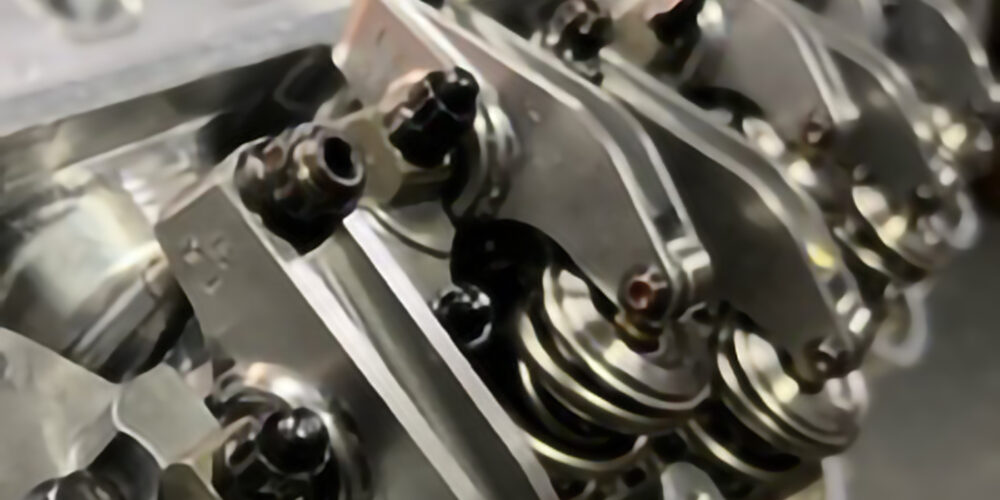
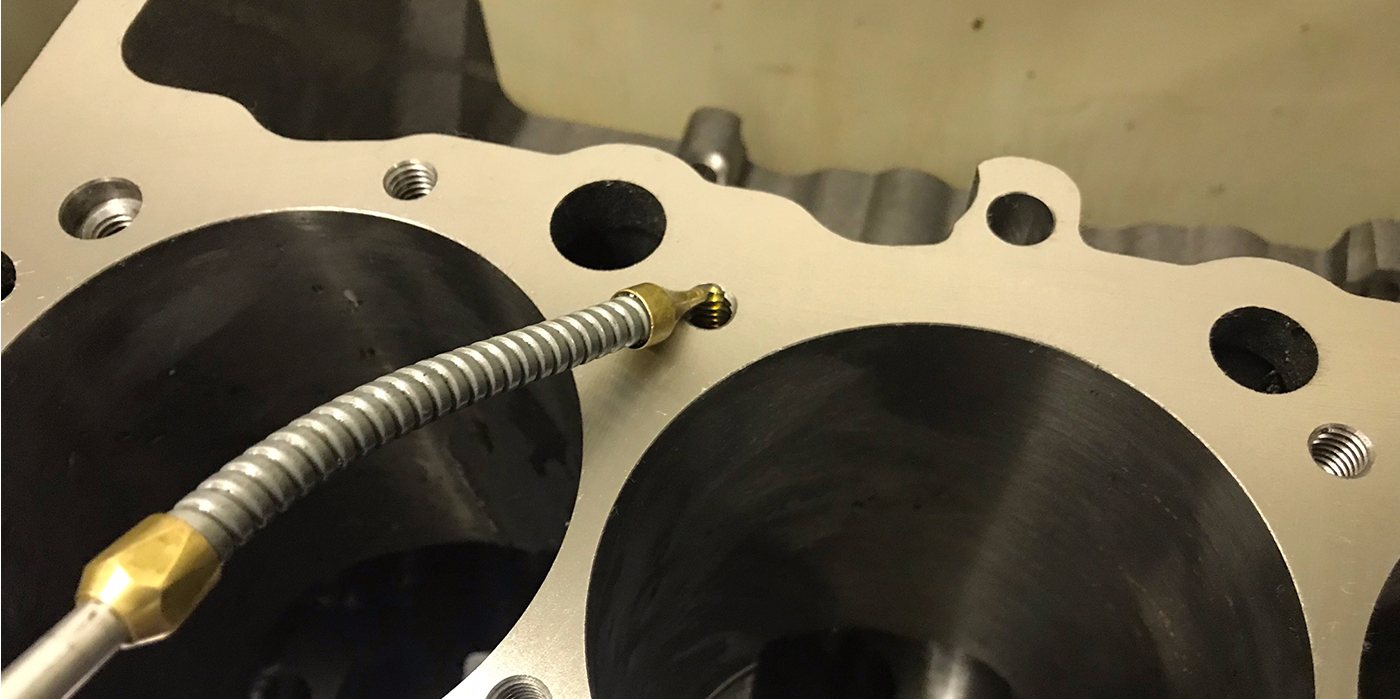
Inspection: Vacuum Check That Engine
With the advent of foreign castings, some less than stellar, it is important to be more critical than before during inspection. I have a large vacuum pump that I use to vacuum check every engine’s water jacket before it leaves my shop. My pump pulls around 22 inches of vacuum. When it reaches that point I close the valve to check for leaks.
I have found a few brand new castings to have porosity holes in them after they were torqued down. All of these heads were aluminum SB Chevy heads and were made overseas. These heads were “good” prior to proper installation.
More than once I’ve found brand new water pumps to have leaking seals at the weep holes. Air is much less dense than water, so any small leaks are easy to find. With my vacuum pump I can check all freeze plugs, galley plugs, intake and head gaskets (for sealing) and block and head castings.
For a test, we took a freeze plug and drilled a .006? hole in it and it failed miserably. We have even used the pump as a “reverse” pressure tester on cylinder heads where we couldn’t find an external leak, but knew the head was bad. It’s sort of a second opinion that confirmed our suspicions.
Jeff “Beezer” Beseth
BeezerBuilt, Inc.
Newtown Square, PA
Aid For Checking Piston-to-Valve Clearance
When checking piston-to-valve clearance using a dial indicator and magnetic base, bolt a small block Chevy fuel pump plate to a valve cover bolt hole. This makes a good flat surface for mounting the magnetic base. This is much more accurate than trying to attach the magnetic base to an uneven surface.
Bob Mitchell
Engine Parts Group
Tacoma, WA
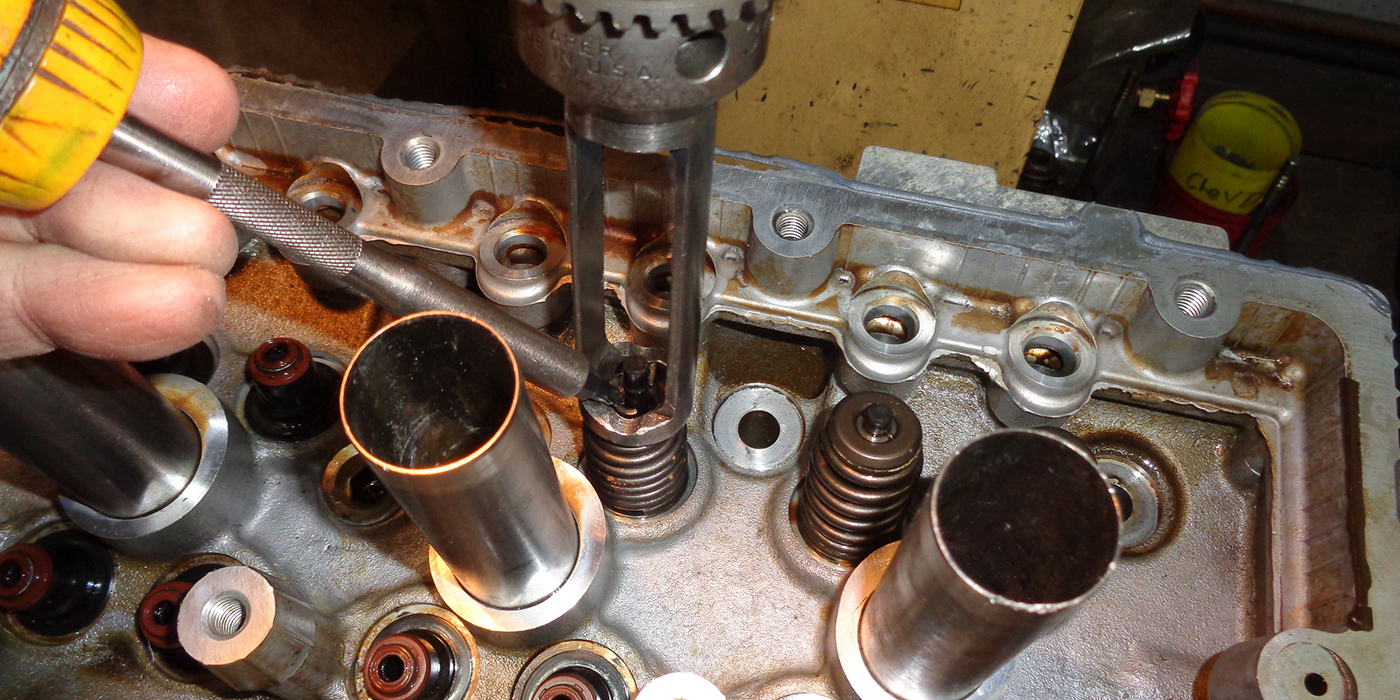
Removing Dowel Pins With a Claw Hammer
To remove a dowel pin from small block Chevys there a several options. One way is to purchase a specialty tool. Another option is to hammer it flush and push it through with a center punch, which may result in mushrooming the top, making it hard to remove and also ruining the pin. This way can only be a solution if the hole in the block goes all the way through. OR you can use a readily available claw hammer!
Here’s how: Insert the dowel pin between the claw and tap on head of hammer with another hammer until the dowel pin is secured, then pull back on the claw hammer as if pulling a nail. This method results in a cleanly removed pin that is most likely reusable. This works great on some flywheels as well.
Darren Karleskint
DK Motor Services
Girard, KS
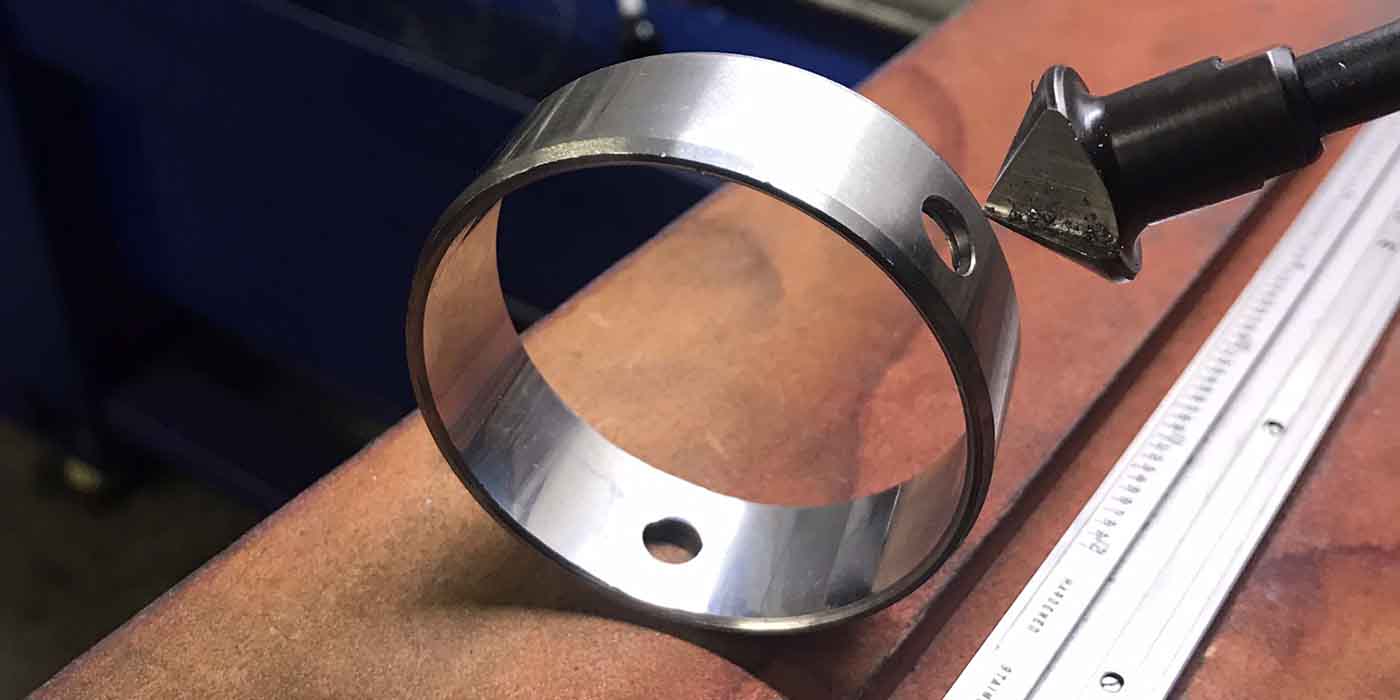
Easy Tip For Cutting Down Titanium Valves
Have you ever had problems cutting down a titanium valve on a lathe? Try using a little beeswax as a lubricant. It works wonders!
Jeff “Beezer” Beseth
BeezerBuilt, Inc.
Newtown Square, PA
Manufacturer Shop Solution: Oil Pump and Engine Priming
A crucial step in any engine build is the priming of the oil pump and the engine lubrication system prior to initial startup. Proper priming will help assure a trouble-free rebuild. There are two preferred methods to prime oil pumps and newly rebuilt engines. The first method listed covers oil pumps driven by the camshaft and the second covers those driven by the crankshaft.
 Priming camshaft driven oil pumps: These pumps are typically referred to as wet sump pumps since they sit low in the engine oil pan and are partially submerged in the engine oil. To prime, first submerge the inlet of the oil pump in clean oil and rotate the drive shaft in the correct direction. If it does not pump, change direction of shaft rotation until oil flows from the pump outlet. Drain excess oil from the pump and install it on the engine.
Fill the oil filter and install it; then fill the engine with oil. Install the correct priming tool, which can be a modified distributor drive shaft into the engine and engage the oil pump drive shaft. Attach a 1/2? electric drill to the exposed end of the priming tool and spin the oil pump at a minimum of 500 rpm. Continue to spin the oil pump until oil reaches the rocker arms. It is a good idea to rotate the crankshaft 360 degrees while spinning the oil pump during priming. The oil pump and engine are now primed.
Priming crankshaft driven oil pumps: This type of oil pump cannot be turned with a priming tool so we recommend using the Melling MPL-101 pressure priming tank or a similar pre-lube tank to prime the engine with oil before initial startup. Before assembling the oil pump to the engine, pour a small amount of engine oil into the oil pump and rotate the rotor set by hand to allow the oil to coat the internal surfaces of the pump and rotor. Once the engine is fully assembled fill the oil filter with oil and install it. Attach the pre-lube tank to the oil pressure port on the engine.
Now fill the pre-lube tank with up to four quarts of engine oil and close the valve on the top of the tank. Pressurize the pre-lube tank with shop air and slowly open the valve on the tank which will release the oil and send it into the engine oil galleries. While the oil is being transferred from the pre-lube tank to the engine rotate the engine 360 degrees. Once the oil is transferred to the engine you will hear a gurgling sound from the tank. The engine is now primed.
George Richmond
Melling Engine Parts,
Tech Department
Jackson, MI
Engine Builder Shop Solutions is sponsored by Engine Pro,
a consortium of 9 engine parts specialist WDs operating 30 branch
locations serving engine builders/rebuilders across the U.S. Shop
Solutions published in each issue of Engine Builder Magazine are
awarded a $100 Visa Gift Card. Winners will be chosen by
the staff of Engine Builder Magazine and the Engine Pro Technical
Committee.
To submit a Shop Solution simply mail your entry
to Engine Builder Magazine, Shop Solutions, 3550 Embassy Parkway,
Akron, OH 44333; or email to Shop [email protected]. Shop
Solutions may also be emailed to [email protected].
You must include
your name, shop name, shop address and shop telephone number. Submitted
Shop Solutions not published will be kept on file and reevaluated for
publication with each month’s new entries. If you include your email
address you will be emailed notification of publication if your Shop
Solution is chosen.