SET UP BLOCKS

Keep your tape measure in the toolbox when doing set ups that you repeat time and time again. Make some gauge blocks or fixtures, whatever it takes to save time setting up your machines.
Randy Torvinen, Torvinen’s Machine, Menahga, MN
3D PRINTER
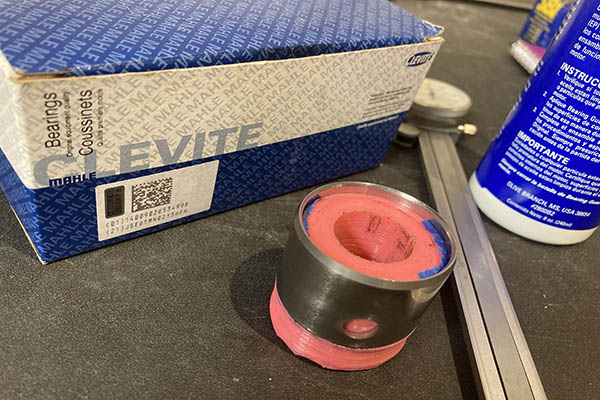
One of the most useful tools I have acquired and recommend are my two 3D printers. It allows rapid part prototyping as well as the ability to quickly make a tool. In this case I had a cam bearing that my two other cam bearing tools just weren’t working well for. I quickly drew it up in CAD and in the time it would take to dig through the scrap pile and make one in the lathe this plastic one was finished. I have used them to make bearing and bushing drivers, sheet metal dies, flow bench inlet guides, and a lot of other odd stuff that would take a minimum of days to get if you’re lucky enough for it to be made.
Joshua Hartmann, Hartmann Racing and Development, Gerald, MO
POWER ADJUSTMENTS
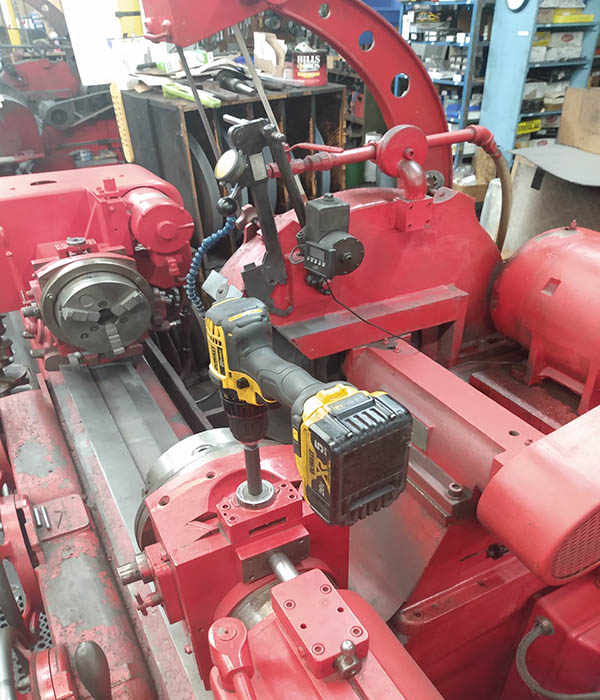
To save time, we use a 1/2˝ cordless drill to power our stroke and counterweight adjustments on our crankshaft grinder machines.
Adney Brown, Performance Crankshaft, Ferndale, MI
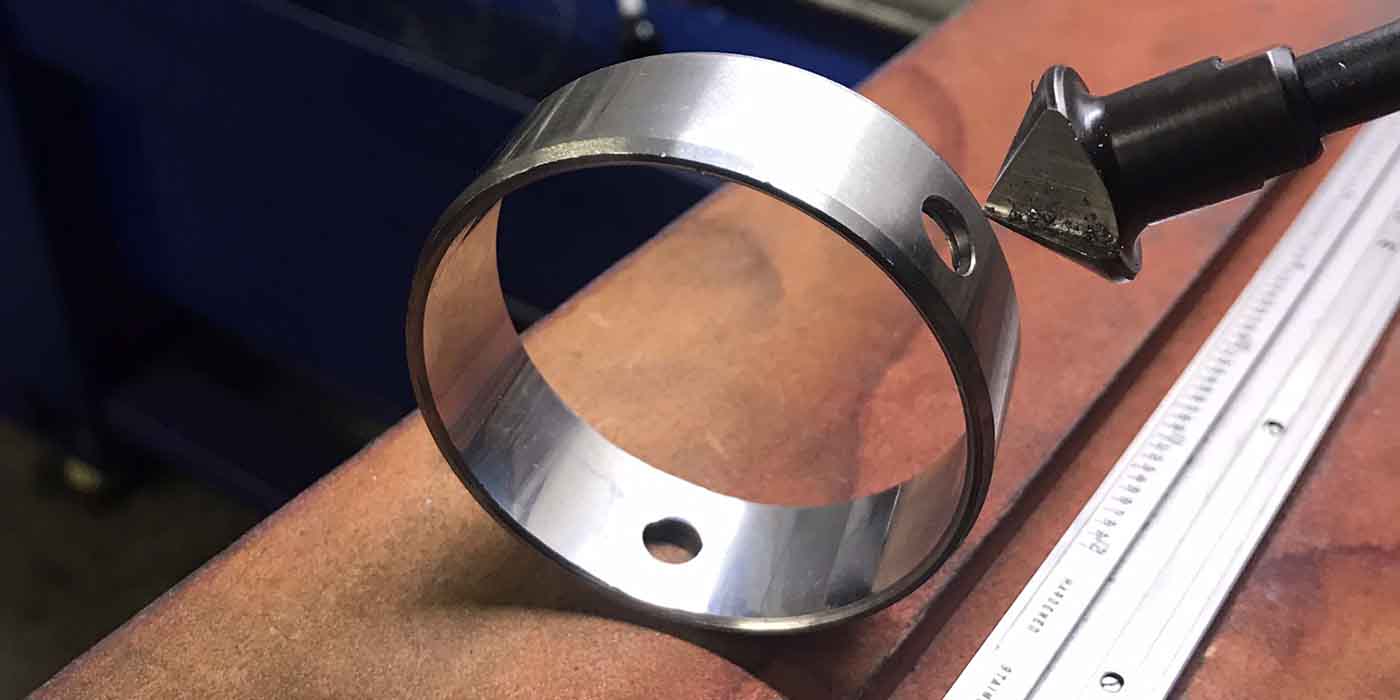
PINS TO STANDOFFS
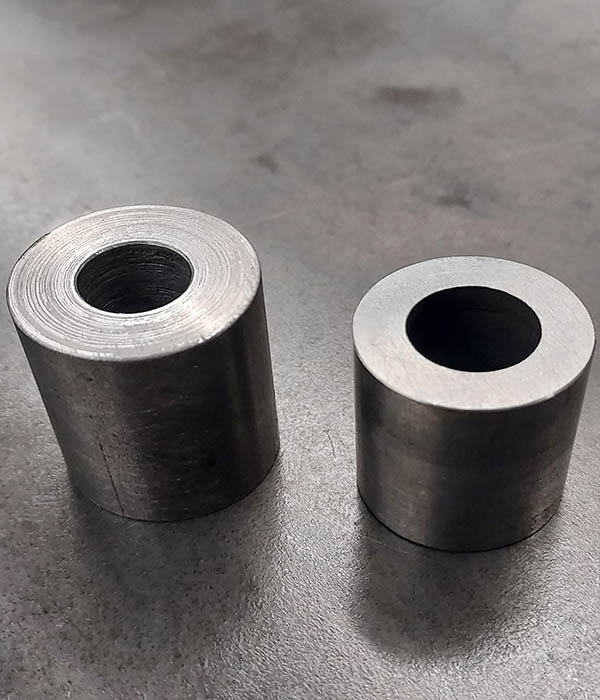
It’s common for shops to use DOM (Drawn Over Mandrel) tubing to make standoffs they need to torque plate hone different engines. For a while there was a materials shortage, but that didn’t mean there wasn’t some old .927˝ wristpins over in the scrap steel barrel. Some even have the smaller ID in the center, which worked perfect for locating some 1/2˝ head bolt or stud standoffs. Simply cut to length, grind ends parallel, and I had what I needed in no time at all. Pictured is a .990˝ pin being made next to a finished product .927˝ pin.
Jace Hoemberg, Specialty Engine, Motley, MN
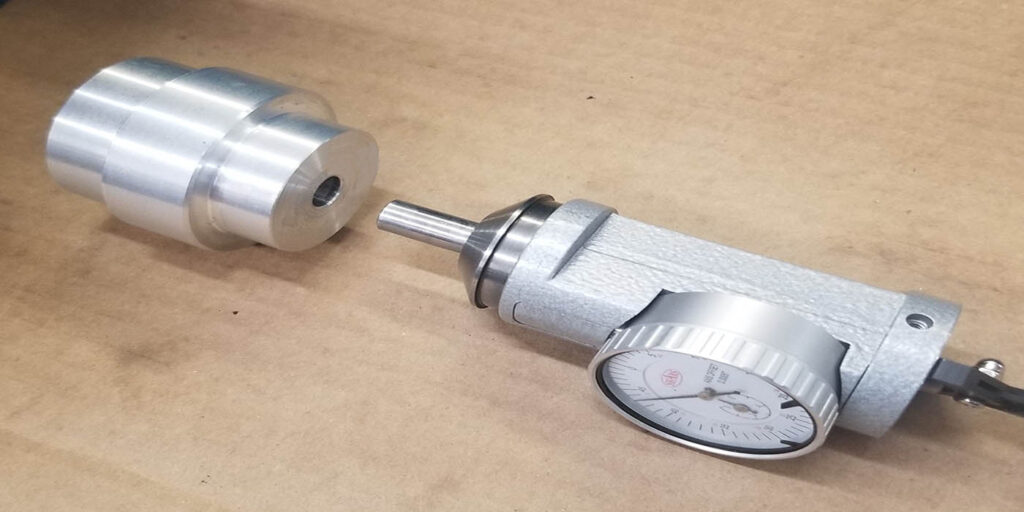
INDICATOR ADAPTER
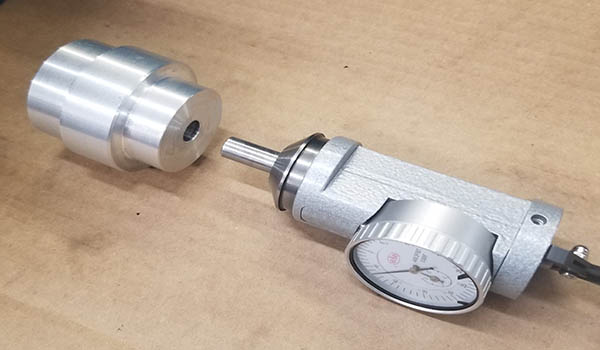
Most Co-Ax indicators have a 3/8˝ or 1/2˝ diameter stem. Instead of wasting time closing the lathe chuck to hold the indicator and then more time opening it back up to hold a larger diameter work piece, make a simple stepped adapter with a precision reamed hole to fit the Co-Ax indicator’s stem. In this example, the stepped diameters are 1.5˝, 1.75˝, and 2.0˝. The adapter saves several minutes per day in our shop, which quickly adds up to valuable hours annually.
Tom Nichols, Automotive Machine & Supply, Inc., Joshua TX
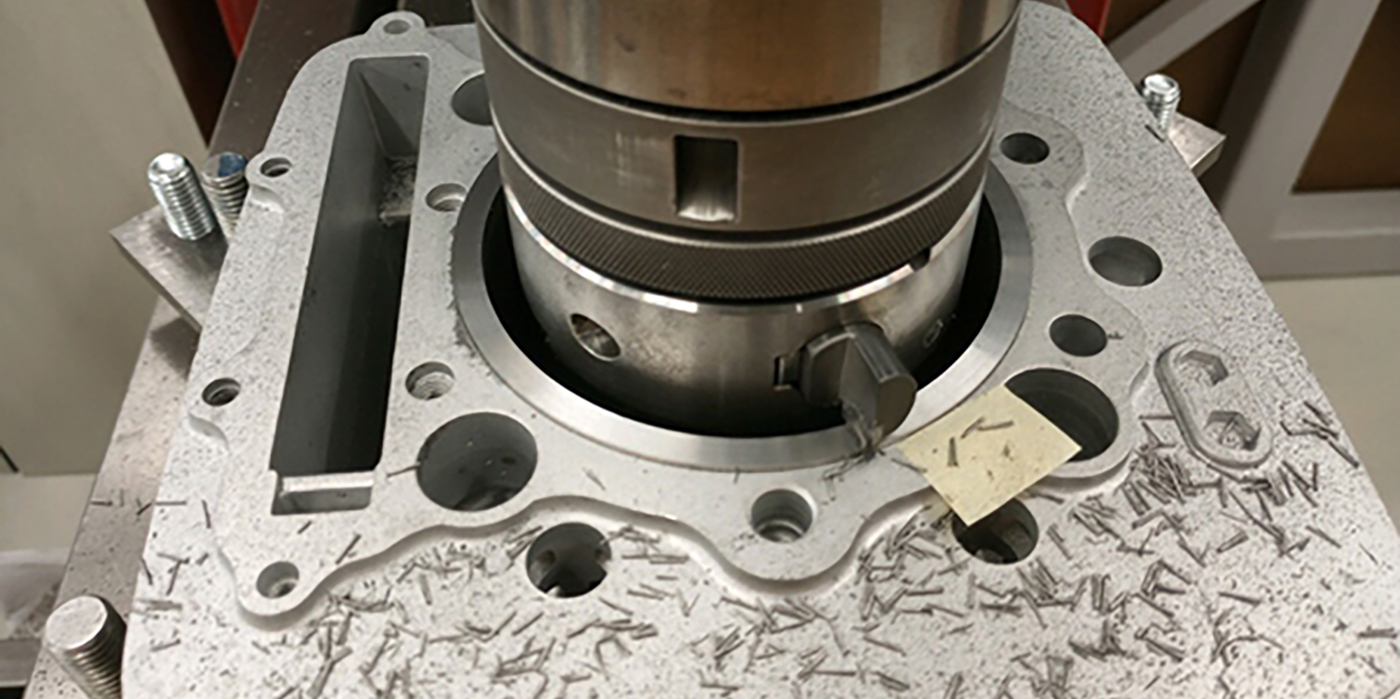
SEAT SPUD
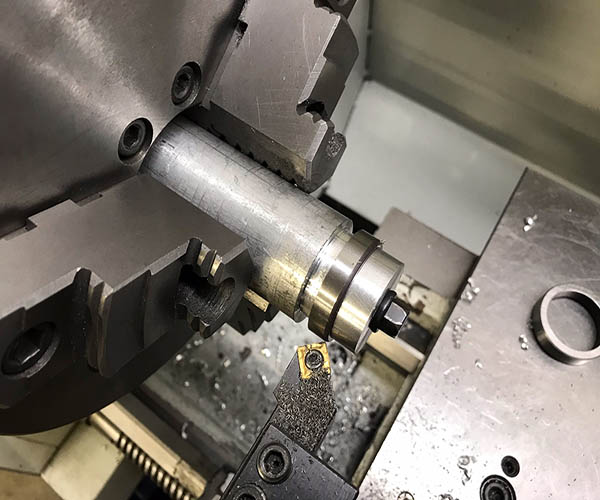
For machining custom valve seats, in addition to the expansion arbor, I have a simple aluminum spud and lock. I can quickly machine it down for whatever seat I need. It started out as a 1-foot-long piece of round stock, and I just keep drilling and tapping as I face it for the next oddball seat sizes. Because you’re facing it after mounting, you can just machine the OD and not have to re-touch the bottom of the seat when you make an adjustment. Often, I’ll machine for intake and exhaust seats in a step on the spud.
Ron Flood, Cedar Machine, North Branch, MN